GBC AdvancedPunch Pro 08/20/2015 Repairs/Adjustments
4-135
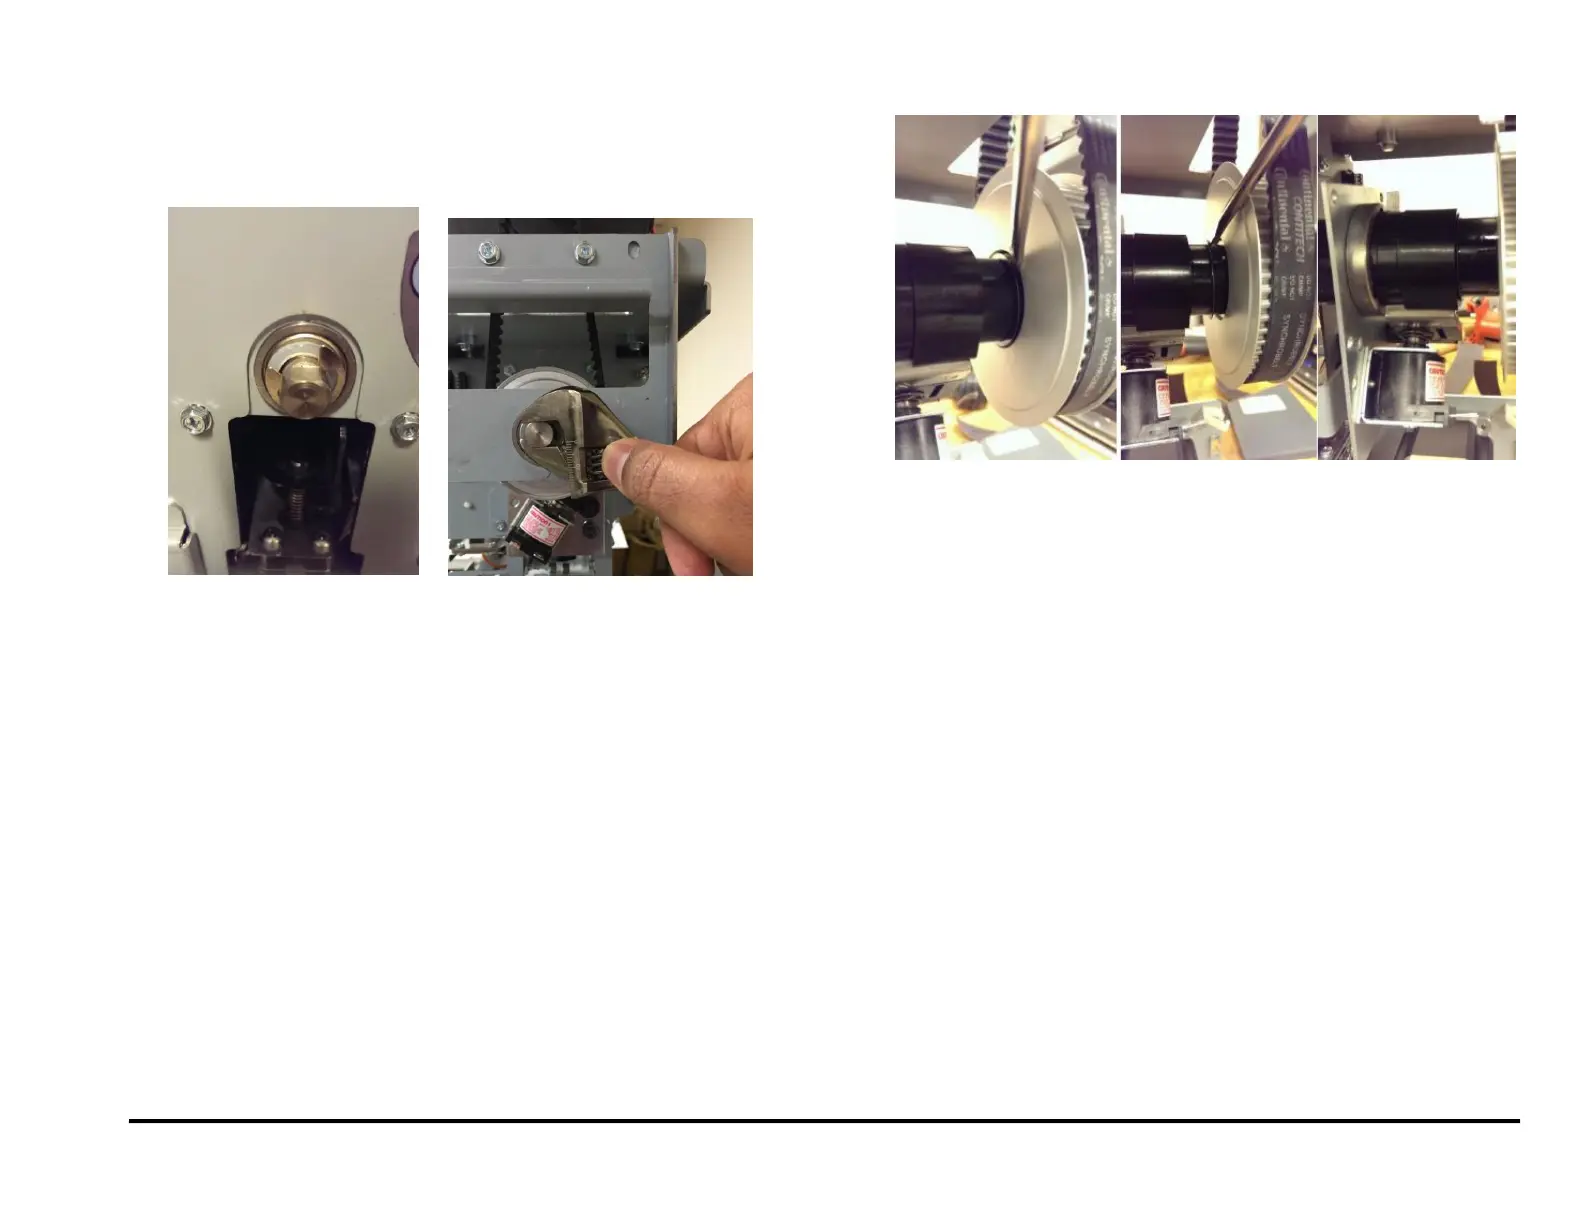
12. Repeat Steps 10 to 13 until the Punch shaft flats are horizontal. It is
important to turn the punch shaft with a wrench until it hits a hard stop
in the counter-clockwise direction (viewed from rear side). Important
note: Turning the shaft with hand will not provide enough torque and
the setting will be incorrect. Therefore use a wrench to turn the shaft.
13. Return the spring clip to its groove.
Installation Procedure
1. Do REP 3.1 to remove the Punch Module.
2. Do REP 1.6 to install the Rear Cover.
3. Connect the Power Cord.
4. Power ON the entire printing system.
5. Run one sheet of paper though the Punch.
Alternately “Cycle Punch” Function Test from Service mode can be
performed.
After a punch cycle the flat in the front side would have returned to
horizontal position (as shown in the pictures of Step# 1).
 Loading...