GBC AdvancedPunch Pro 11/07/2018 RAPS
2-23
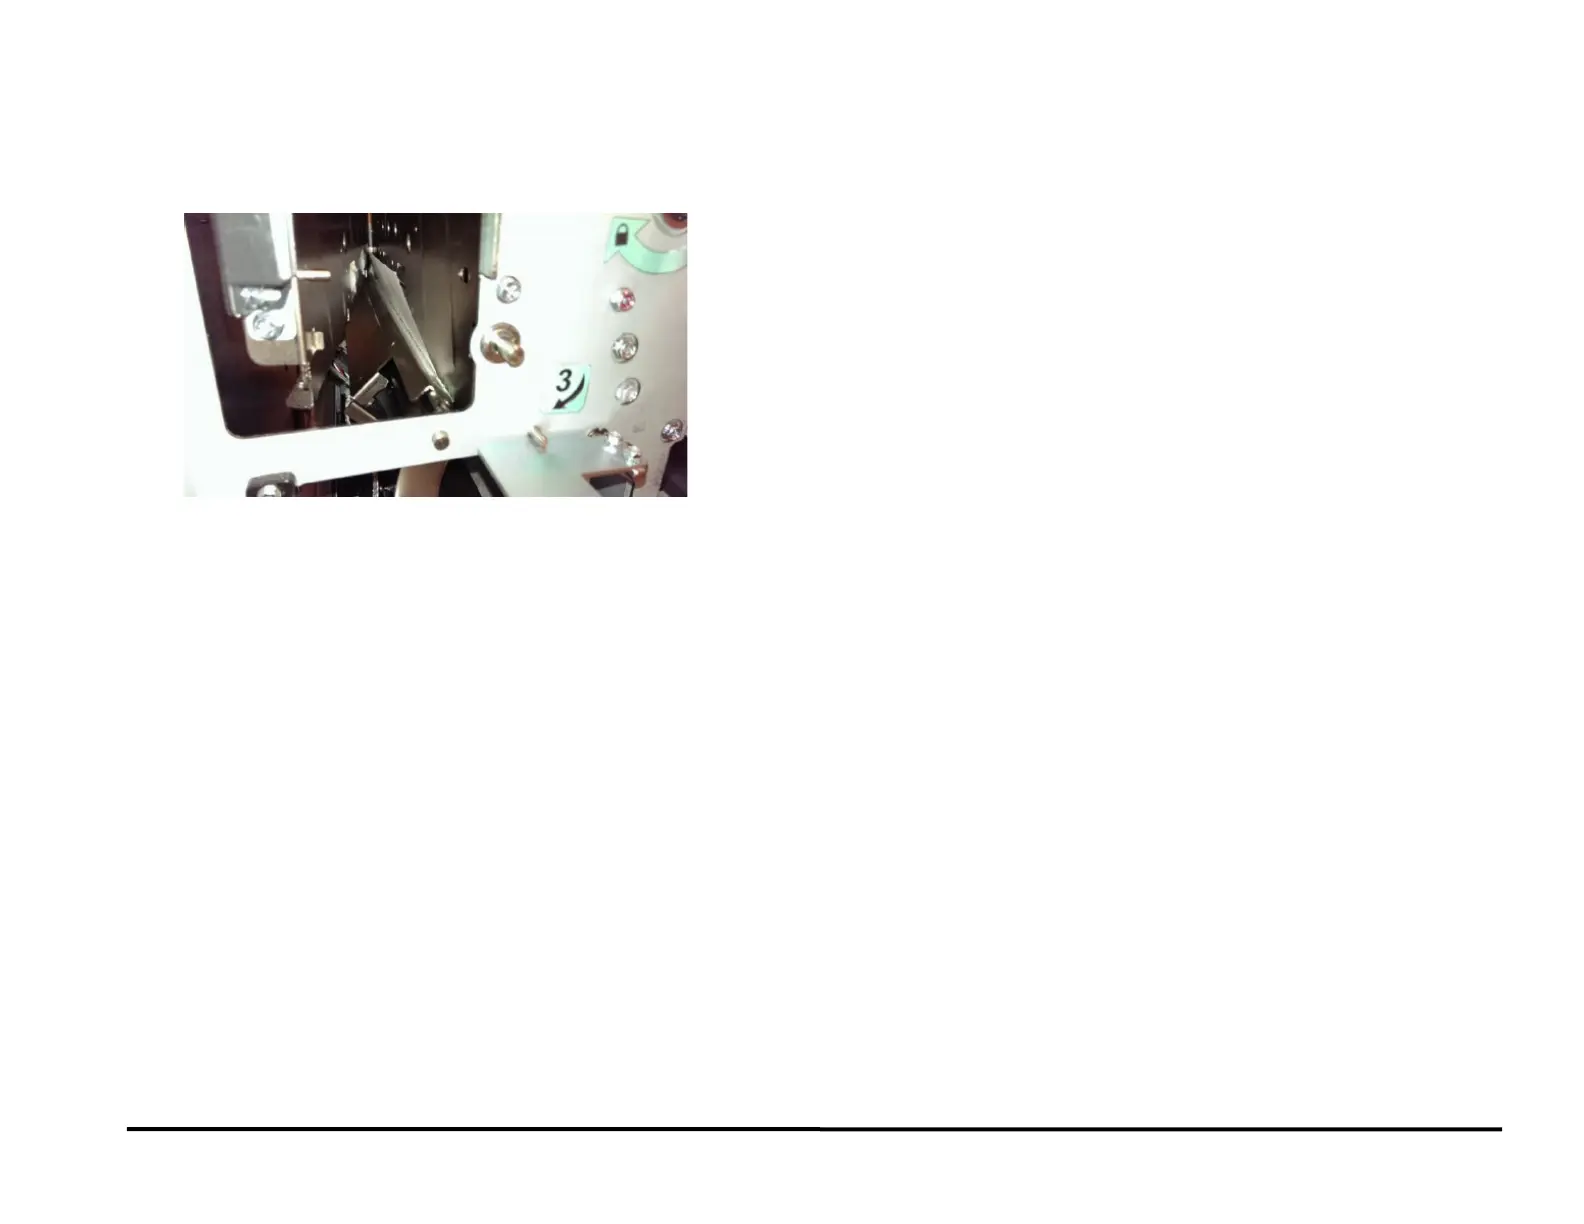
• Unlatch the acceleration idler panel (PL 3.1) and Entrance Idler
panel (PL 3.1) to see the trail edge of the sheet. (the trail edge of
the sheet will be skewed if one of the corners is jammed as
opposed to the whole lead edge being jammed)
This clears the fault
Yes- Return to normal operation; No- Go to Step 9
9. If there are multiple sheets jammed with the die pins partially through
the sheet(s), do RAP 2.7 Multiple Sheets Jammed - Die Pins Partially
Through the Sheets.
This clears the fault
Yes- Return to normal operation; No- Go to Step 10
10. Check the nip force of roller N5 (PL 3.4).
• Do GP 6.16 Panel Latch Inspection to inspect the Acceleration
Idler Panel Latch (PL 3.5). If the Acceleration Idler Panel is not
closed firmly, there will be insufficient nip force at N5.
• Do GP 6.14 Idler Roller Inspection and Cleaning to inspect the
idler roller springs for these rollers Inspect Idler Roller Spring
(PL 4.3).
• Do GP 6.15 Drive Roller Inspection and Cleaning to check the:
• Drive Roller condition. Clean if necessary.
• Check the Paper Path Drive Panel positions- see ADJ 1.8, Drive
Panel Position Adjustment and perform adjustments if necessary.
This clears the fault
Yes- Return to normal operation; No- Escalate to second level