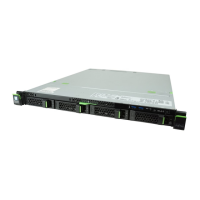
RX100 S7
Upgrade and Maintenance Manual 381
System board and components
Ê Lower the system board carefully into the chassis.
Ê Adjust the system board. If necessary adjust the position of the system
board with a gentle twisting motion.
I When the system board is in the right position, the centre rings engage
with the holes indicated.
Ê Fasten the system board with the eight screws (see figure 257 on
page 378).
15.4.1.9 Connecting the cables to the new system board
Ê Reconnect all cables to the system board:
– Two power cables of power supply
– Fan/ODD power cable
– Front panel cable
– Power cable for SAS/SATA backplane
– 2x or 4x SATA cables for SAS/SATA backplane
– SATA cable for ODD (if applicable)
– CSS cable (if applicable)
– Front VGA cable (if applicable)
– SGPIO cable (if applicable)
For the cable plan see section "Cabling" on page 462.
15.4.1.10 Concluding steps
Ê Perform the following procedures:
1. "Installing the TPM" on page 362 (if applicable)
2. "Installing the UFM" on page 351 (if applicable)
3. Install the memory modules, see section "Installing a memory module"
on page 272.
I Make sure that you reinstall each memory module in the slot it was
located before the replacement.
4. Install the heat sink, see section "Installing the heat sink" on page 290.
5. Install the air duct, see section "Installing the air duct" on page 291.
6. Install the front LAN card (if applicable), see section "Installing the front
LAN card" on page 341.
 Loading...
