Epson Stylus Pro 4900/Epson Stylus Pro 4910 Revision A
DISASSEMBLY & ASSEMBLY Disassembly and Assembly Procedure 133
Confidential
3.4.2 Housing
3.4.2.1 Printer Cover
1. Remove the Front Cover. (p142)
2. Remove the Right Upper Cover. (p138)
3. Remove the Control Panel Cover. (p136)
4. Remove the Right Cover. (p139)
5. Remove the Left Cover. (p137)
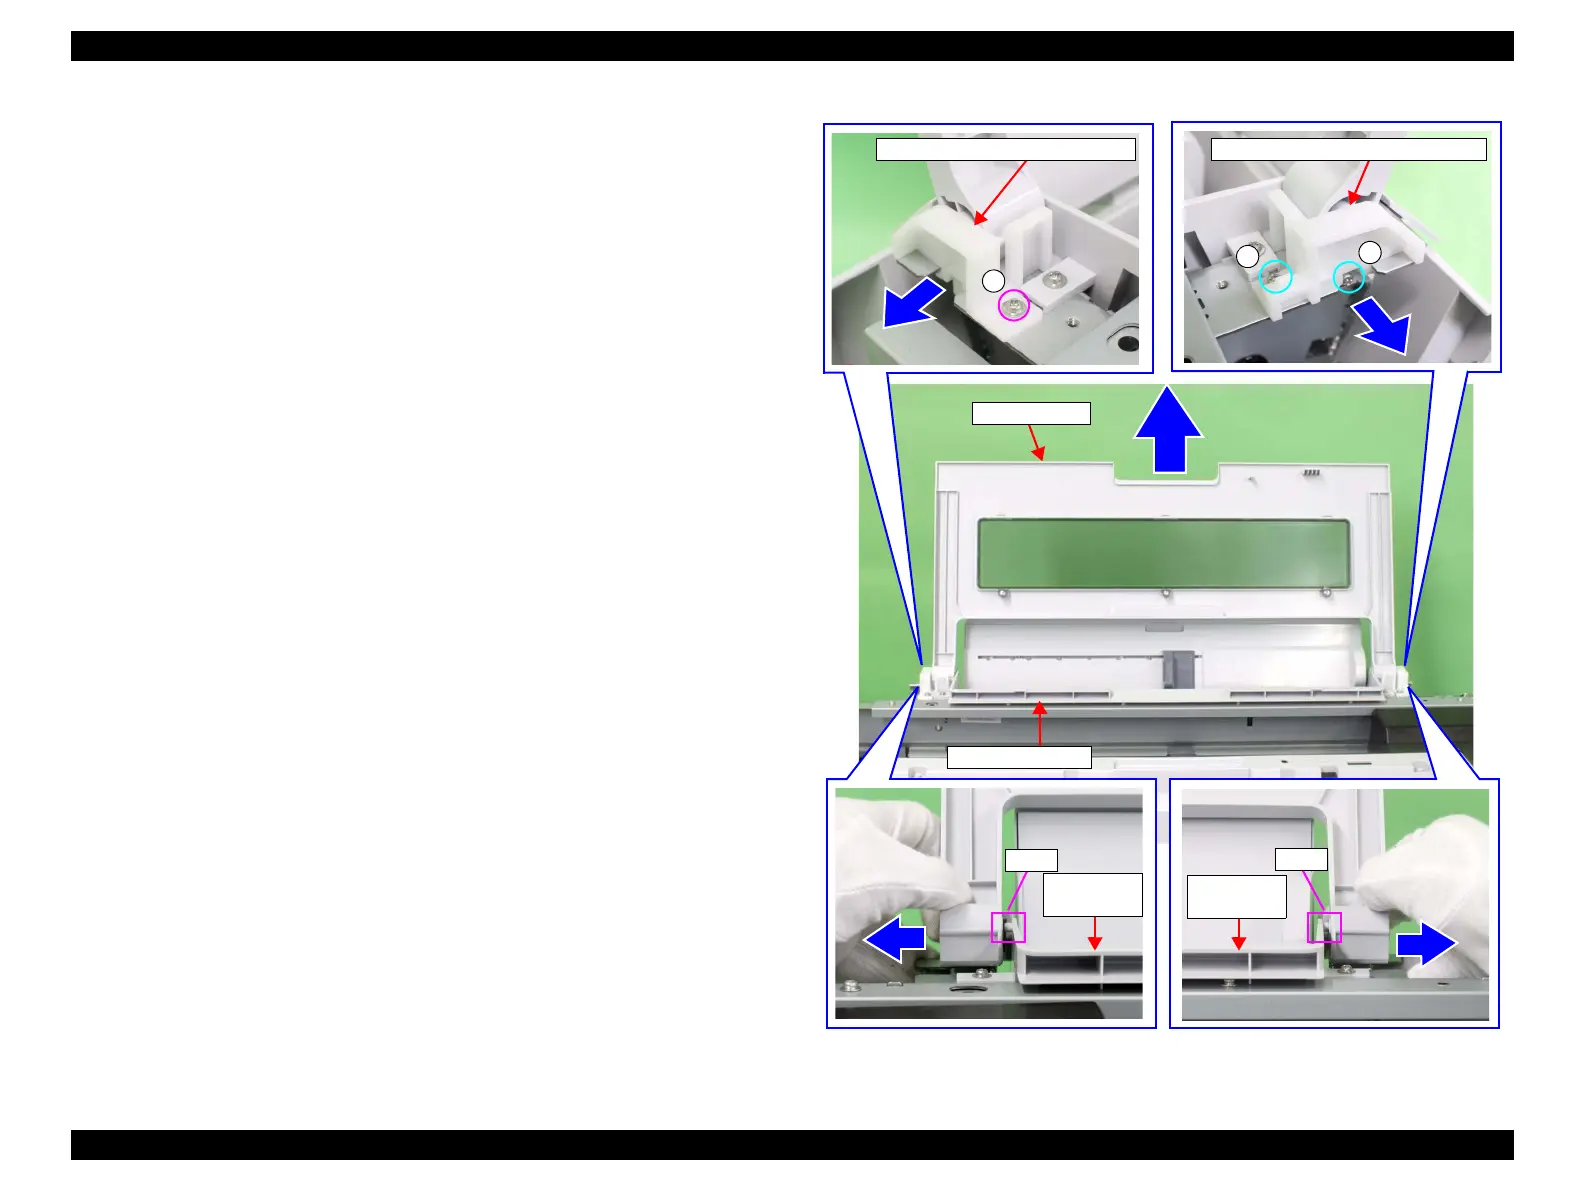
6. Remove the screw that secures the SHAFT,COVER,PRINTER,LEFT.
A) Silver, Phillips, Round Washer Head S-tite M3x8: one piece
7. Remove the SHAFT,COVER,PRINTER,LEFT.
8. Remove the two screws that secure the SHAFT,COVER,PRINTER,RIGHT.
B) Silver, Phillips, Round Washer Head S-tite M3x8: two pieces
9. Remove the SHAFT,COVER,PRINTER,RIGHT.
10. Pull both sides of the Printer Cover outward to release it from the bosses of the
upper rear cover, and remove the Printer Cover.
Figure 3-29. Removing the Printer Cover
SHAFT,COVER,PRINTER,LEFT
SHAFT,COVER,PRINTER,RIGHT
A
B
B
Printer Cover
Upper rear cover
Boss
Boss
Upper rear
cover
Upper rear
cover
 Loading...


