Epson Stylus Pro 4900/Epson Stylus Pro 4910 Revision A
DISASSEMBLY & ASSEMBLY Disassembly and Assembly Procedure 242
Confidential
3.4.9.8 Full (Left) Side Cartridge Holder
1. Discharge ink. (p358)
2. Remove the Front Cover. (p142)
3. Remove the Control Panel Cover. (p136)
4. Remove the Right Upper Cover. (p138)
5. Remove the Right Cover. (p139)
6. Remove the Left Cover. (p137)
7. Remove the Media Eject Cover. (p148)
8. Remove the Left IC Cover Frame. (p140)
9. Unlock the carriage, and move the CR Unit to the left end. (p124)
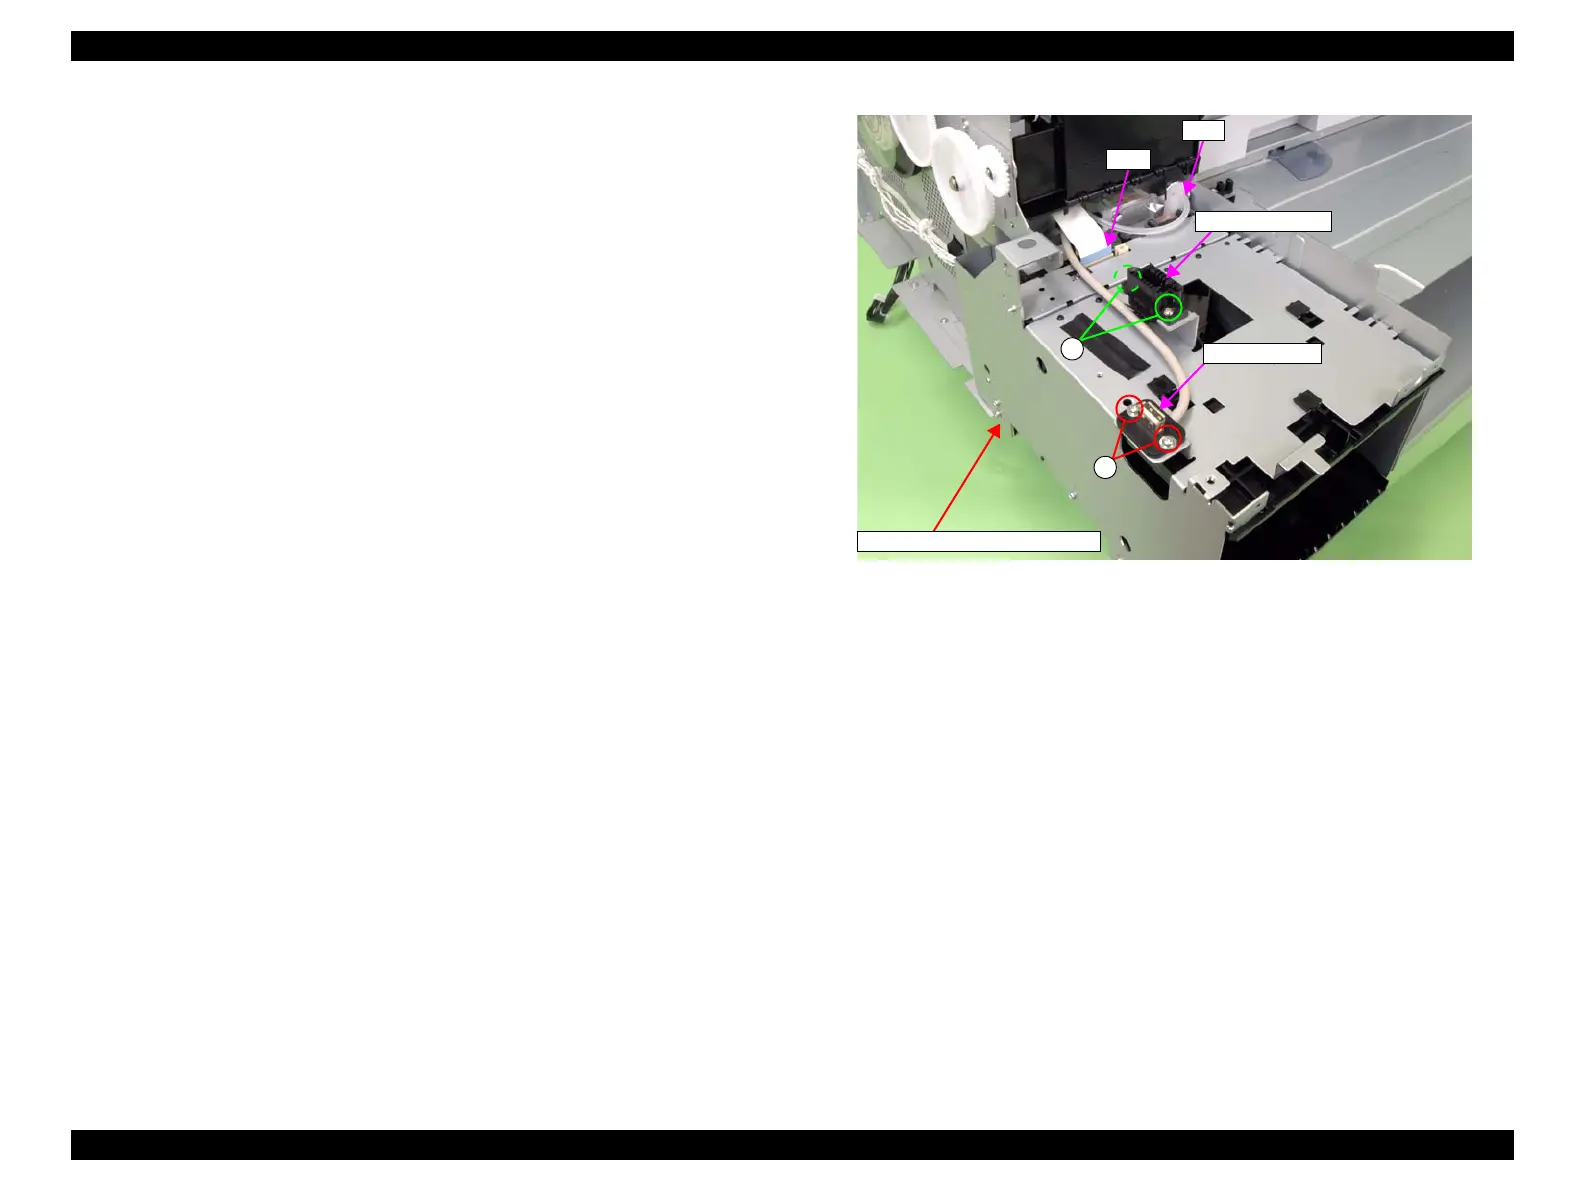
10. Disconnect the FFC and the tube from the Full (Left) Side Cartridge Holder.
11. Remove the two screws that secure the drawer connector, and disconnect the
drawer connector.
A) SCREW,M3,STEP TYPE: two pieces
12. Remove the two screws that secure the USB connector, and disconnect the USB
connector.
B) Silver, Phillips, Round Washer Head S-tite M3x8: two pieces
Figure 3-177. Disconnecting the connector
FFC
Drawer connector
USB connector
B
A
Full (Left) Side Cartridge Holder
Tube
 Loading...


