Epson Stylus Pro 4900/Epson Stylus Pro 4910 Revision A
ADJUSTMENT Media Feed Related Checks and Adjustments 383
Confidential
4.13.10 Suction Check & Adjustment
REQUIRED TOOLS
Plastic tube of 3.2 to 3.5 mm inside diameter
(Soft and clear tube is recommended.)
Ruler of about 10 cm length
Plate for mounting the tube (e.g. CD case)
Tape
Marking pen
Water
Paper: Premium Glossy Photo Paper (250)
(16 inches)
STANDARD VALUE
25 ± 2 mm (250 ± 20Pa)
EXECUTION MODE
Normal Mode
PREPARATION
Create the following items for the check and adjustment.
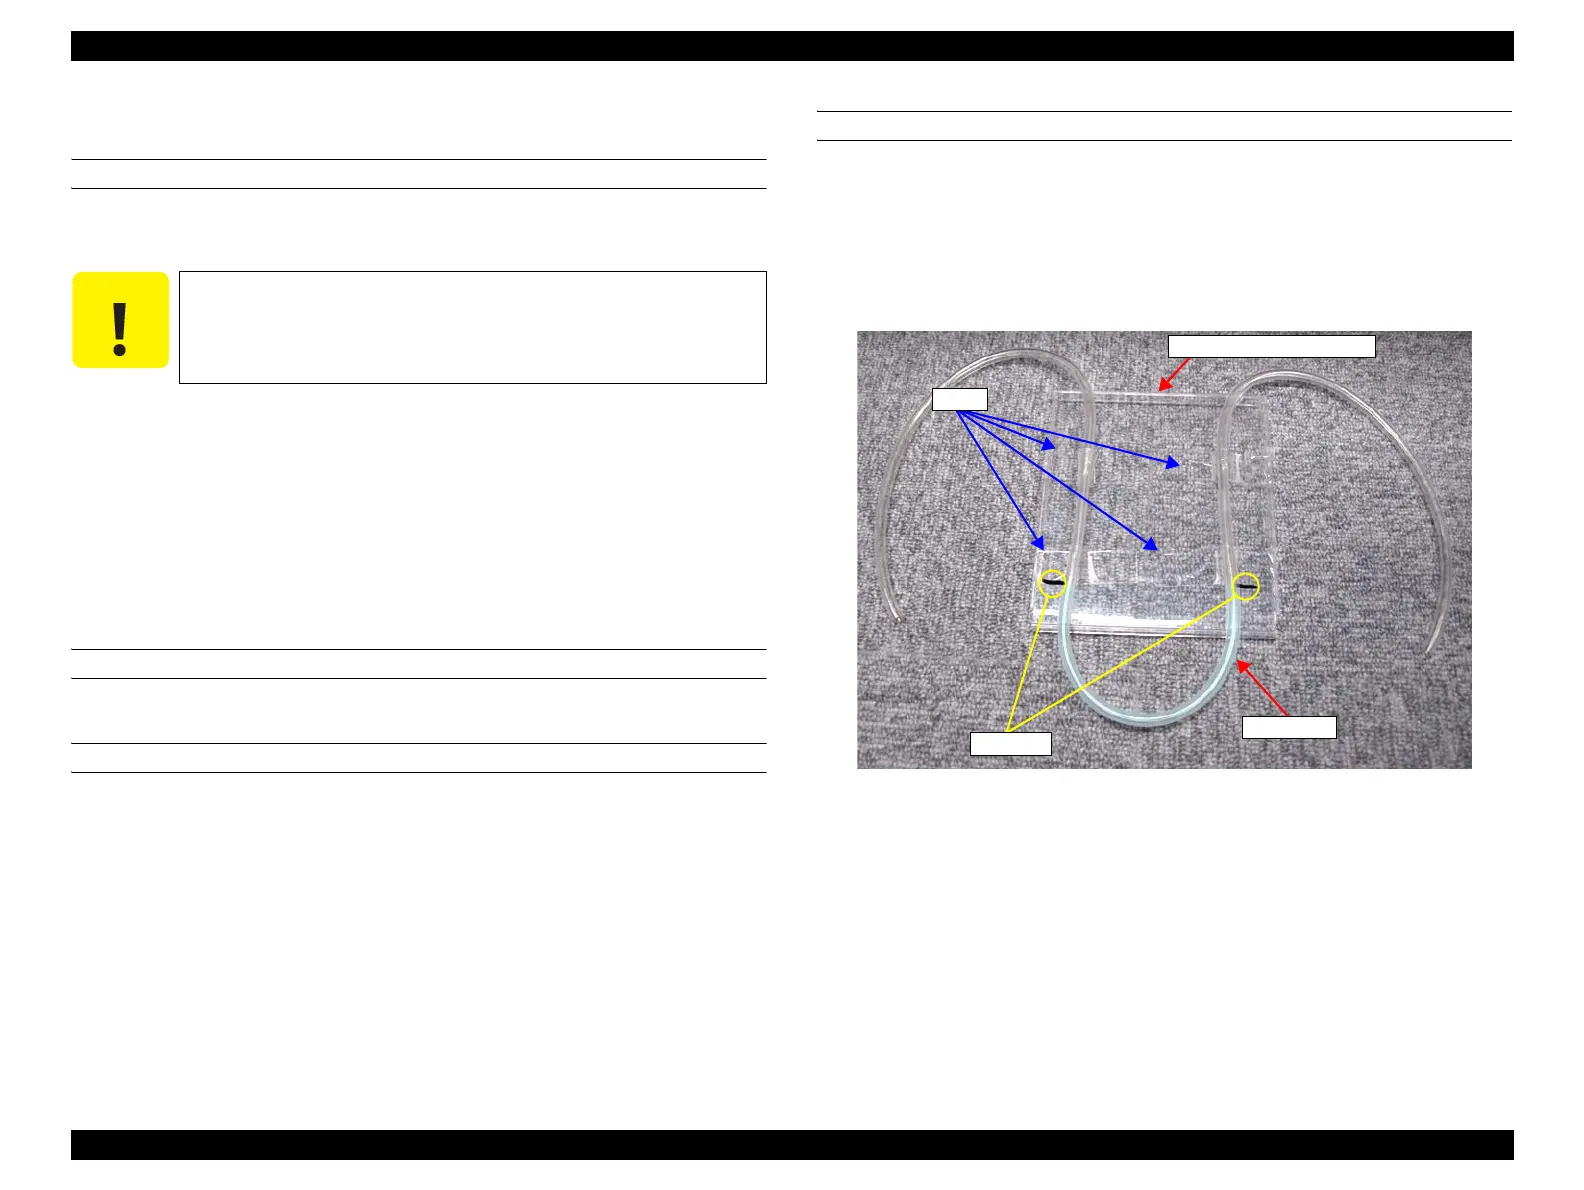
Measurement jig
1. Put a small amount of water into the plastic tube.
2. Attach and secure the plastic tube to the plate with the tape.
3. Mark the position of the water surface on the plate with the marking pen.
Figure 4-92. Creating the measurement jig
Paper for clogging the sucking hole
Cut the paper into 41cm x 7 cm size.
C A U T I O N
The edge of the tube has to be flat. If the edge of the tube cut by the
scissors is not flat, air may be leaked and the suction power may not
be measured correctly.
Plate for mounting the tube
Plastic tube
Markings
Tapes
 Loading...


