Epson Stylus Pro 4900/Epson Stylus Pro 4910 Revision A
ADJUSTMENT CR Related Check & Adjustments 321
Confidential
4.10.3 PG Height Check & Adjustment
REQUIRED TOOLS
PG Height Adjustment Jig
STANDARD VALUE
1.55 pass
1.65 stop
EXECUTION MODE
Normal Mode
PROCEDURE
1. Turn the printer ON.
2. When any paper is loaded, remove it.
3. Start the Service Program and press the [F11] key.
The lock of the CR Unit is released.
4. Open the Printer Cover.
5. Remove the CR Cover. (P. 149)
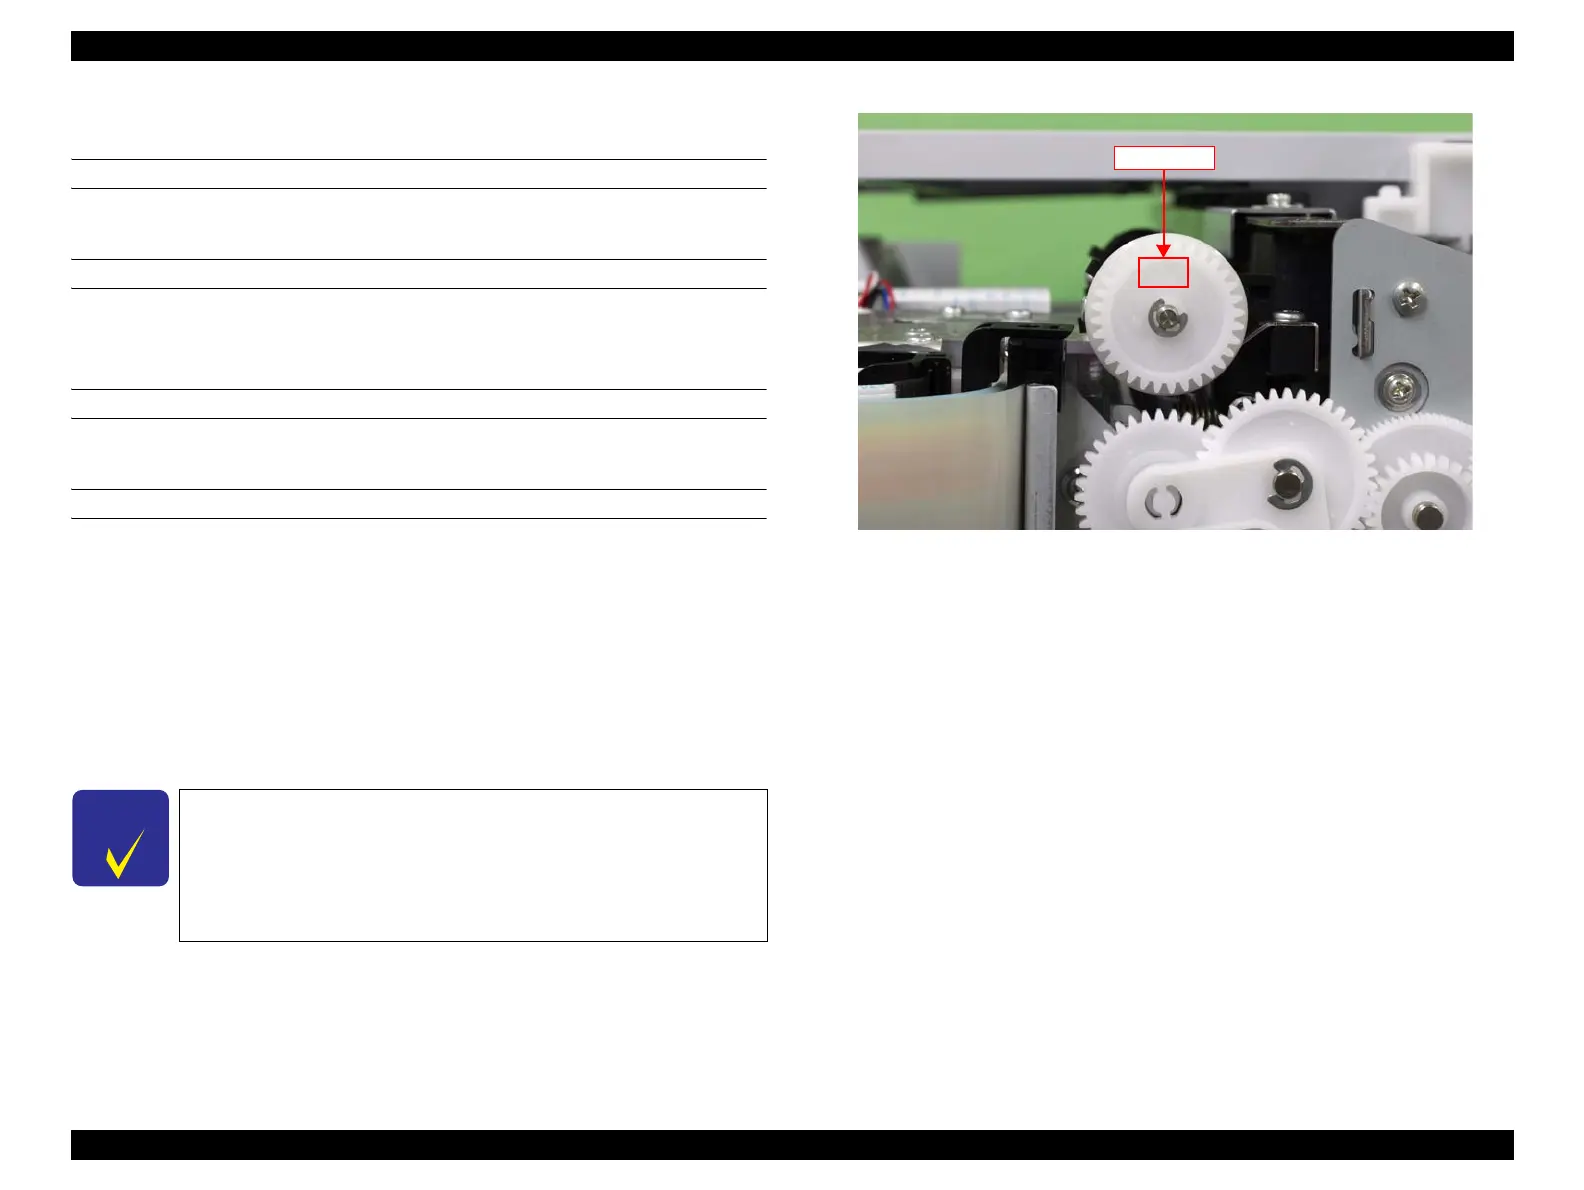
6. Check if the mark on top of the cam APG is [Typ].
Figure 4-26. Check position of the cam PG place
C H E C K
P O I N T
For this printer, first PG Height Check & Adjustment should be
done for both side of the Printhead on the Platen at the Home side,
then PG Height Check should be done for both sides of the
Printhead on the platen at the Full side. (The reference adjustment
should be done on the Platen at the Home side because the Platen at
the Full side has grooves for borderless printing.)
T
y
p
–
–
+
+
+
Mark on top
–
 Loading...


