Epson Stylus Pro 4900/Epson Stylus Pro 4910 Revision A
ADJUSTMENT Other Printer Checks and Adjustments 394
Confidential
4.15.2 Sensor Check
This menu checks if the sensor operates normally.
Preparation
1. Turn the printer ON in the Serviceman Mode.
Turn the power ON while pressing [Menu ] + [Paper Feed ] + [OK].
2. Start the Service Program and select Sensor Check.
3. Refer to Table 4-8 and perform the test per repaired part.
Confirmation method per part
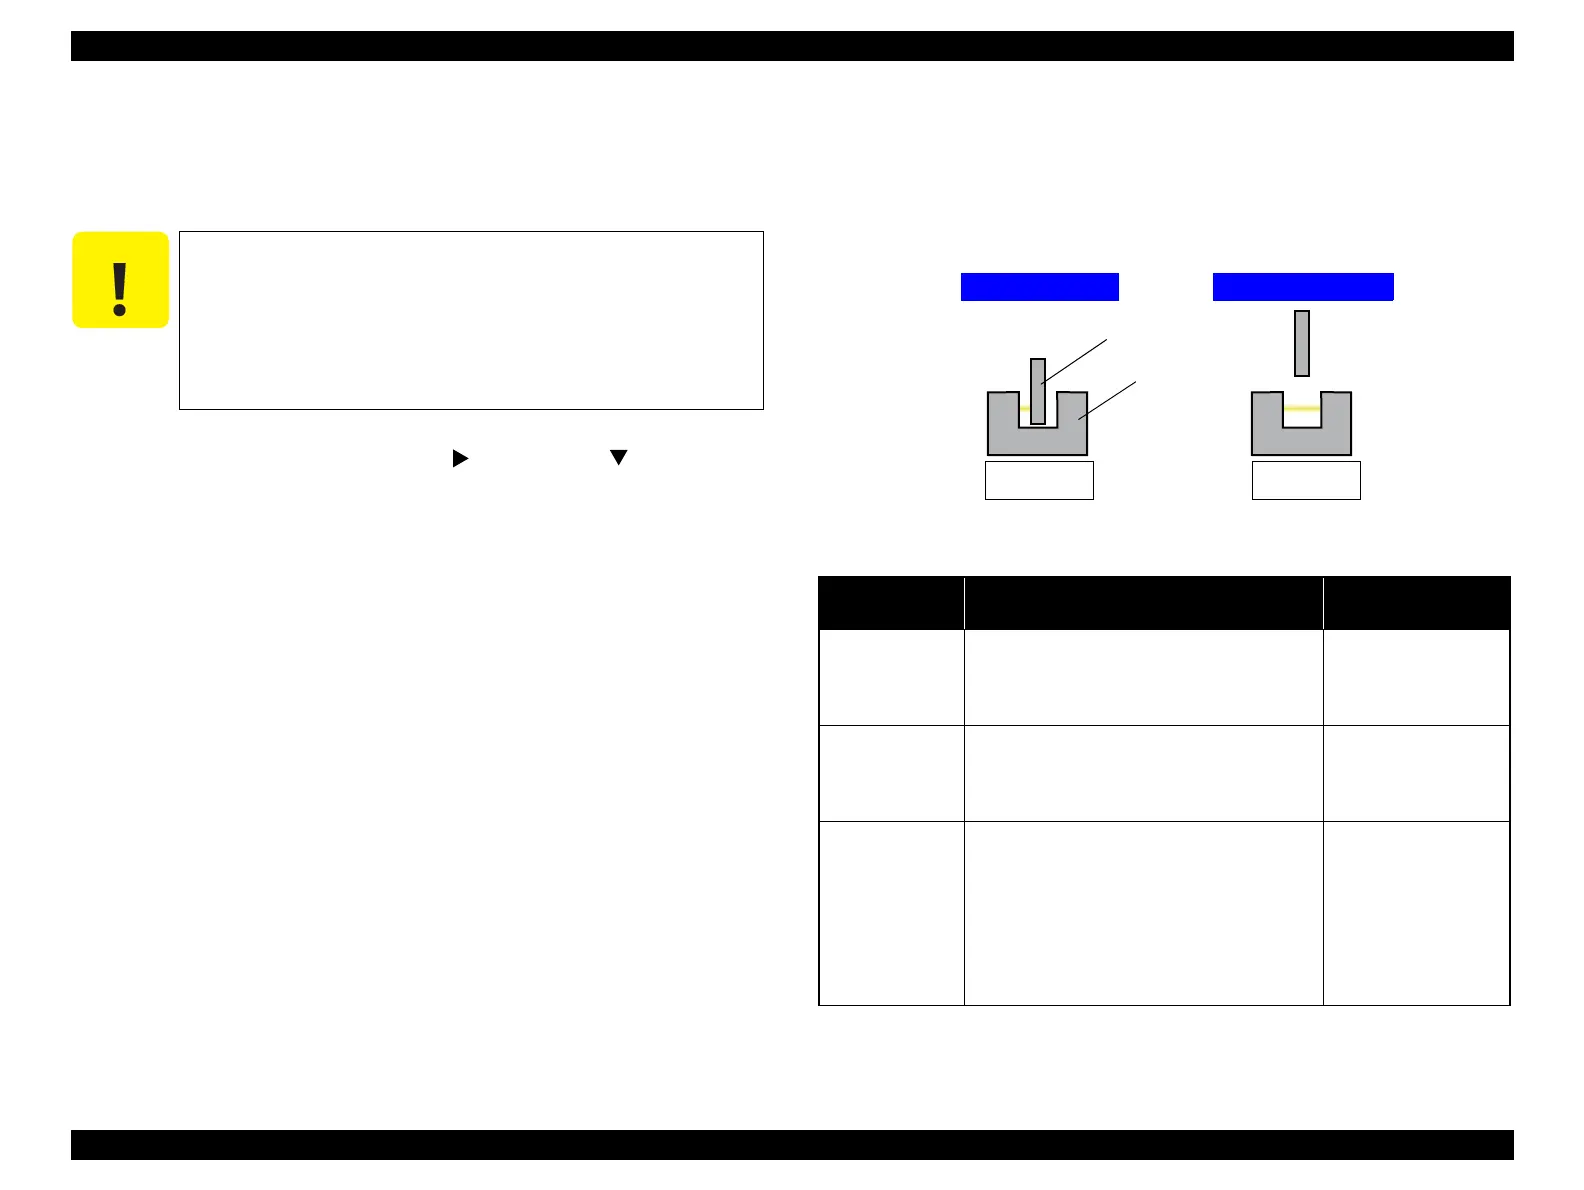
Click [Run] to switch the Sensor Check screen as follows.
Sensor with shading object: 01h
Sensor without shading object: 00h
Figure 4-107. Sensor Check
C A U T I O N
Make sure to execute Sensor Check after the printer is fully
activated. The result is not displayed if the check is executed
while the printer is not fully activated.
Make sure to turn the printer ON in the Serviceman Mode. If
the printer is turned ON in the Normal Mode, an error occurs
such as when opening/closing the cover and the Sensor Check
cannot be executed.
Table 4-8. Sensor Check
Repaired Part Procedure
Confirmation Screen
Display
PE Sensor
1. Select [PE Sensor].
2. Insert/remove paper from the manual paper
insertion opening.
The displayed value is
as the following.
Paper inserted < Paper
removed
2nd PE Sensor
1. Select [2nd PE Sensor].
2. Remove the Rear Unit. (P. 145)
3. Push/Release the actuator.
Pushed (With Paper):
01h
Released (No Paper):
00h
Thermistor
(Printhead)
1. Select [Thermistor (Printhead)].
2. Confirm the value (A/D value) displayed on
the screen, and compare it with the threshold
value on the right column.
Range of A/D value:
59<n<237
(The smaller the value
is, the higher the
temperature becomes.
The values out of the
range are regarded as
the fatal error.
With shading object
Screen display
01h
Screen display
00h
Without shading object
Sensor
Shading object
 Loading...


