Epson Stylus Pro 4900/Epson Stylus Pro 4910 Revision A
DISASSEMBLY & ASSEMBLY Disassembly and Assembly Procedure 252
Confidential
3.4.9.12 Right Holder FFC
1. Remove the Front Cover. (p142)
2. Remove the Control Panel Cover. (p136)
3. Remove the Right Upper Cover. (p138)
4. Remove the Right Cover. (p139)
5. Remove the Rear Cover. (p144)
6. Pull out the Board Tray. (Step 3 to Step 5 in “3.4.2.13 Board Tray” (P. 147))
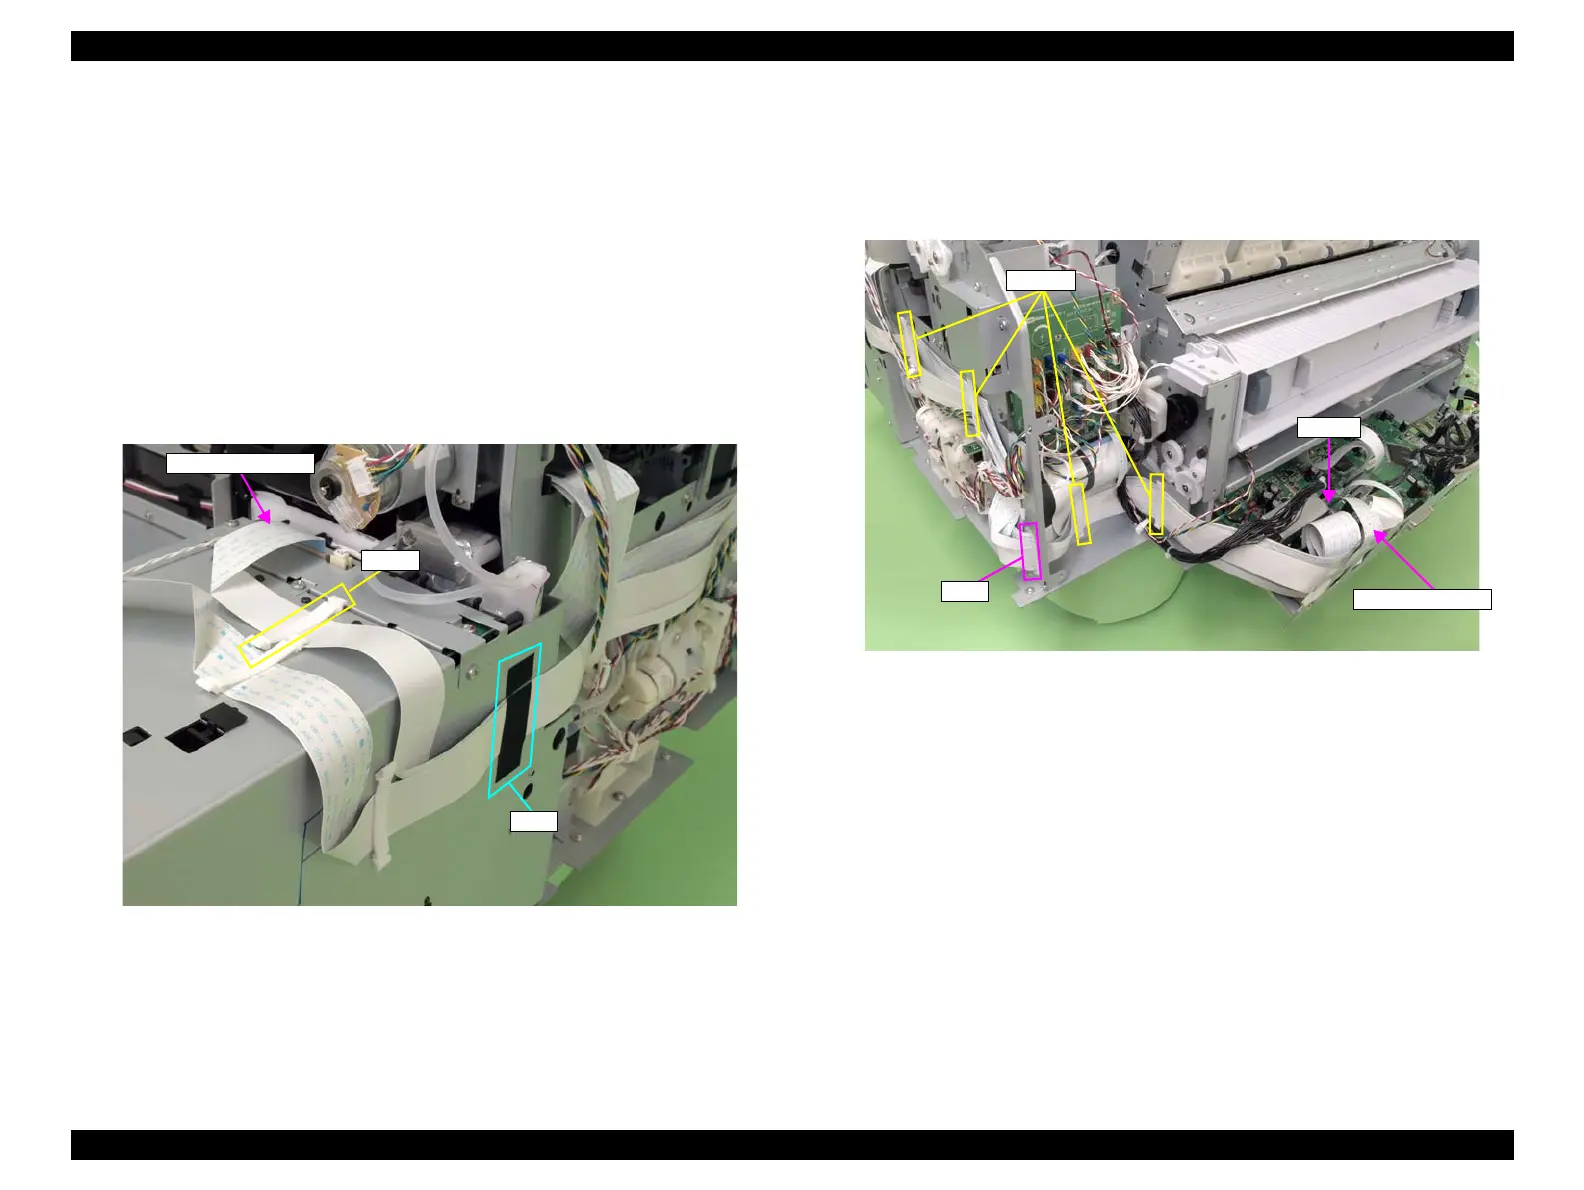
7. Disconnect the Right Holder FFC from the Home (Right) Side Cartridge Holder.
8. Release the Right Holder FFC from the clamp and the tape.
Figure 3-188. Disconnecting the FFC
9. Release the Right Holder FFC from the four clamps, and pull it out from the hole
of the main body frame.
10. Disconnect the Right Holder FFC (CN400) from the Main Board, and remove the
Right Holder FFC.
Figure 3-189. Removing the Right Holder FFC
Right Holder FFC
Clamp
Tape
Right Holder FFC
Hole
CN400
Clamps
 Loading...


