Epson Stylus Pro 4900/Epson Stylus Pro 4910 Revision A
DISASSEMBLY & ASSEMBLY Disassembly and Assembly Procedure 189
Confidential
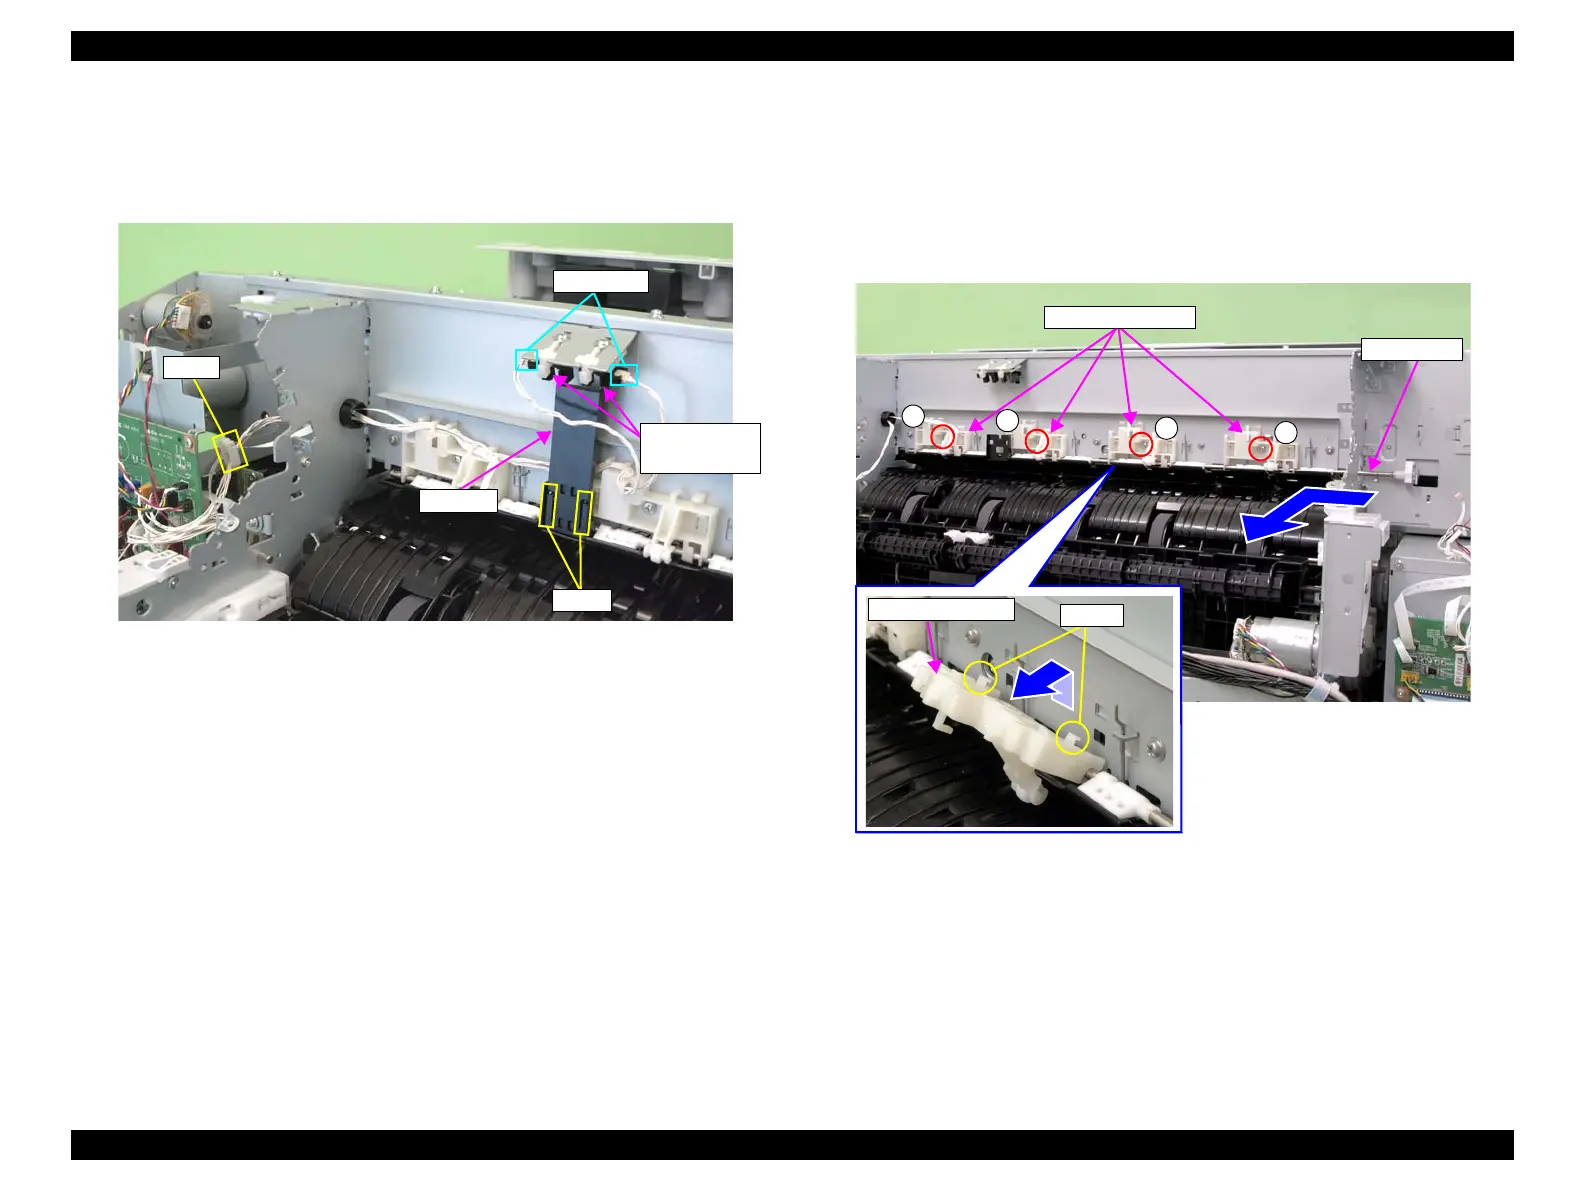
15. Disengage the two hooks, and remove the actuator of the Paper Thickness Sensor.
16. Disconnect the two connectors from the Paper Thickness Sensor.
17. Release the harness from the clamp.
Figure 3-102. Removing the actuator
18. Remove the four screws that secure the release shaft holder.
C) Silver, Phillips, Bind machine screw M3x6: four pieces
19. Disengage the four hooks of the release shaft holder from the holes of the main
body frame.
20. Slide the release shaft to the left to remove it.
Figure 3-103. Removing the release shaft holder
Hooks
Connectors
Paper Thickness
Sensor
Clamp
Actuator
C
Release shaft holder
C
C
C
Release shaft
Release shaft holder
Hooks
 Loading...


