Epson Stylus Pro 4900/Epson Stylus Pro 4910 Revision A
DISASSEMBLY & ASSEMBLY Disassembly and Assembly Procedure 177
Confidential
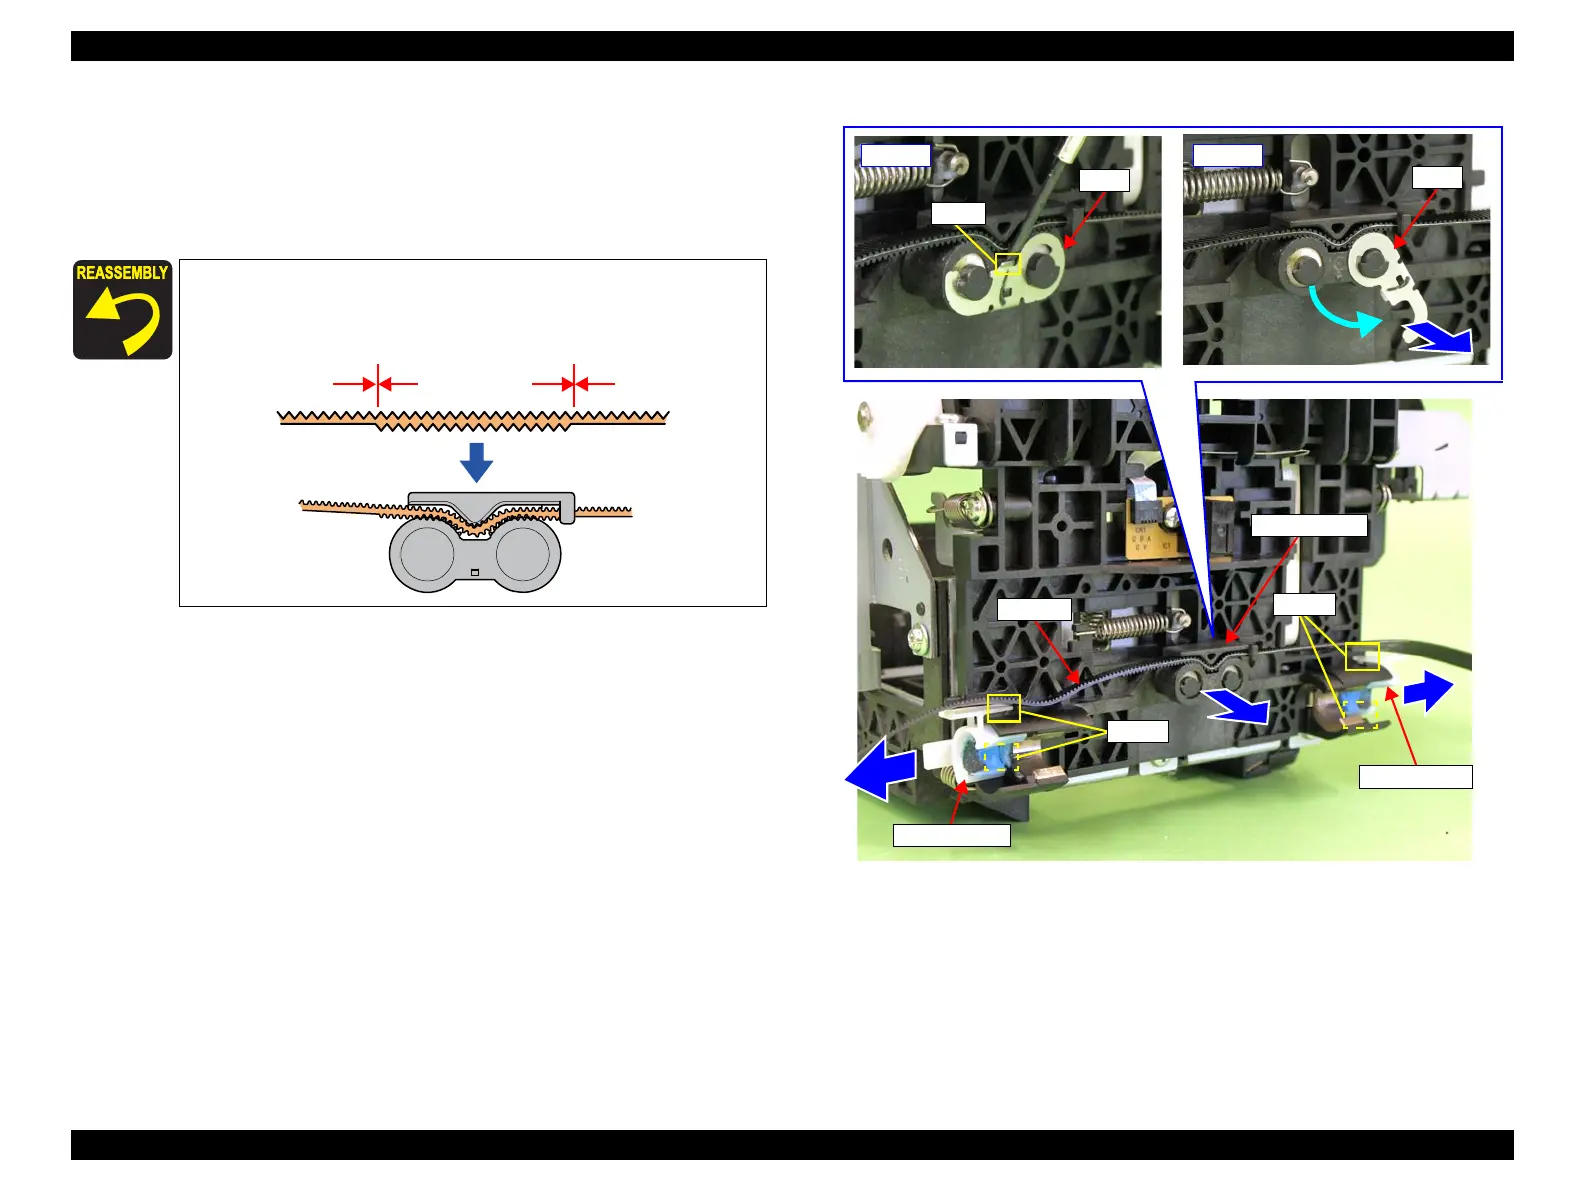
21. Pull up the center of the plate, and disengage the hook.
22. Turn the plate to the position shown in the figure, and remove it.
23. Remove the CR belt holder from the CR Unit.
24. Remove the CR Belt from the CR belt holder.
25. Disengage the two hooks that secure the oil pad holder, and remove the two oil pad
holders.
Figure 3-88. Removing the CR Belt
Install the CR Belt as follows.
Face the tooth side as shown in the figure below.
Set the area with the gear on both sides to the CR belt holder.
Area with
the teeth on
both sides
Top: Teeth
Bottom: Flat
Top: Teeth
Bottom: Flat
Plate
Step 21 Step 22
CR belt holder
CR Belt
Oil pad holder
Oil pad holder
Hooks
Hooks
Hook
Plate
 Loading...


