Epson Stylus Pro 4900/Epson Stylus Pro 4910 Revision A
DISASSEMBLY & ASSEMBLY Disassembly and Assembly Procedure 266
Confidential
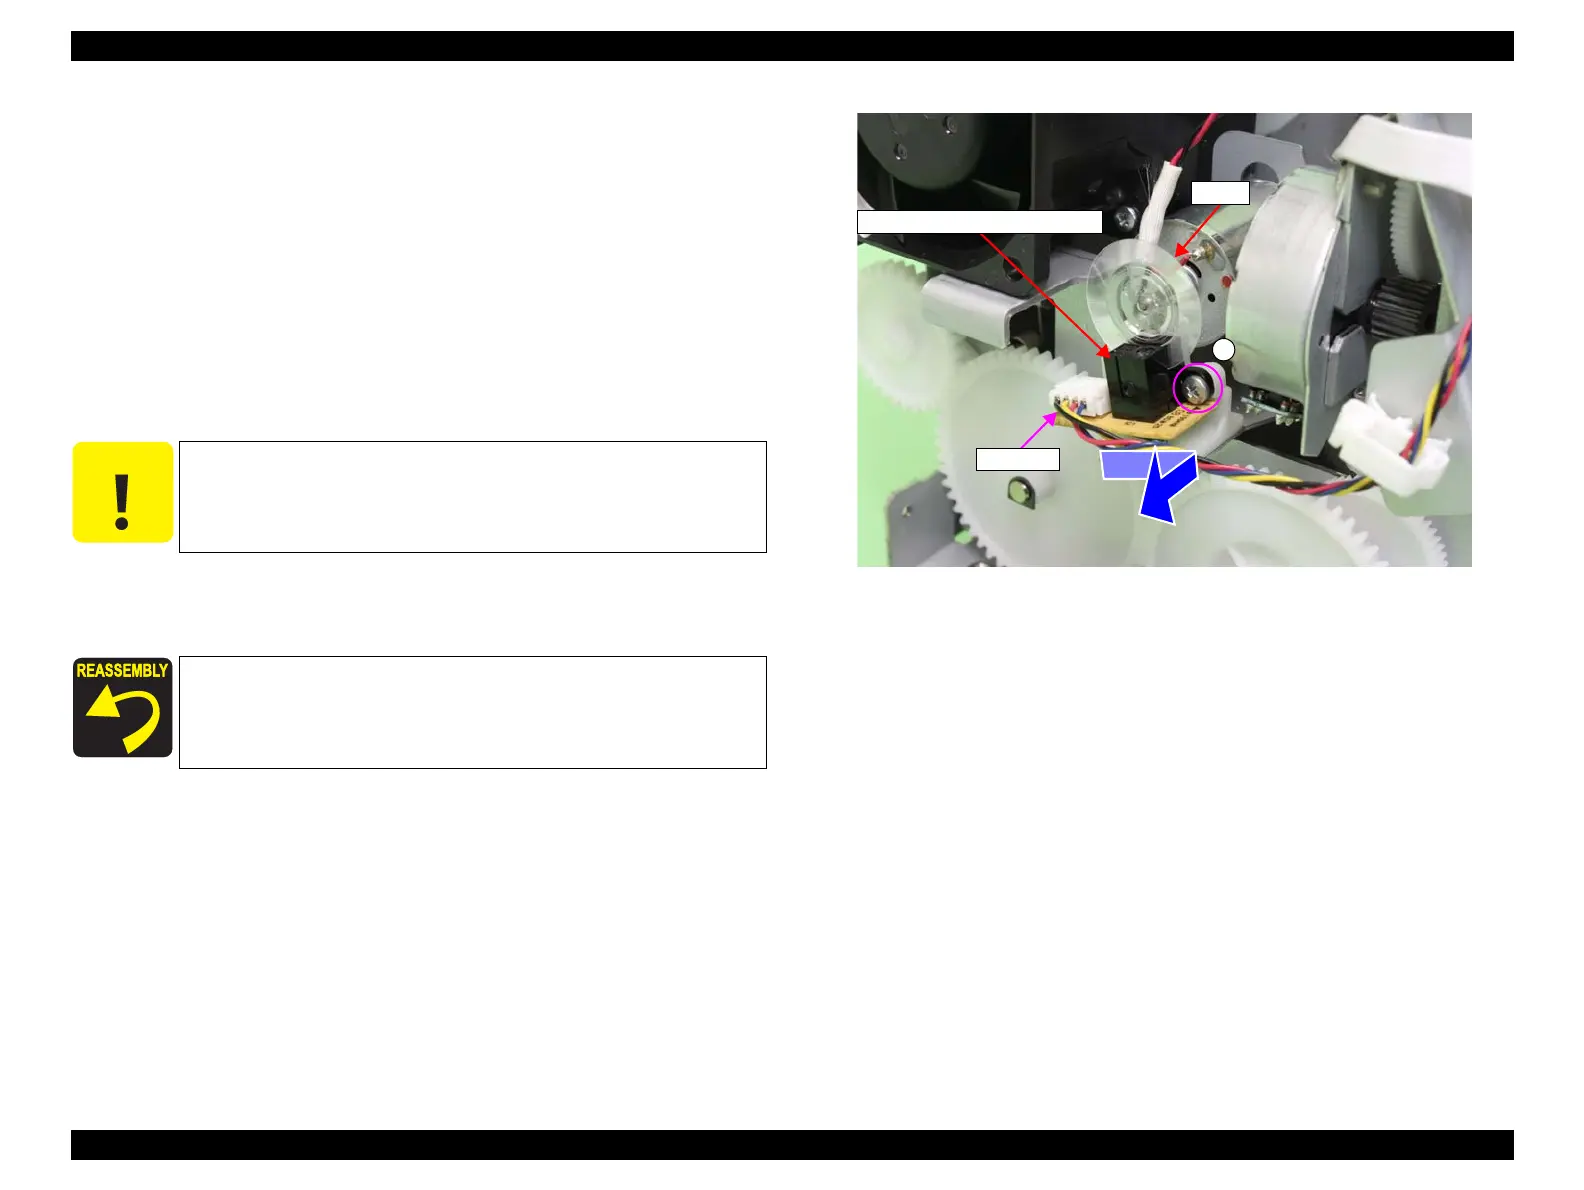
3.4.12.2 Encoder for paper pressing motor
1. Remove the Color Measurement Device. (p255)
2. Remove the Mounter. (p132)
3. Remove the Upper Cover. (p257)
4. Remove the I/F Cover. (p258)
5. Remove the Left Cover. (p260)
6. Disconnect the connector from the encoder for paper pressing motor.
7. Remove the screw that secures the encoder for paper pressing motor.
A) Silver, Phillips, Bind P-tite M2.6x8 (bit: No.1): one piece
8. Slide the Encoder for paper pressing motor in the direction of the arrow to remove
it.
Figure 3-208. Removing the encoder for paper pressing motor
C A U T I O N
When removing the encoder for paper pressing motor in the next
step, slide it to the right. Be careful not to damage the scale.
When installing the encoder for paper pressing motor, set it
securely until it clicks.
Connector
Encoder for paper pressing motor
A
Scale
 Loading...


