Epson Stylus Pro 4900/Epson Stylus Pro 4910 Revision A
DISASSEMBLY & ASSEMBLY Disassembly and Assembly Procedure 239
Confidential
3.4.9.7 Home (Right) Side Cartridge Holder
1. Discharge ink. (p358)
2. Remove the Front Cover. (p142)
3. Remove the Control Panel Cover. (p136)
4. Remove the Right Upper Cover. (p138)
5. Remove the Right Cover. (p139)
6. Remove the Left Cover. (p137)
7. Remove the Media Eject Cover. (p148)
8. Remove the Right IC Cover Frame. (p140)
9. Unlock the carriage, and move the CR Unit to the left end. (p124)
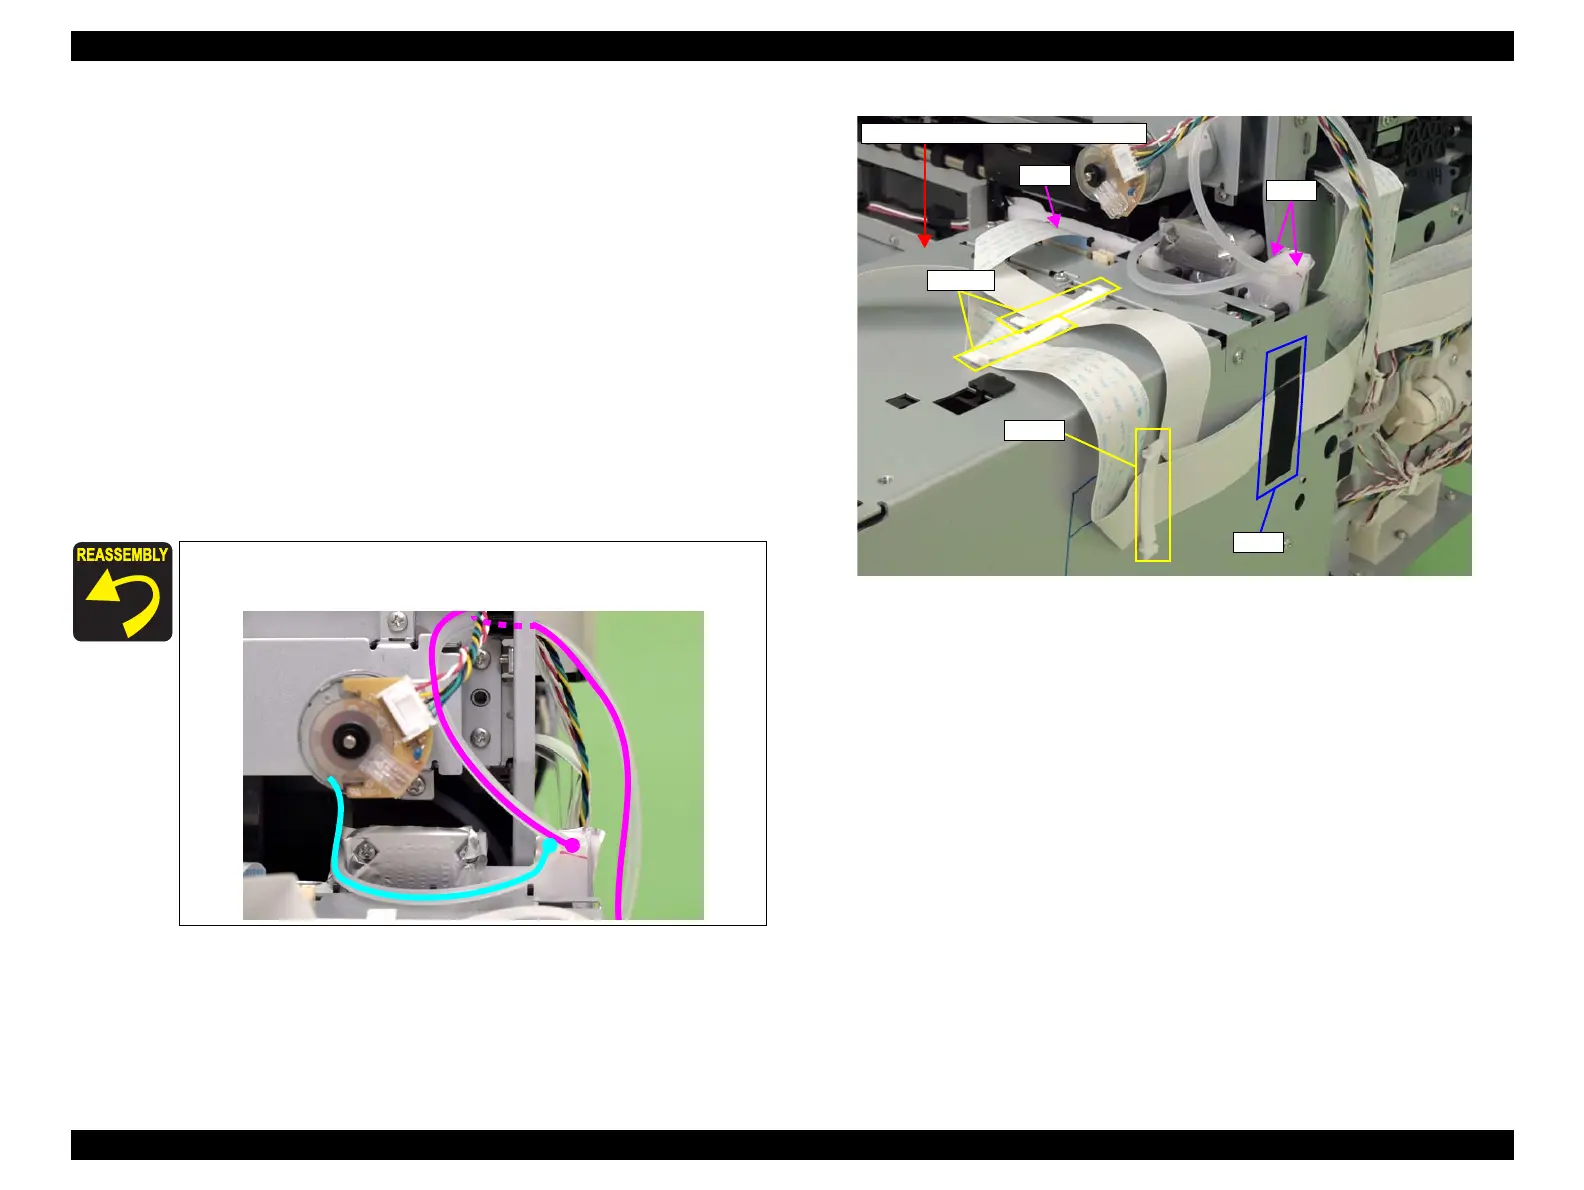
10. Disconnect the FFC and the two tubes from the Home (Right) Side Cartridge
Holder.
11. Release the FFC from the three clamps and the tape.
Figure 3-174. Disconnecting the connector
When connecting the tube, make sure to connect it correctly as
shown in the figure below.
FFC
Home (Right) Side Cartridge Holder
Tubes
Clamp
Clamps
Tape
 Loading...


