Epson Stylus Pro 4900/Epson Stylus Pro 4910 Revision A
ADJUSTMENT Boards Related Checks and Adjustments 387
Confidential
4.14.3 AID Function Check
PROCEDURE
1. Turn the printer ON.
2. Perform a nozzle check to confirm that there is no nozzle clogging.
3. Start the Service Program and select [ADJUSTMENT].
4. Select AID Function Check.
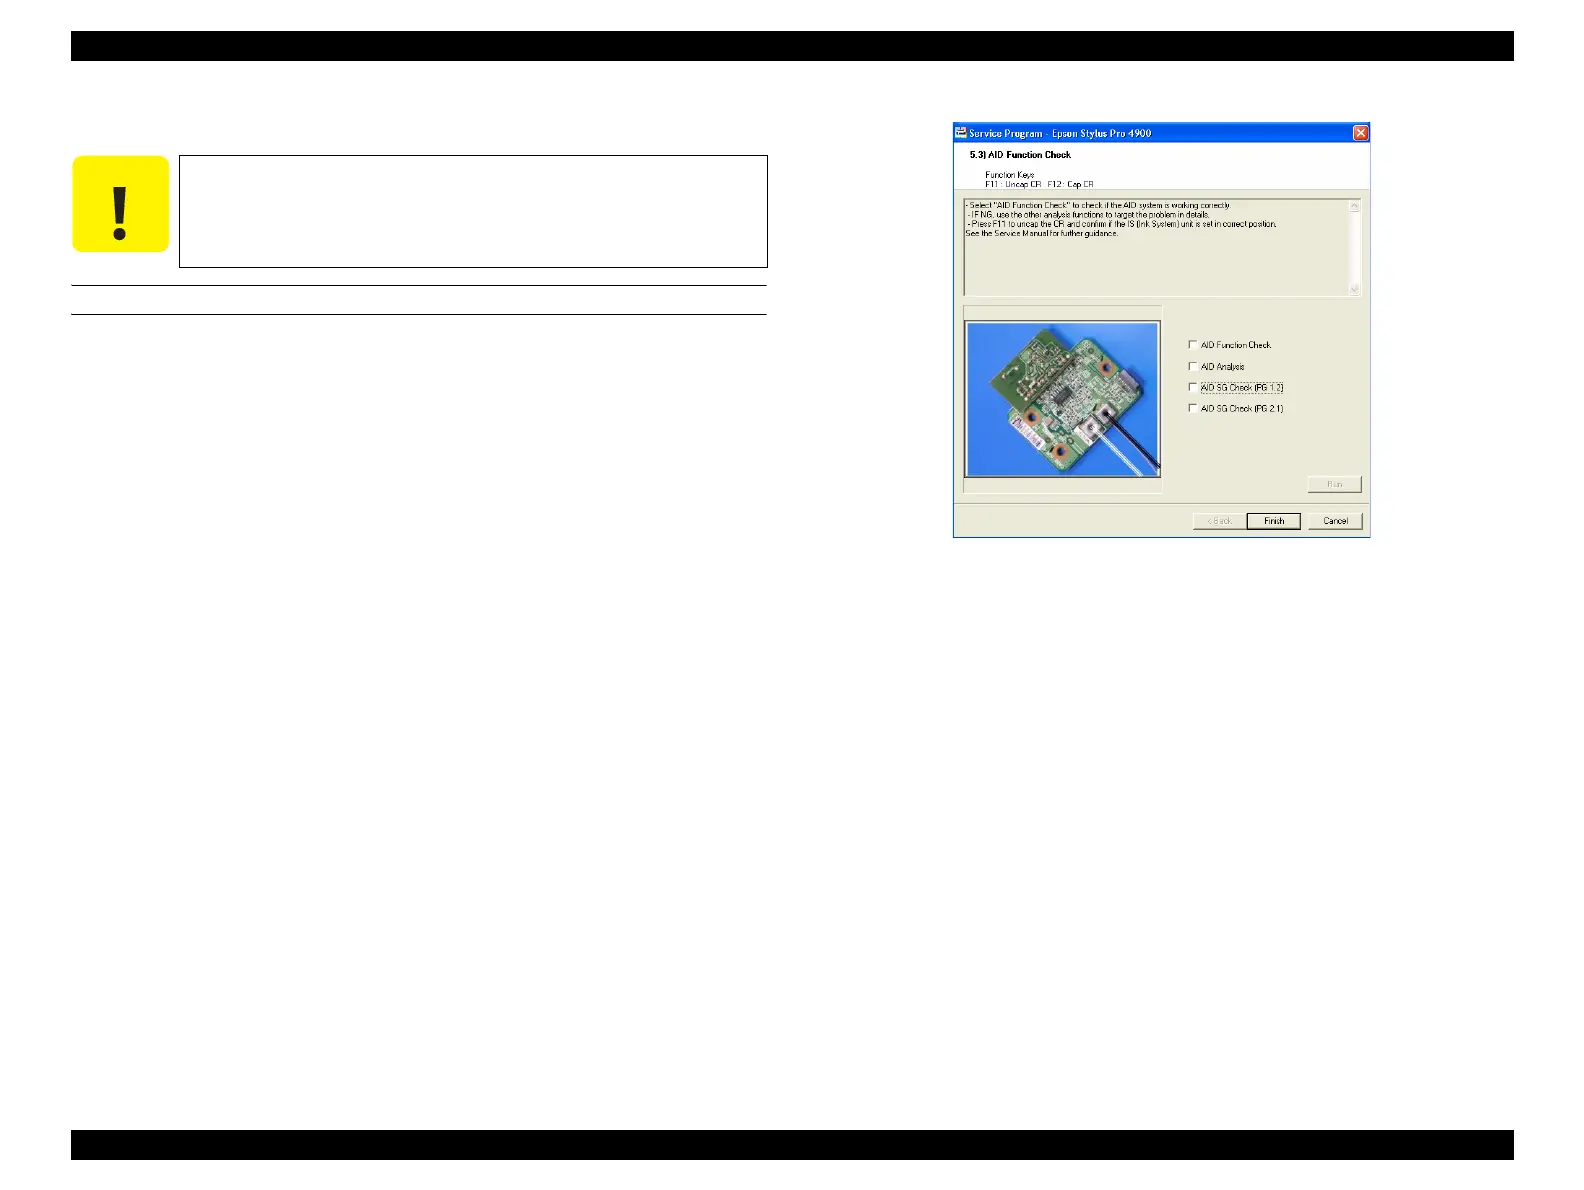
5. Execute AID Function Check on the AID Function Check screen.
6. Click [Run].
The result will be displayed on the screen after a while.
The result is OK: Go to Step 10
The result is NG1: Go to Step 7
The result is NG2: Go to Step 8
The result is NG3: Go to Step 9
7. Perform a nozzle check.
There is missing dot: Execute the cleaning. Return to Step 5
There is NO missing dot: Replace the AID Board. Return to Step 5
8. Check the harness (between the IS unit and the AID Board) for any abnormality
(P. 165). Return to Step 5.
9. Replace the AID Board
(P. 165). Return to Step 5.
10. Click [Finish].
11. Turn the printer OFF to finish the adjustment.
Figure 4-97. [AID Function Check] Screen
Figure 4-98. LCD Display Example
C A U T I O N
Before this check, make sure to perform a nozzle check to confirm
that there is no missing dot (P. 334).
 Loading...


