Epson Stylus Pro 4900/Epson Stylus Pro 4910 Revision A
DISASSEMBLY & ASSEMBLY Disassembly and Assembly Procedure 193
Confidential
3.4.5.8 PW Sensor
1. Remove the Front Cover. (p142)
2. Remove the Right Upper Cover. (p138)
3. Remove the Control Panel Cover. (p136)
4. Remove the Left Cover. (p137)
5. Remove the Right Cover. (p139)
6. Remove the APG Motor Assy. (p179)
7. Remove the CR Cover. (p149)
8. Unlock the CR Unit. (p124)
9. Remove the CR Scale. (p171)
10. Remove the Ink Selector Assy. (p229)
11. Remove the Printhead. (p232)
12. Remove the CR Unit. (Step 1 to Step 20 in “3.4.4.5 CR Unit/CR Belt” (P. 175))
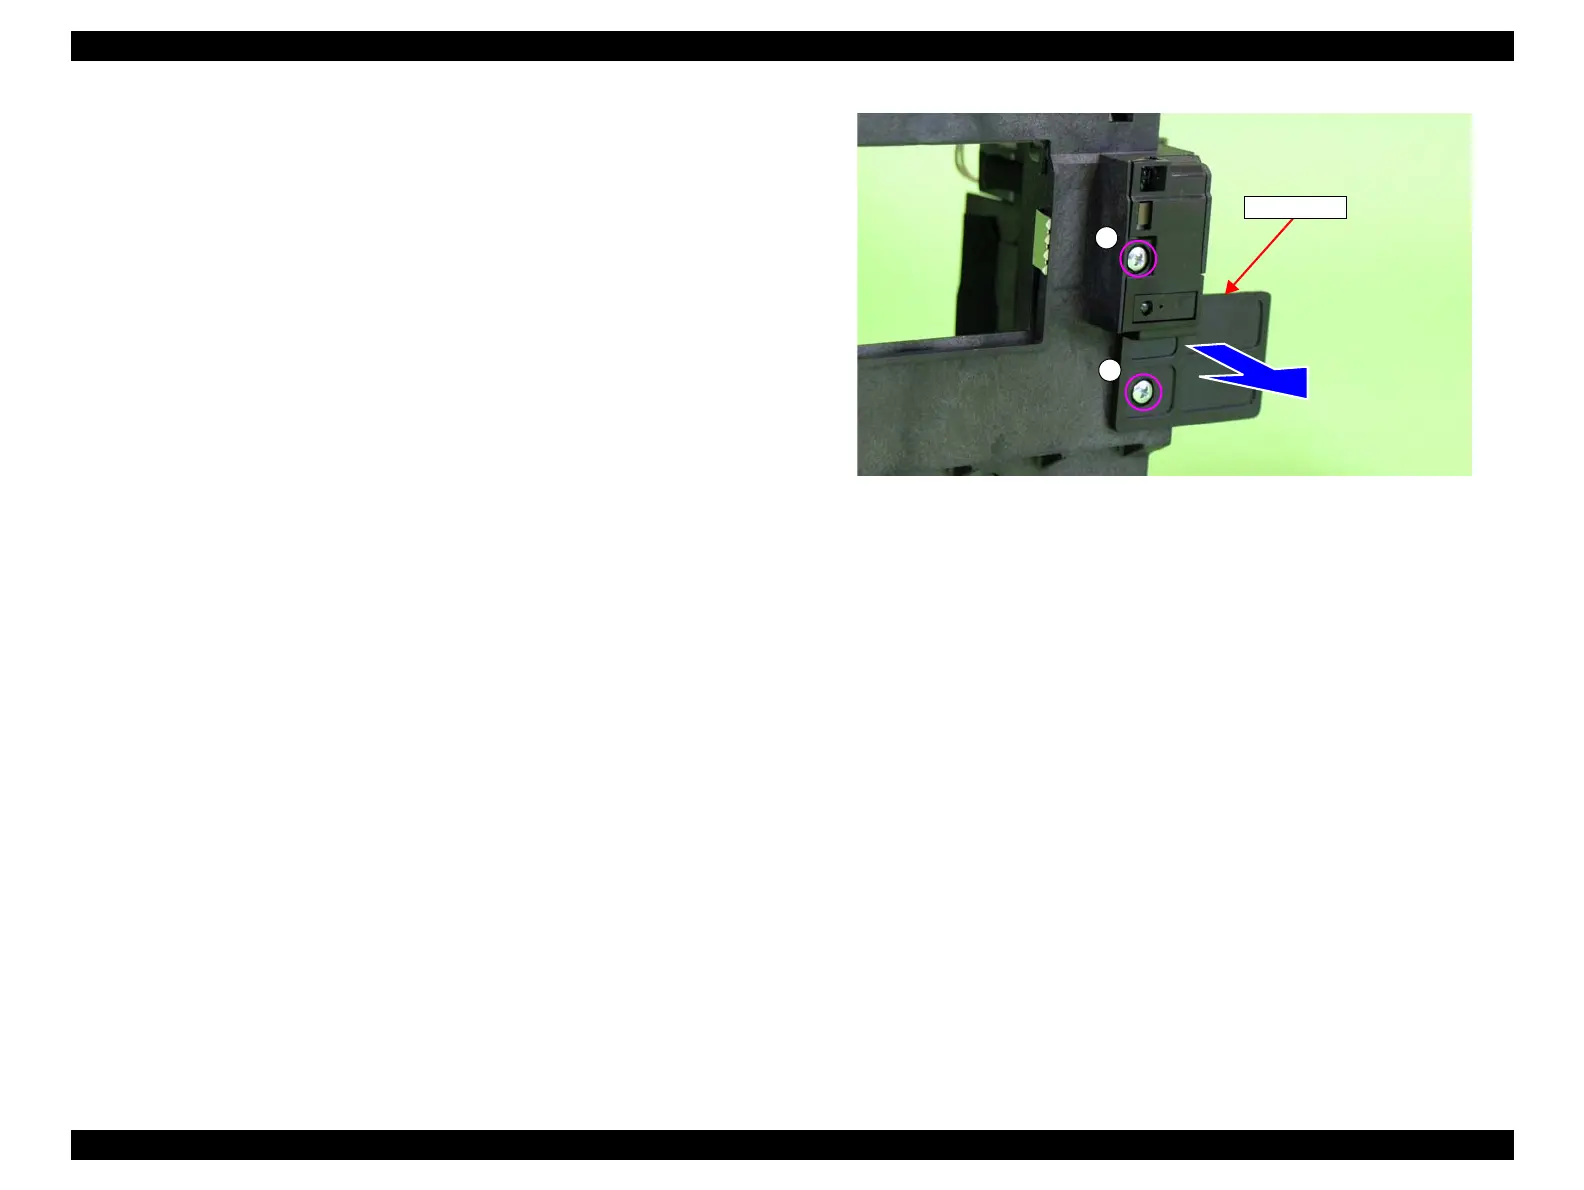
13. Remove the two screws that secure the sensor cover, and remove the sensor cover.
A) Silver, Phillips, Bind P-tite with S.W & P.W. M2.3x10 (bit: No.1): two pieces
Figure 3-111. Removing the sensor cover
Sensor cover
A
A
 Loading...


