Epson Stylus Pro 4900/Epson Stylus Pro 4910 Revision A
ADJUSTMENT Head Related Checks and Adjustments 337
Confidential
5. Press the [F11] key.
The lock of the CR Unit is released.
6. Open the Printer Cover.
7. Remove the Right Upper Cover. (P. 138)
8. Remove the CR Cover. (P. 149)
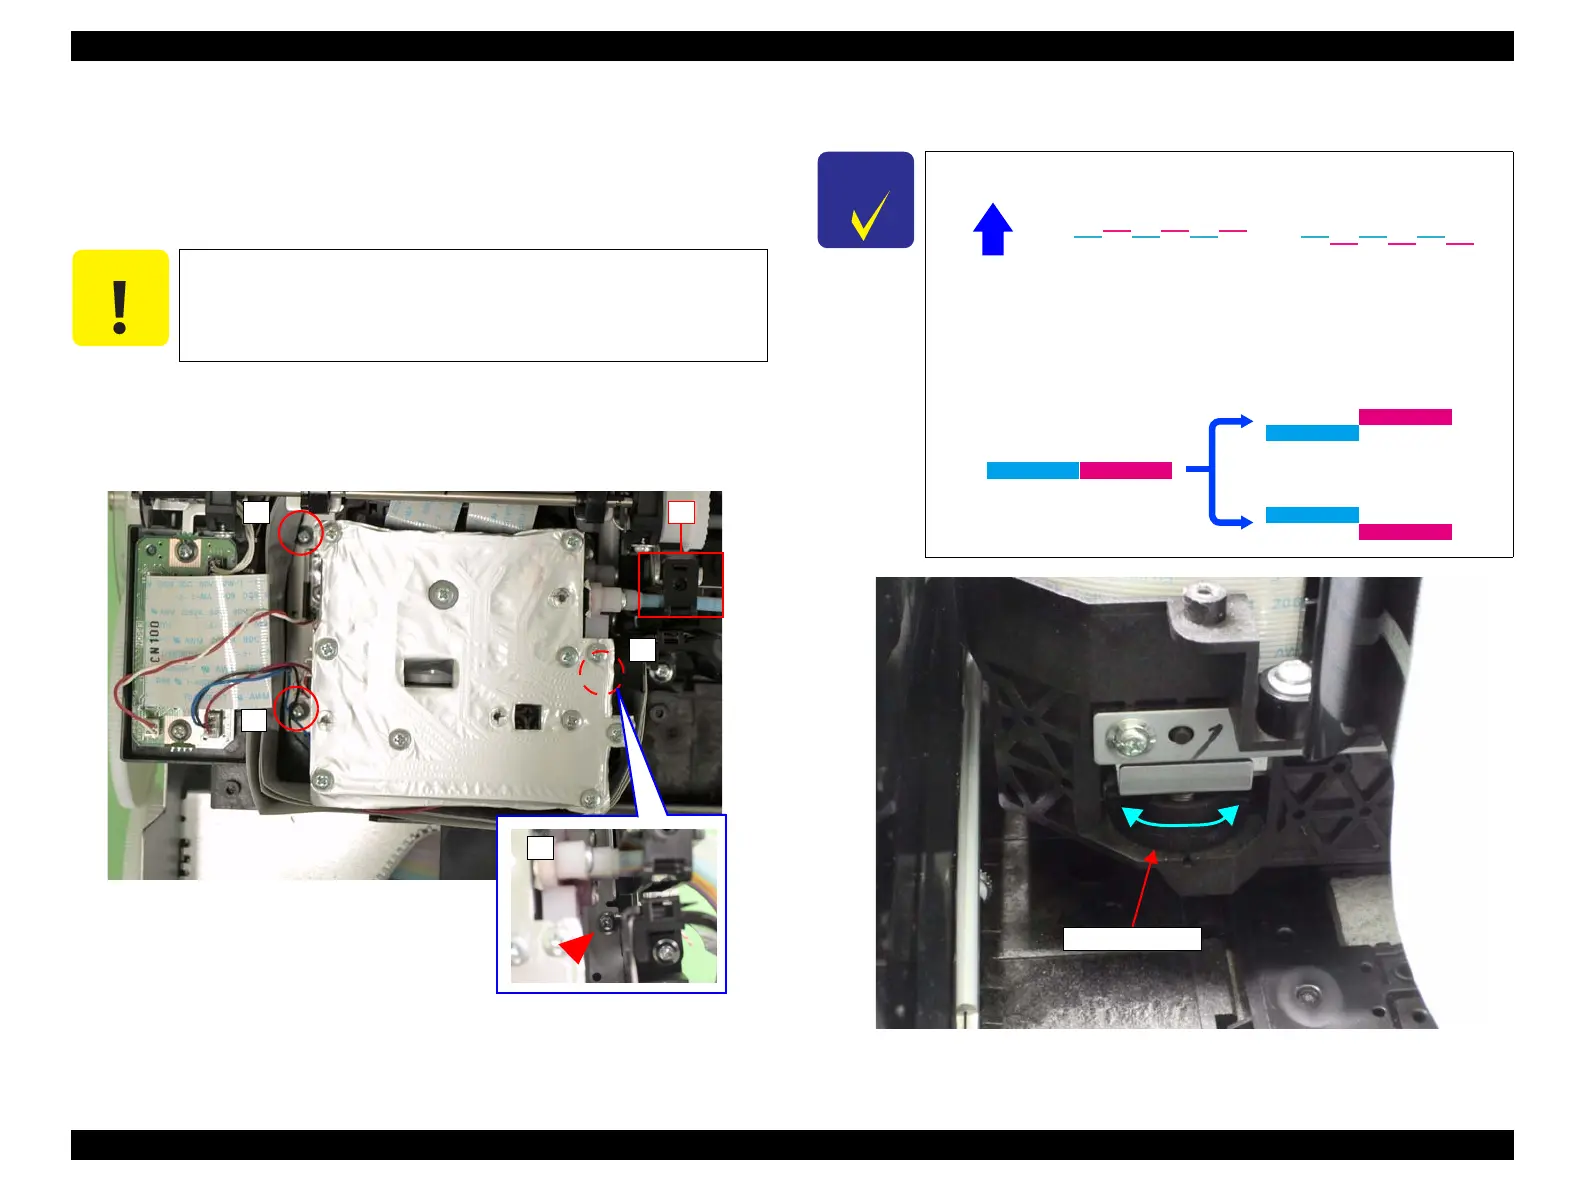
9. Lift the part A shown in Figure 4-44 to disengage the hook.
10. Loosen the three screws a quarter turn in the order shown in Figure 4-44.
Figure 4-44. Adjustment screws
11. Turn the adjustment dial to adjust the slant of the Printhead.
Figure 4-45. Adjustment dial
C A U T I O N
Be sure to execute the following steps with the CR Unit on the right
end. If the CR Unit is on the platen, the Printhead may be damaged.
3
1
2
A
1
C H E C K
P O I N T
See the following for the direction of rotation.
When turning the dial by five to six notches, the pattern slides
up or down by the line-height.
C line is below M line
Counterclockwise
C line is above M line
Clockwise
Paper Feed
Direction
Adjustment dial
 Loading...


