Epson Stylus Pro 4900/Epson Stylus Pro 4910 Revision A
ADJUSTMENT Other Printer Checks and Adjustments 398
Confidential
Printer Cover
Sensor
1. Select [Printer Cover Sensor].
2. Open/Close the Printer Cover.
Sensor Interrupted
(Cover Open):01h
Sensor not Interrupted
(Cover Closed):00h
IS Unit HP Sensor
1
1. Select [IS Unit HP Sensor 1].
2. Press the [F11] key to uncap the Printhead.
Or press the [F12] key to cap.
Cap: 01h
Uncap: 00h
IS Unit HP Sensor
2
1. Select [IS Unit HP Sensor 2].
2. Press the [F11] key to uncap the Printhead.
Or press the [F12] key to cap.
Cap: 01h
Uncap: 00h
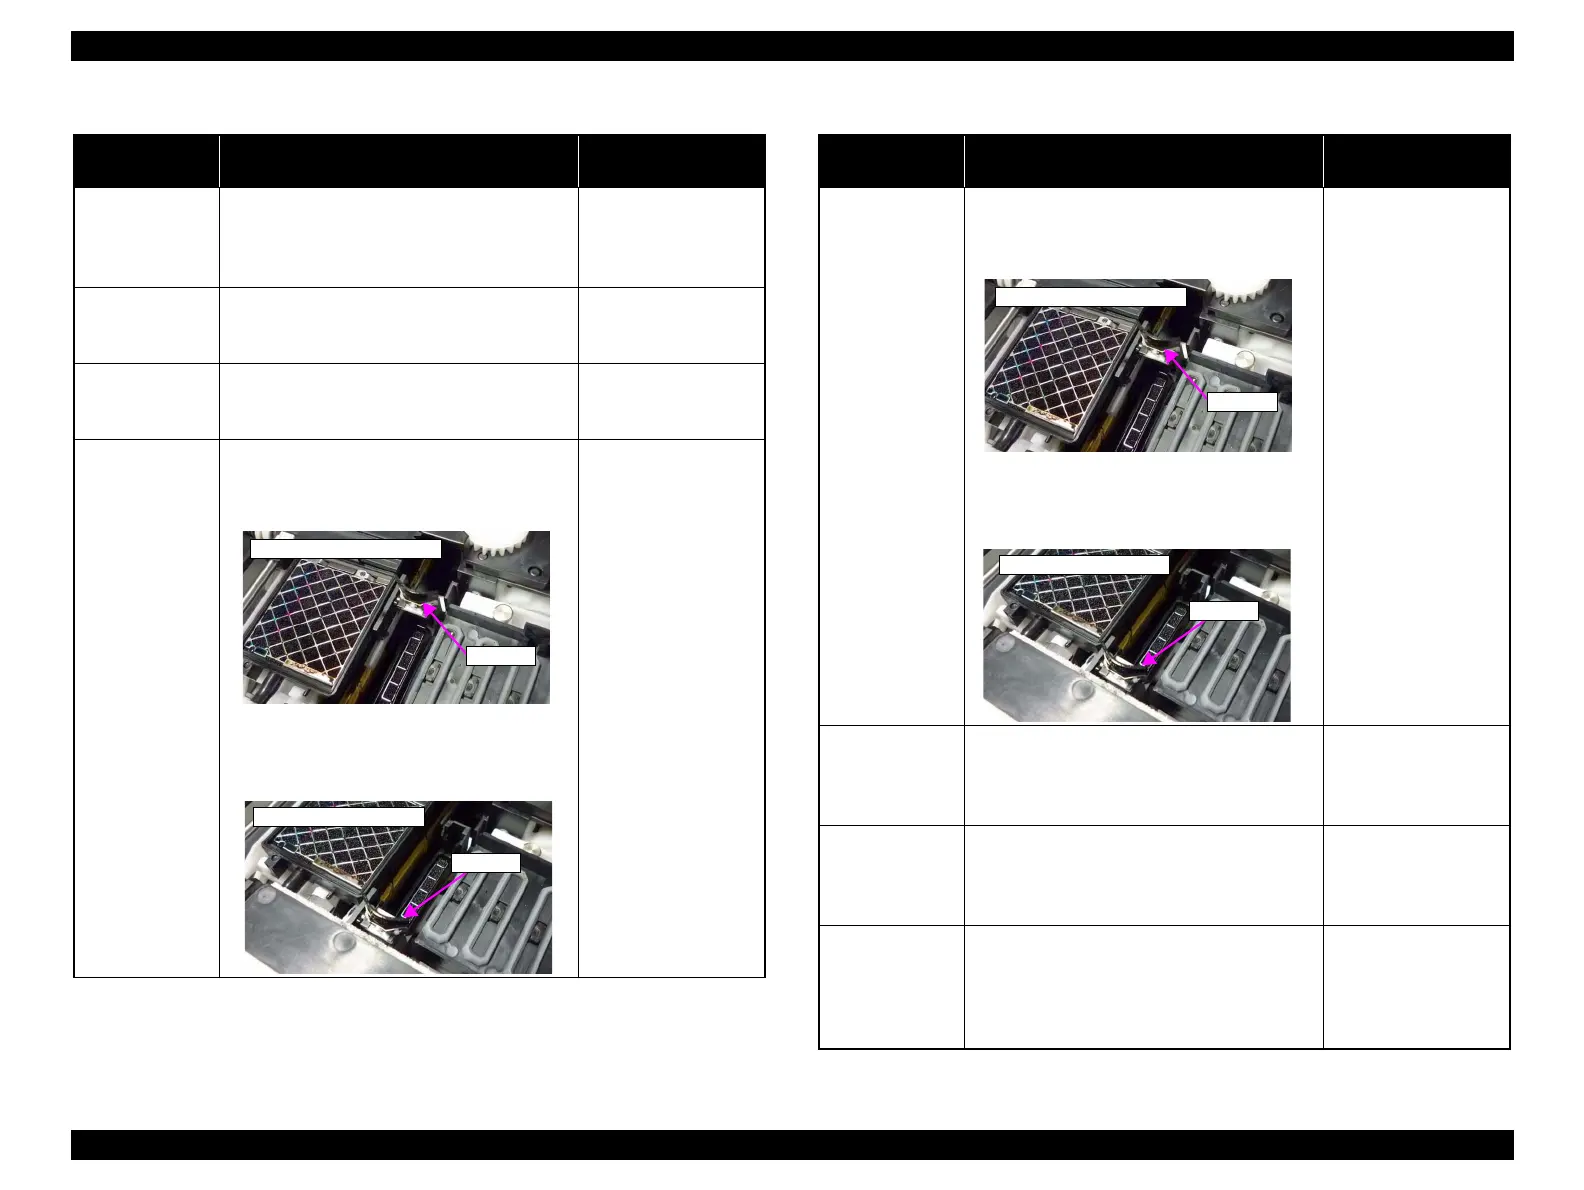
Wiper & Cap
Sensor 1
1. Select [Wiper & Cap Sensor 1].
2. Rotate the gear manually to move the Wiper
to the “Wiping Start” position.
3. Rotate the gear manually to move the Wiper
to the “Wiping End - Cleaning Wiper”
position.
“Wiping Start” position:
01h
“Wiping End position”:
00h
Table 4-8. Sensor Check
Repaired Part Procedure
Confirmation Screen
Display
Wiper
“Wiping Start” position
“Wiping End position”
Wiper
Wiper & Cap
Sensor 2
1. Select [Wiper & Cap Sensor 2].
2. Rotate the gear manually to move the Wiper
to the “Wiping Start” position.
3. Rotate the gear manually to move the Wiper
to the “Wiping End - Cleaning Wiper”
position.
“Wiping Start” position:
01h
“Wiping End position”:
00h
Right IC Sensor
1. Select [Right IC Sensor].
2. Open/Close the Right IC Cover.
Sensor not Interrupted
(Cover Open):01h
Sensor not Interrupted
(Cover Open):00h
Left IC Sensor
1. Select [Left IC Sensor].
2. Open/Close the Left IC Cover.
Sensor not Interrupted
(Cover Open):01h
Sensor Interrupted
(Cover Closed):00h
Release Sensor
1. Select [Release Sensor].
2. Remove the Left Cover. (P. 137)
3. Rotate the pinion gear of the Release Motor
to move the shading plate to the shading
position or transmission position.
Sensor Interrupted:01h
Sensor Interrupted:00h
Table 4-8. Sensor Check
Repaired Part Procedure
Confirmation Screen
Display
Wiper
“Wiping Start” position
Wiper
“Wiping End position”
 Loading...


