Epson Stylus Pro 4900/Epson Stylus Pro 4910 Revision A
ADJUSTMENT Other Printer Checks and Adjustments 397
Confidential
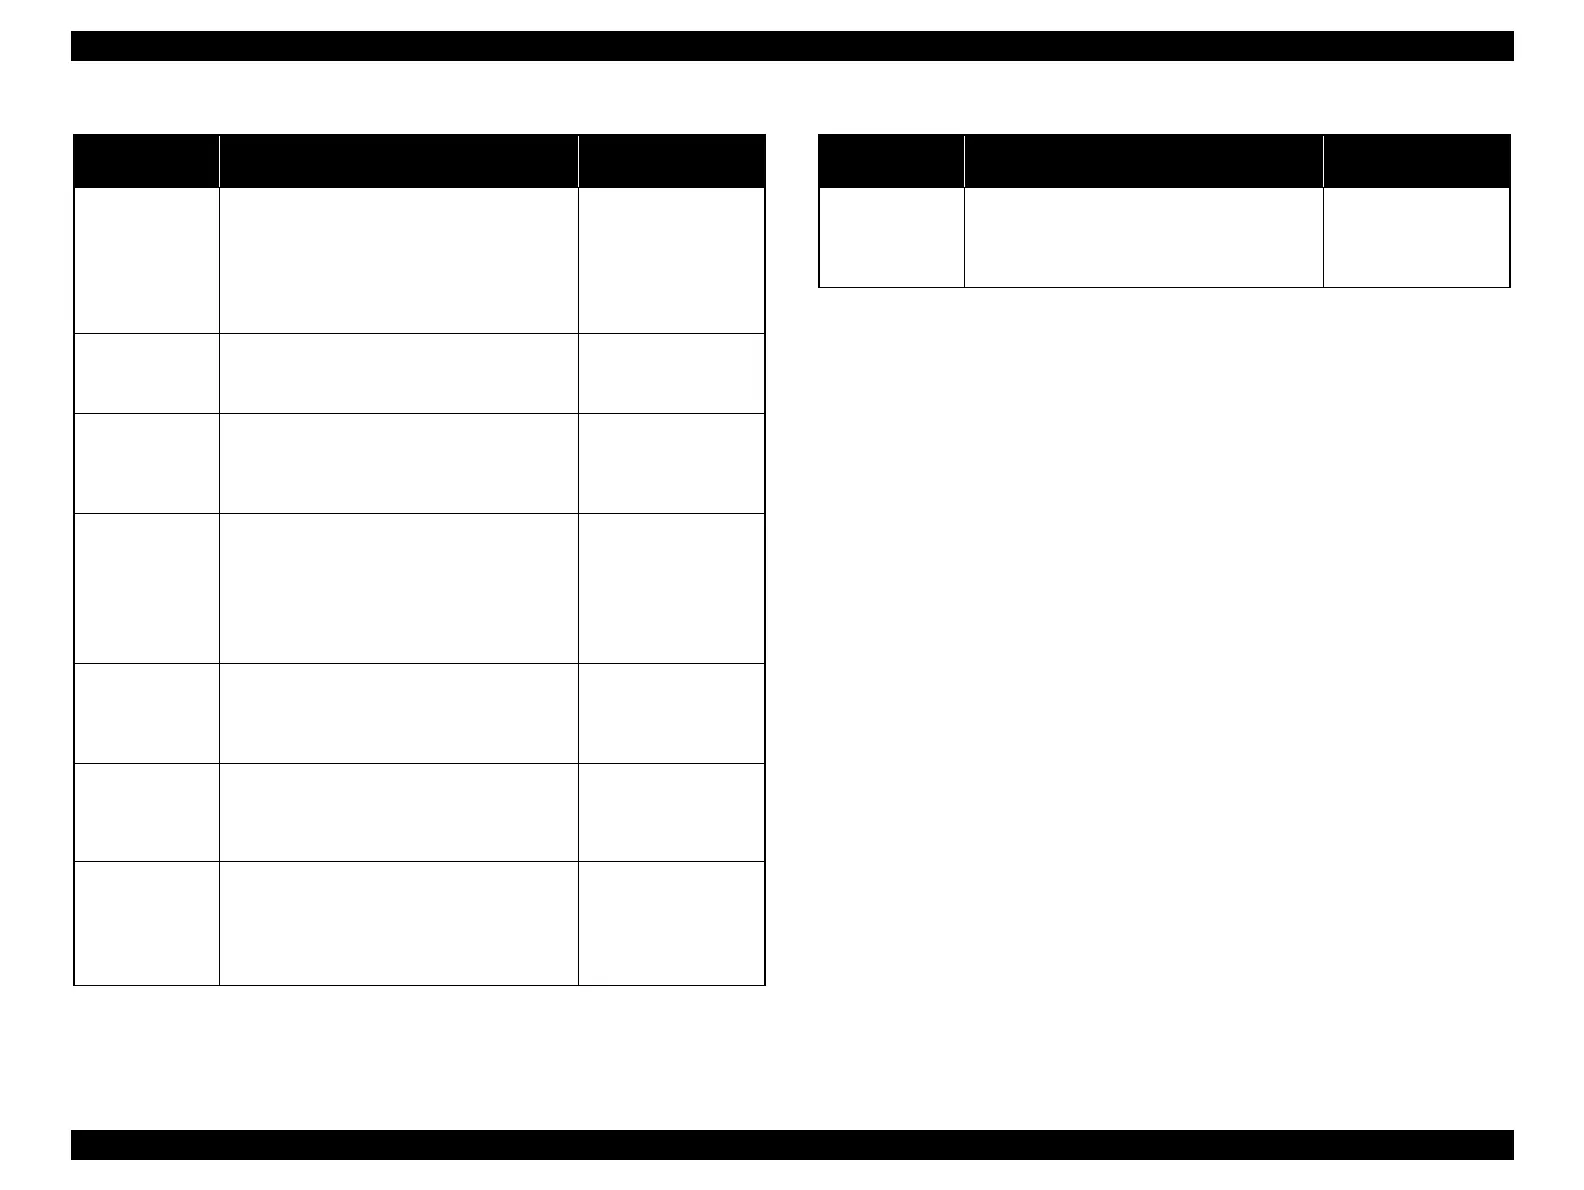
Paper Empty
Sensor
1. Select [Paper Empty Sensor].
2. Remove the paper cassette.
3. While pushing the actuator of the paper
cassette sensor, insert/remove paper into/from
the transmission and reception section of the
sensor.
Pushed (With Paper):
01h
Released (No Paper):
00h
Rear Unit Sensor
1. Select [Rear Unit Sensor].
2. Remove the Rear Unit.
3. Push/Release the actuator.
Unit Not Detected:01h
Unit Detected:00h
Roll Sensor
1. Select [Roll Sensor].
2. Insert/Remove paper from the roll paper
insertion opening.
Pushed (With Paper):
01h
Released (No Paper):
00h
Roll Feeding
Sensor
1. Select [Roll Feeding Sensor].
2. Remove the Left Roll Cover. (P. 151)
3. Install the roll unit to the printer.
4. Rotate the shading plate manually to move it
to the shading position or the transmission
position.
Sensor Interrupted:
01h
Sensor not Interrupted:
00h
Roll Unit Sensor
1. Select [Roll Unit Sensor].
2. Push/Release the actuator.
Sensor Interrupted:
01h
Sensor not Interrupted:
00h
Roll Lock Sensor
1. Select [Roll Lock Sensor].
2. Rotate the pinion gear of the roll feeding
motor manually to move the gear to the front
or the rear.
Gears on the rear.:01h
Gears on the front.:00h
Cutter HP Sensor
1. Select [Cutter HP Sensor].
2. Remove the Front Cover. (P. 142)
3. Set the cutter to the home position (HP) or
move it away from the home position
manually.
Not in Home Position:
01h
In Home Position.:
00h
Table 4-8. Sensor Check
Repaired Part Procedure
Confirmation Screen
Display
Front Cover
Sensor
1. Select [Front Cover Sensor].
2. Remove/Install the Front Cover.
Sensor not Interrupted
(No cover):01h
Sensor Interrupted
(With cover):00h
Table 4-8. Sensor Check
Repaired Part Procedure
Confirmation Screen
Display
 Loading...


