CHAPTER6 Web-Based Management
Mediant 1000 Gateway & E-SBC | User's Manual
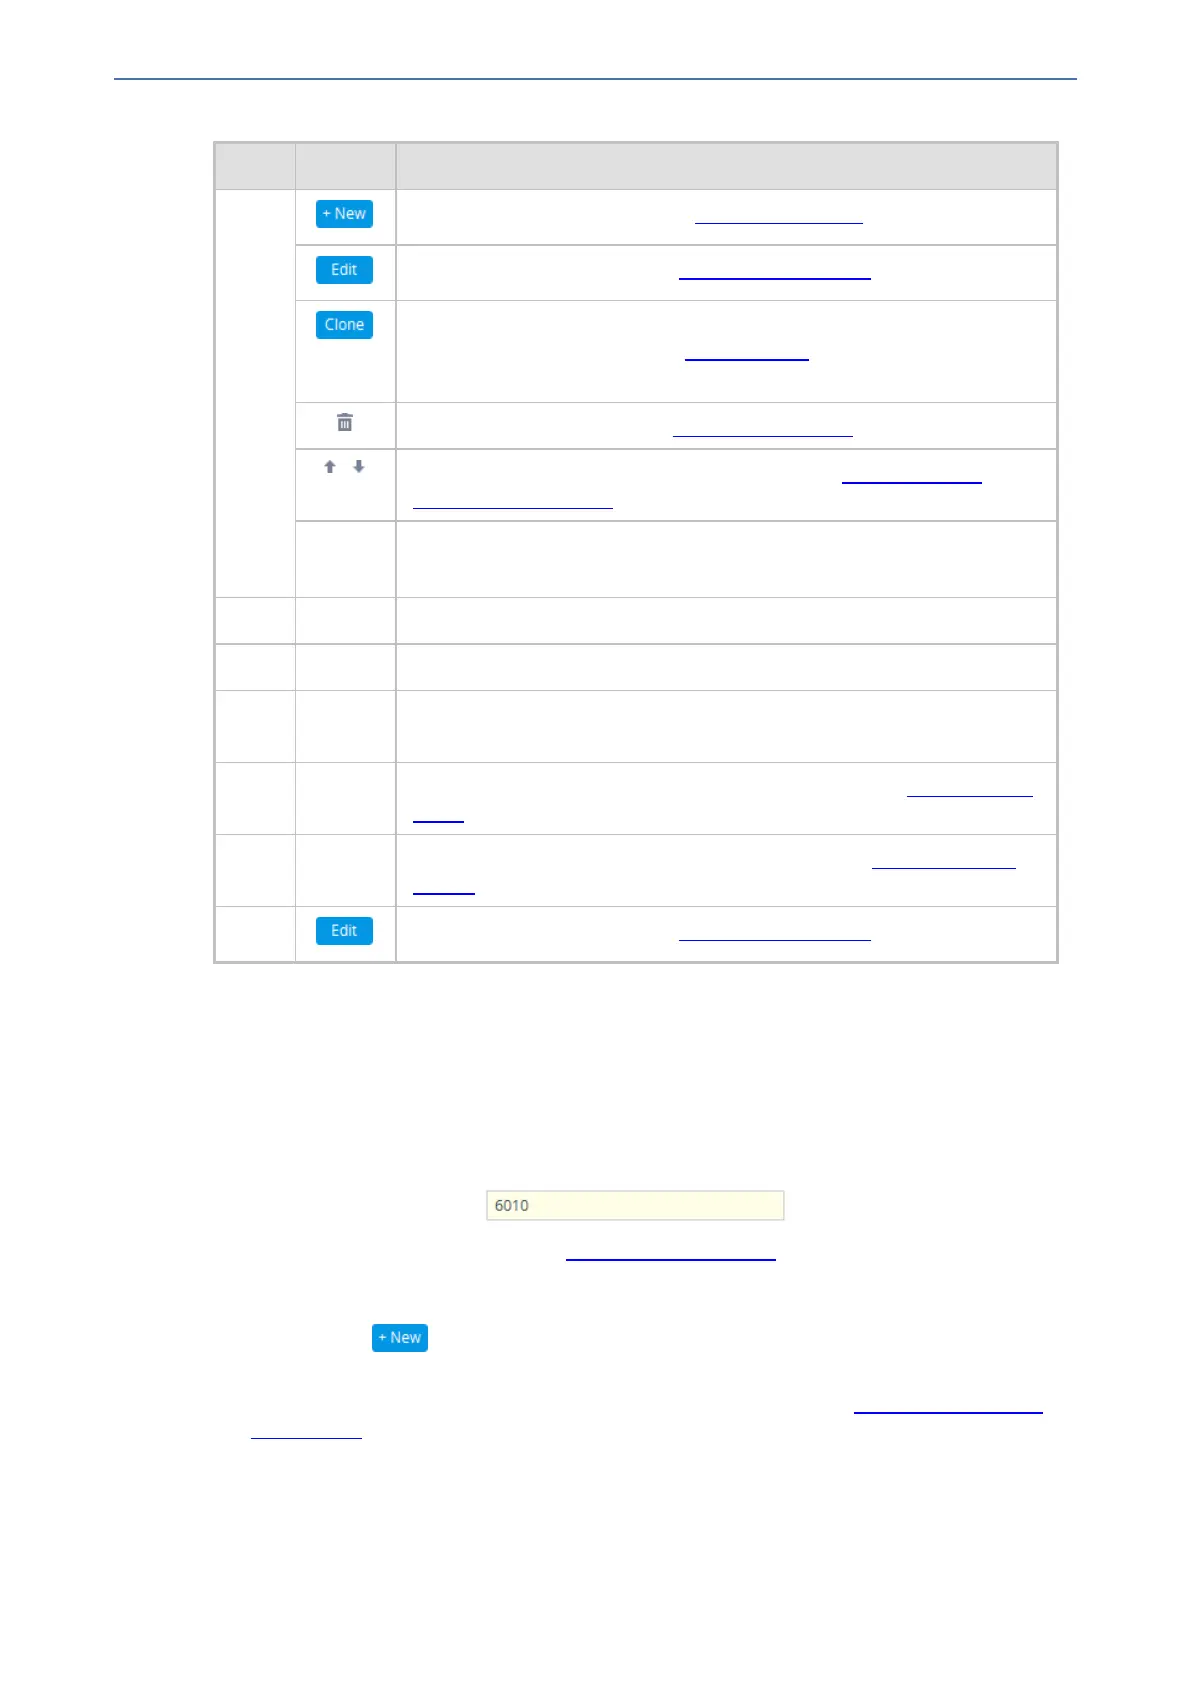
Item# Button Description
2 Adds a new row to the table (see Adding Table Rows).
Modifies the selected row (see Modifying Table Rows).
Adds a new row with similar settings as the selected row (i.e., clones the
row). For more information, see Cloning SRDs.
Note: The button appears only in the SRDs table.
Deletes the selected row (see Deleting Table Rows).
Changes the index position of a selected row (see Changing Index
Position of Table Rows).
Action Drop-down menu providing commands (e.g., Register and Un-Register).
Note: The button appears only in certain tables (e.g., Accounts table).
3 - Added table rows displaying only some of the table parameters (columns).
4 - Detailed view of a selected row, displaying all parameters.
5 - Link to open the "child" table of the "parent" table. A link appears only if the
table has a "child" table. The "child" table is opened for the selected row.
6 - Navigation bar for scrolling through the table's pages (see Viewing Table
Rows).
7 - Search tool for searching parameters and values (see Searching Table
Entries).
8 Modifies the selected row (see Modifying Table Rows).
Adding Table Rows
The following procedure describes how to add table rows. Before adding rows, the following GUI
conventions are used:
■ Commonly required parameters are displayed in bold font.
■ If you change the value of a parameter (before clicking Apply), the parameter's field is
highlighted, as shown in the example below:
■ For indications of invalid values, see Invalid Value Indications.
➢ To add a row:
1. Click the New button, located on the table's toolbar; a dialog box appears.
2. Configure the parameters of the row as desired. For information on configuring parameters that
are assigned a value which is a row referenced from another table, see Assigning Rows from
Other Tables.
3. Click Apply to add the row to the table or click Cancel to ignore your configuration.
- 26 -