8-52 Phaser 6180MFP Multifunction Printer Service Manual
Service Parts Disassembly
Xerographics
Laser Unit (PL5.1.12)
1. Open the Front Cover.
2. Remove the Fuser (page 8-12).
3. Remove the Rear Cover (page 8-18).
4. Remove the Bottom Cover (page 8-19).
5. Remove the Right Pole Inner Cover (page 8-21).
6. Remove the Right Pole Cover (page 8-22).
7. Remove the Right Cover (page 8-23).
8. Remove the Left Pole Inner Cover (page 8-24).
9. Remove the Left Pole Cover (page 8-25).
10. Remove the Left Cover (page 8-26).
11. Remove the Top Cover (page 8-27).
12. Remove the Controller Shield Box Assembly (AIO PRT Box Assembly)
(page 8-92).
13. Remove the Fax Shield Box Assembly (page 8-96).
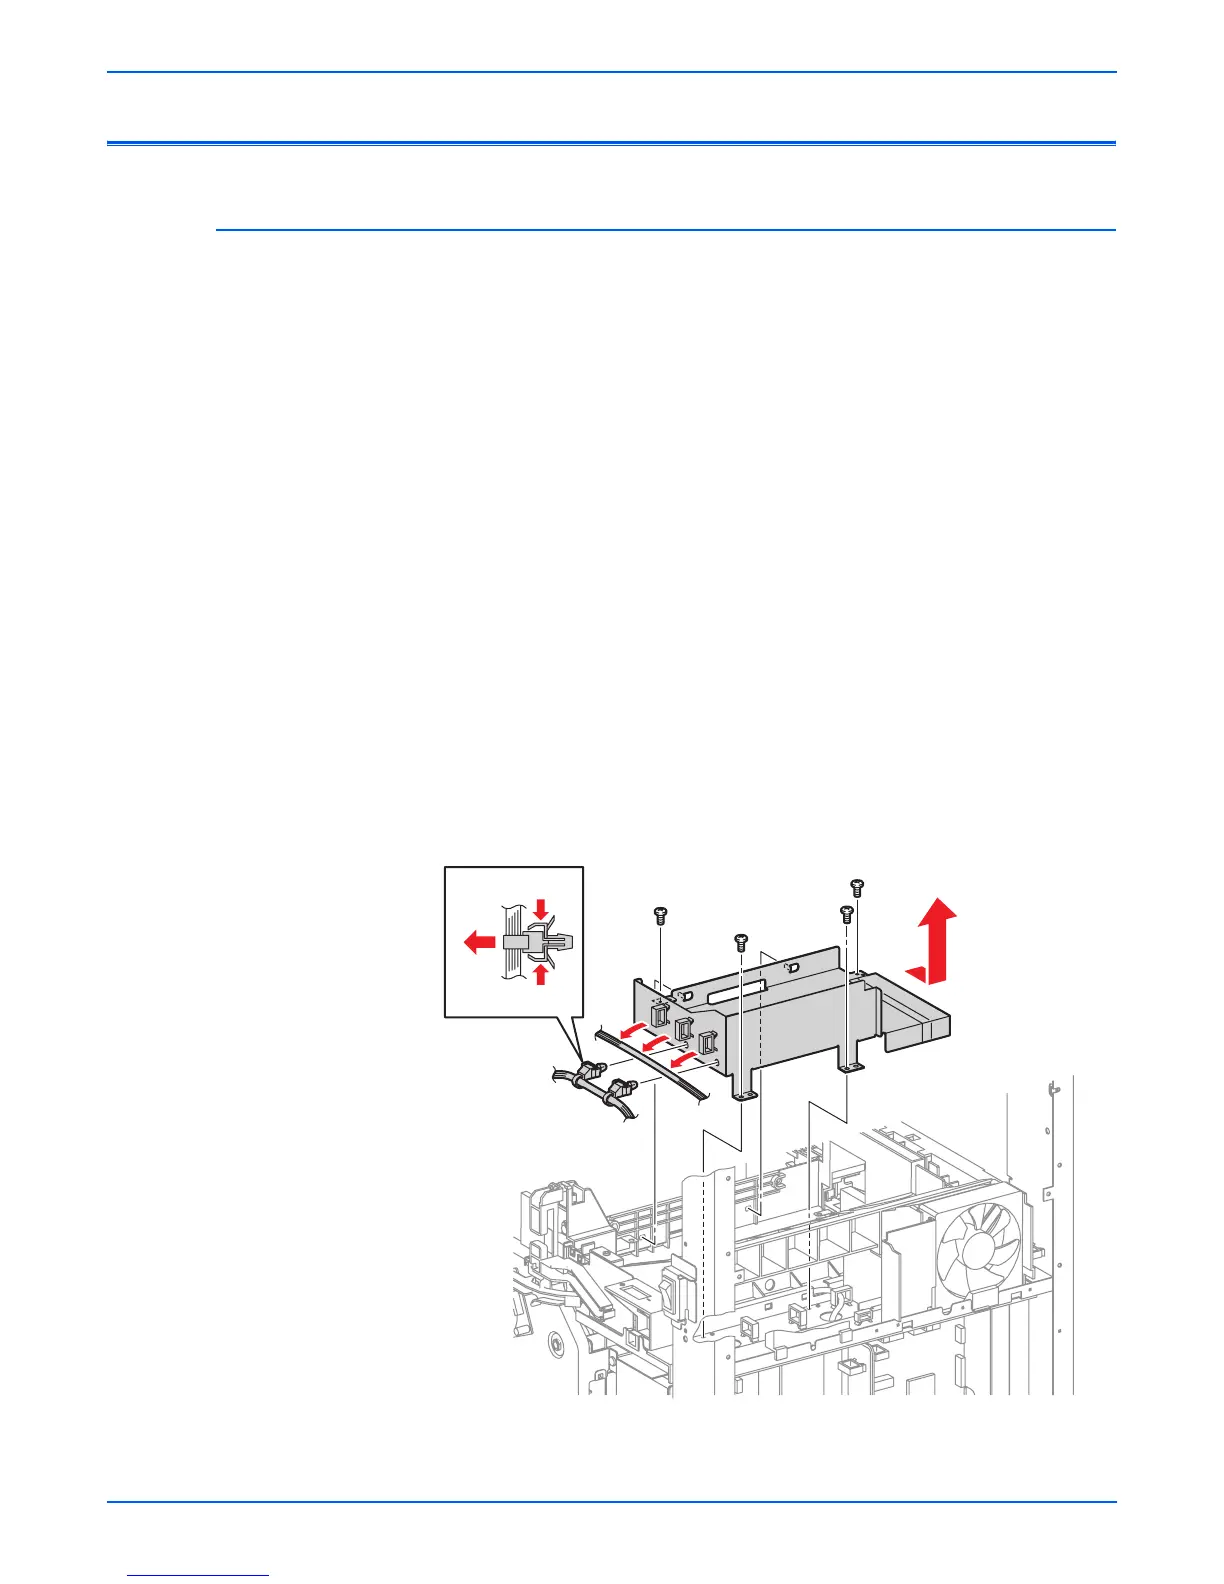
14. Release the Fuser wiring harness (PL10.1.5) from the 3 clamps on the
Earth Frame Assembly (PL5.1.2).
15. Remove 4 screws (6 mm) securing the Earth Frame Assembly to the
printer.
16. Slide the Earth Frame Assembly backward, release the 2 hooks on the
front side of the Earth Frame Assembly from the holes of the printer, and
remove the Earth Frame Assembly.
s6180mfp-285
 Loading...


