Replacing a Dry Ink/Toner Cartridge
Note: Refer to the following information:
• The dry ink/toner cartridge can be replaced while a job is printing.
• If the press is installed with Xerox
®
Adaptive CMYK+ Kit, ensure to install the correct color configuration.
• After you replace a dry ink/toner cartridge, the system automatically resets the usage counter to zero (0) for this
CRU. Check the Consumables Supplies screen to verify the reset and new status.
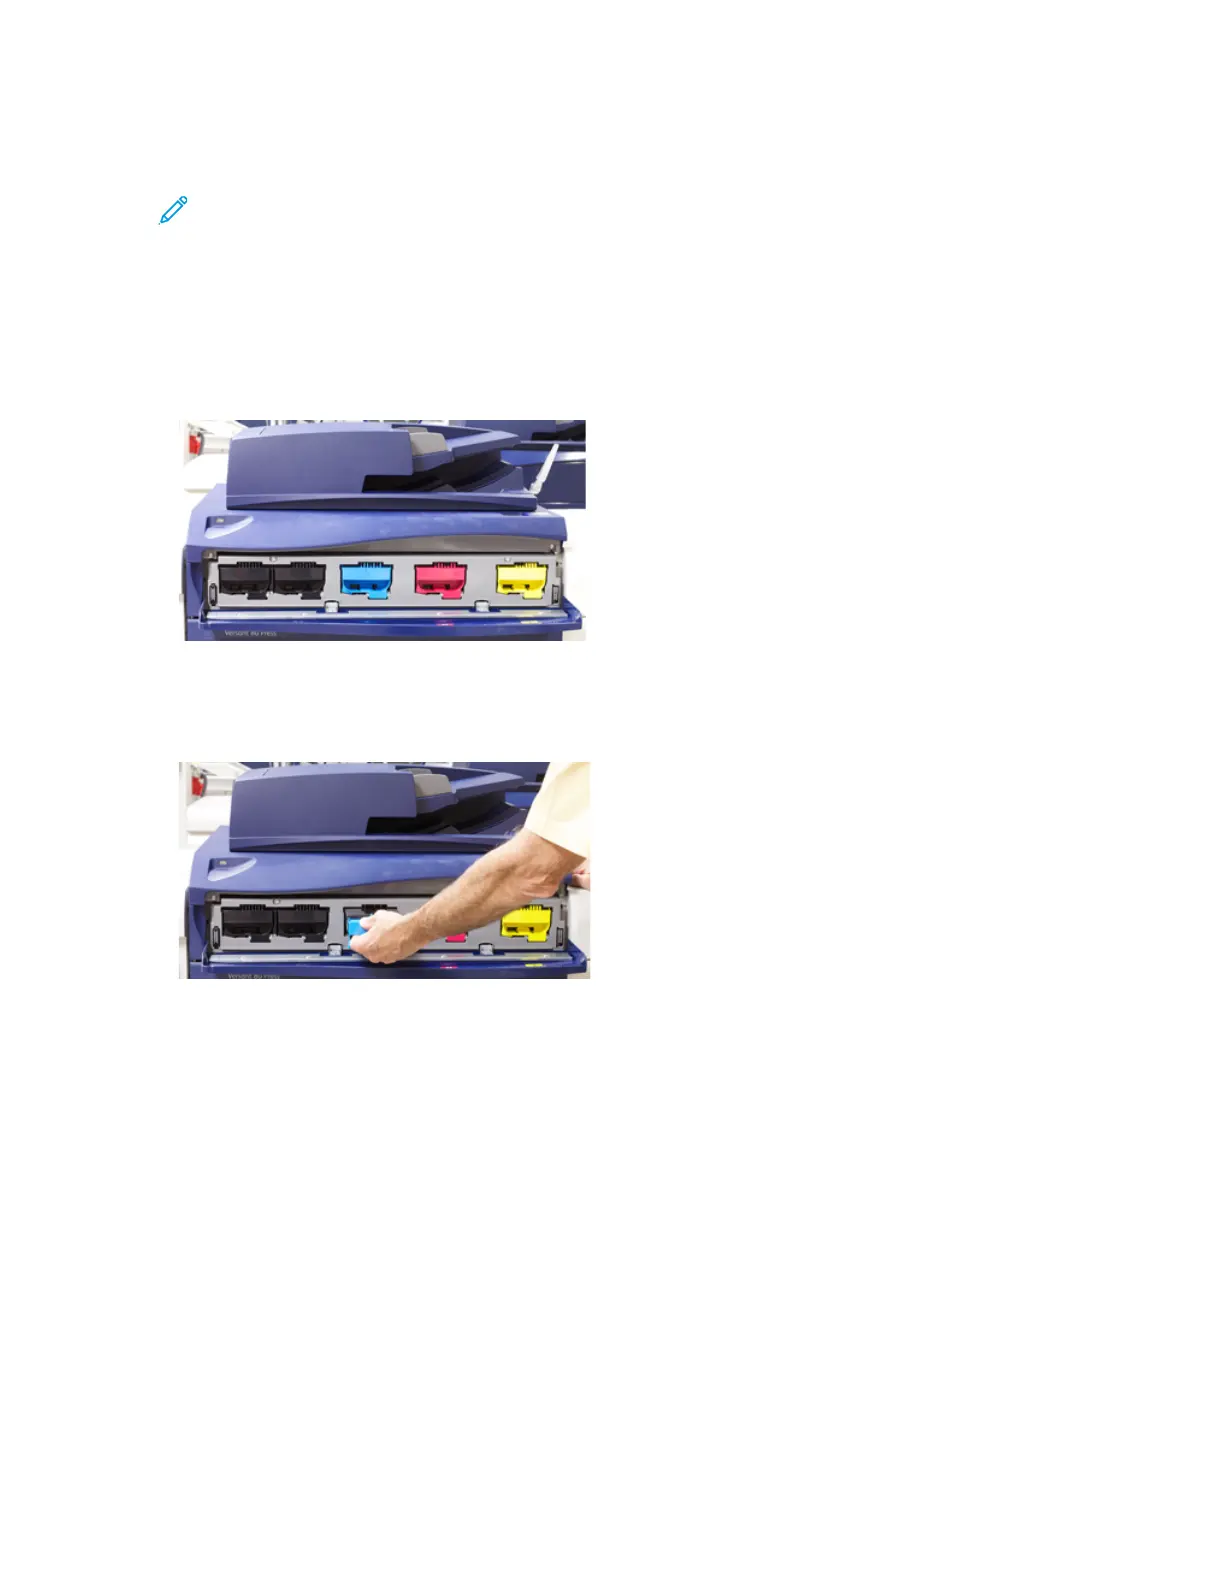
1. Open the Dry Ink/Toner cover, located just above the press front door.
2. Lay paper on the floor before removing the cartridge. This will allow any excess dry ink/toner to fall on the
paper.
3. Grasp the handle of the dry ink/toner cartridge matching the color indicated in the message.
4. Remove the dry ink/toner cartridge by slowly and gently pulling it straight out. While pulling out, hold the
bottom of the cartridge with your other hand to give it support.
5. Dispose of or recycle the cartridge per your local authorities and regulations.
In the United States, also refer to the Electronic Industries Alliance website: www.eiae.org. For more information
about Xerox environmental programs, go to www.xerox.com/environment.
6. Remove the new dry ink/toner cartridge from its packaging.
7. With one hand on either side of the cartridge, vigorously shake and rotate the new cartridge up and down and
left and right for 30 seconds to redistribute the dry ink/toner.
8. Install the new dry ink/toner cartridge by gently and evenly sliding the cartridge into the press until it stops.
9. Close the dry ink/toner cover. If the cover does not close completely, make sure the cartridge is in the lock
position and is installed into the appropriate dry ink / toner location.
236
Xerox
®
Versant
®
280 Press User Documentation
Working With
 Loading...


