April 2017
4-144
Xerox® VersaLink® B7025/B7030/B7035 Multifunction Printer
REP 60.2
Launch Issue
Repairs and Adjustments
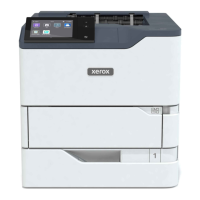
4. Release the hooks, then disconnect the FFC CCD ribbon cable, Figure 2.
Figure 2 FFC CCD ribbon cable
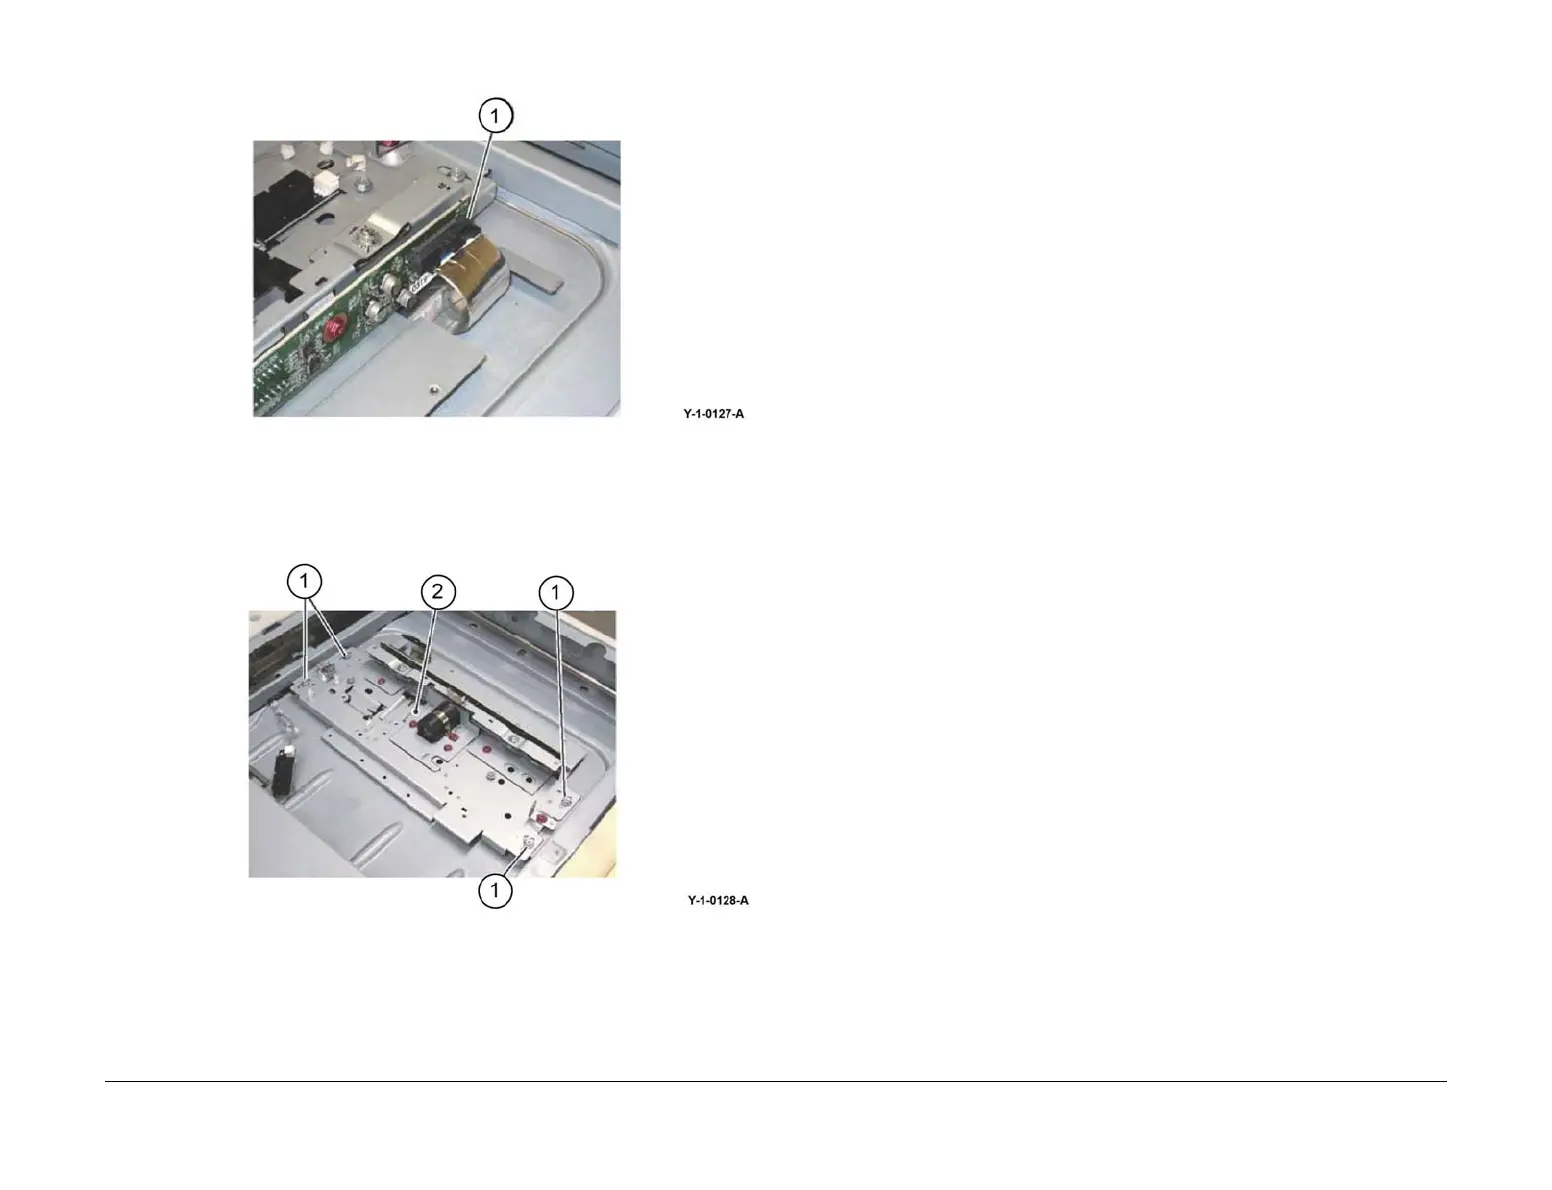
5. Remove the CCD lens assembly, Figure 3:
a. Remove four screws (1).
b. Remove the CCD lens assembly (2).
Figure 3 CCD lens assembly removal
Replacement
1. Reconnect the FFC CCD ribbon cable.
2. Reinstall the APS sensor and lens cover assembly.
3. Reinstall the document glass.
NOTE: Do not install the right plate at this time.
4. Enter dC131 NVM read/Write. Enter the IIT NVM settings listed below according to the
NVM Setting List that was supplied with the machine:
• 715-015
• 715-020
• 715-050
• 715-051
• 715-053
• 715-097
• 715-098
• 715-099
• 715-100
• 715-106
• 715-307
NOTE: The list is located in tray 1, beneath the RAI cover, PL 70.05 Item 10.
5. Check the history. If there are individual NVMs that are configured by market, correctly
set them.
6. Copy an appropriate A3 (11x17 inch) test chart. Check the registration. Refer to IQS 7
Registration.
7. Reinstall the removed parts if no problem is found.
8. Perform ADJ 60.6 CDD Lens Optical Axis Correction.
 Loading...