Fig.
5-33
Fig.
5-34
Fig.
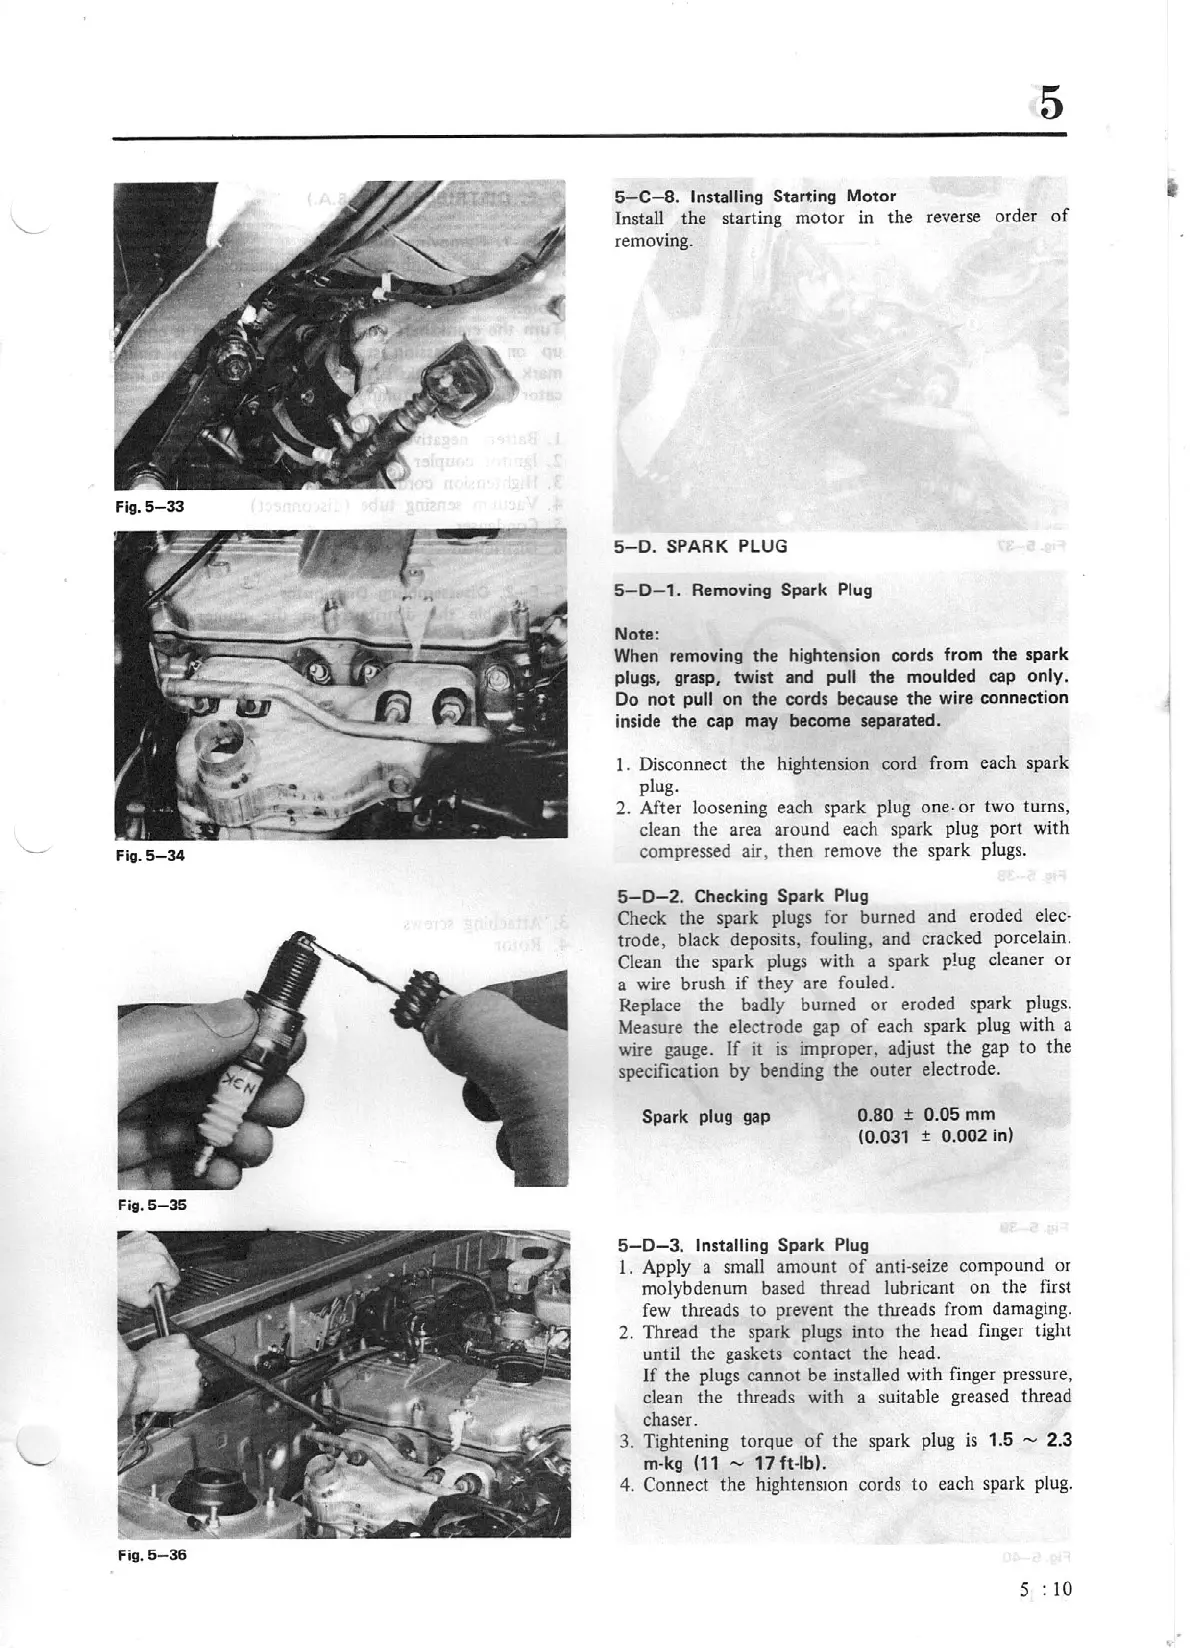
5-35
Fig.
6-36
5
5-C
- 8.
Installing
Starting
Motor
Install the starting
motor
in
the reverse order
of
removing.
5-0.
SPARK
PLUG
5-
0 - 1.
Removing
Spark
Plug
Note:
When removing
the
hightension cords
from
the
spark
plugs,
grasp,
tw
ist and
pull
the
moulded cap
only
.
Do
not
pull
on
the
cords because
the
wire
connection
inside
the
cap
may become separated.
I . Disconnect
the
hightension cord from ea
ch
spark
plug.
2.
After loosening each spark plug
one·
or
two turns,
clean
the
area around each spark plug
port
with
compressed
air,
then remove
the
spark plugs.
5-0-2.
Checking
Spark
Plug
Check the spark plugs for burned and eroded
elec-
trode, black deposits, fouling, and cracked porcelain.
Clean the spark plugs with a spark p!ug cleaner
or
a wire brush
if
they
are fouled.
Replace
the
badly burned
or
eroded spark plugs.
Measure
the
electrode gap
of
each spark plug with a
wire gauge.
If
it is improper, adjust
the
gap
to
the
specification
by
bending
the
outer
electrode.
Spark
plug gap
0.80
±
0.
05
mm
(0
.03
1
±
0.002
in
)
5
-0-3.
Installing Spark Plug
1.
Apply a small amount
of
anti-seize compound or
molybdenum based thread lubricant
on
the first
few threads
to
prevent the threads from damaging.
2. Thread
the
spark plugs into the head
finger
tight
until the gaskets contact
the
head.
lf
the
plugs cannot be installed with finger pressure,
clean
the
threads with a suitable greased thread
chaser.
3. Tightening torque
of
the spark plug is
1
.5
-
2
.3
m-kg
(11
-
17
ft
-lb).
4. Connect
the
hightens1on cords
to
each
spark plug.
5 :
JO