Fig.
78
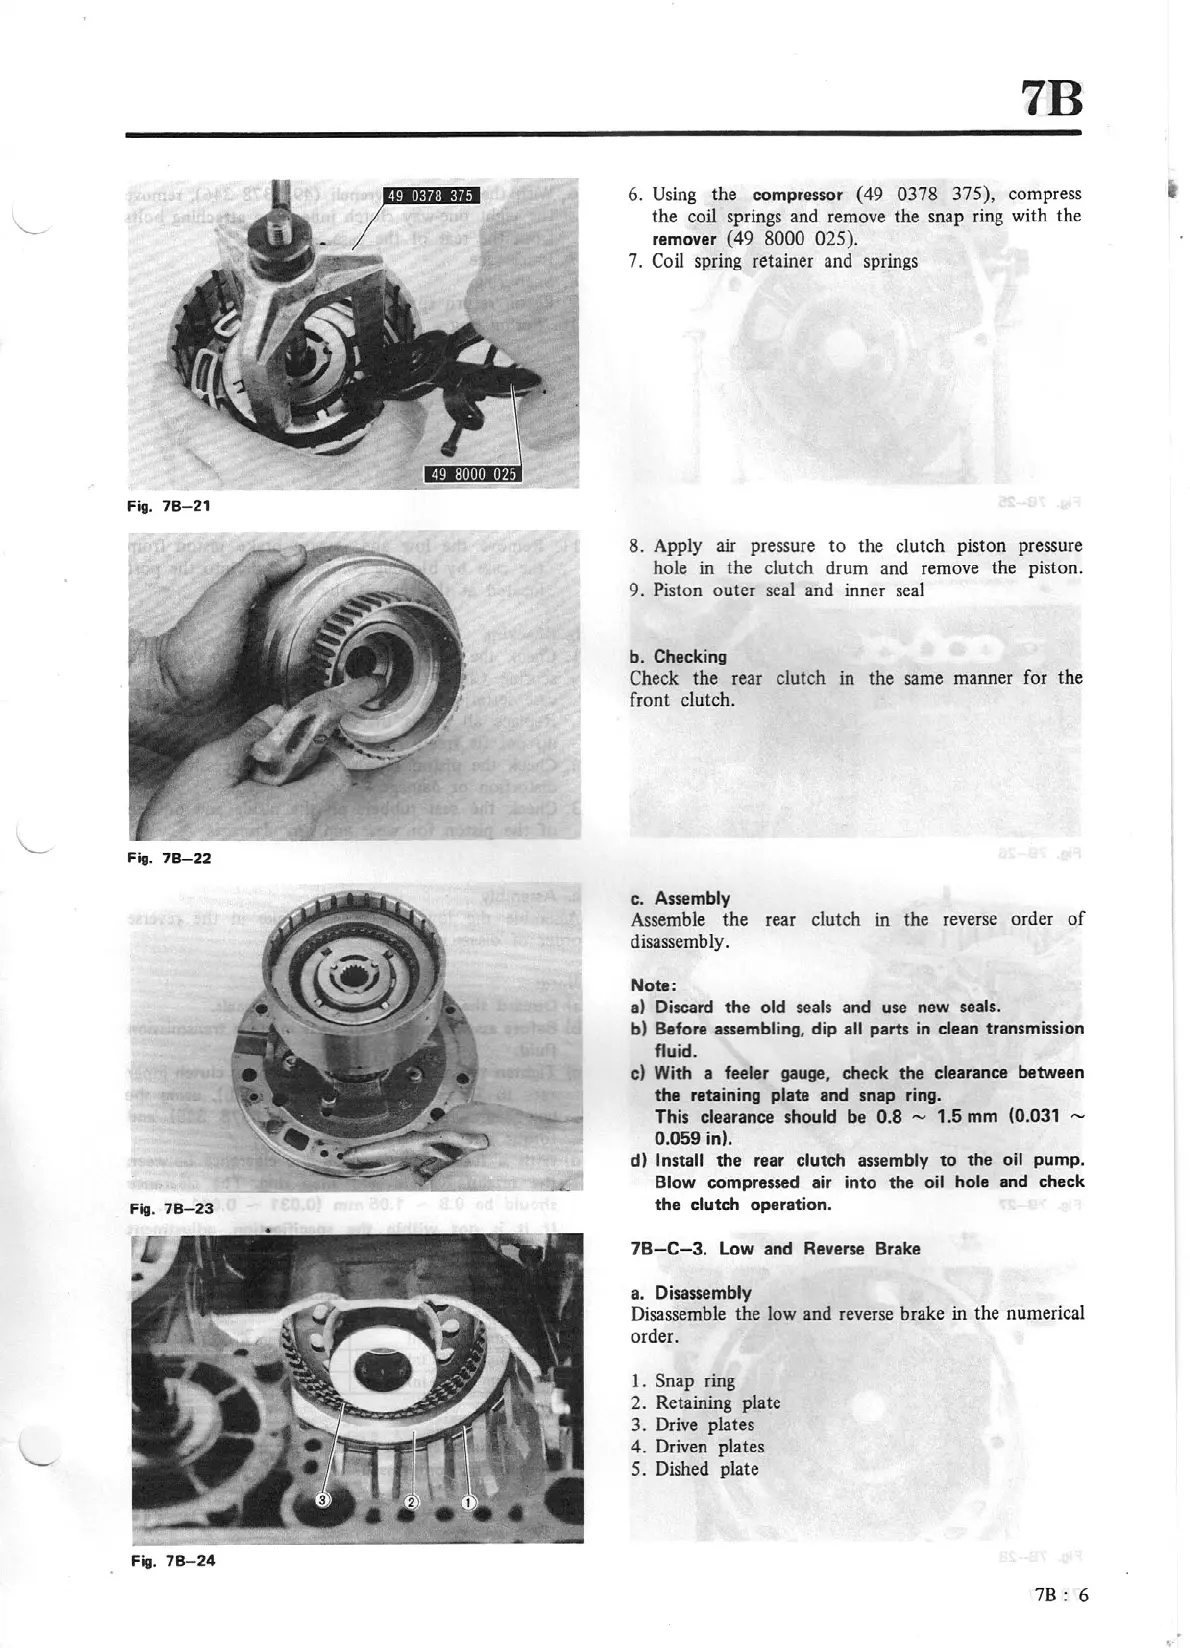
- 21
Fig.
78-22
Fig.
78
-2
3
Fig.
78-24
7B
6.
Using the compressor
(49
0378 375),
compress
the coil springs and remove the snap ring with the
remover
(49
8000 025).
7. Coil spring retainer and springs
8. Apply
air
pressure
to
the clutch piston pressure
hole in the clutch drum and remove the piston.
9.
Piston outer seal and inner seal
b. Checking
Check the rear clutch in the same manner for the
front clutch.
c.
Assembly
Assemble the rear clutch in the reverse order
of
disassembly.
Note:
al
Discard
the
old seals
a
nd
use new
seals.
b) Before
assembli
ng
,
dip
all
part
s in
clean
transmission
fluid.
c)
With a
feeler
gauge, check the
clearance
between
the
retaining
plate
and snap ring.
This
clearance should be
0.8 -
1.5 mm
(0.031 -
0.
059
in).
di
Install
the rear clutch assembly
to
the
oil
pump
.
Blow
compressed air into the
oil hole
and check
the
clutch
operation.
7B-C-3
. Low and Reverse Brake
a.
Disassembly
Disassemble the low and reverse brake in the numerical
order.
I.
Snap
ring
2.
Retaining plate
3. Drive plates
4.
Driven plates
5.
Dished plate
7B : 6