/
Note
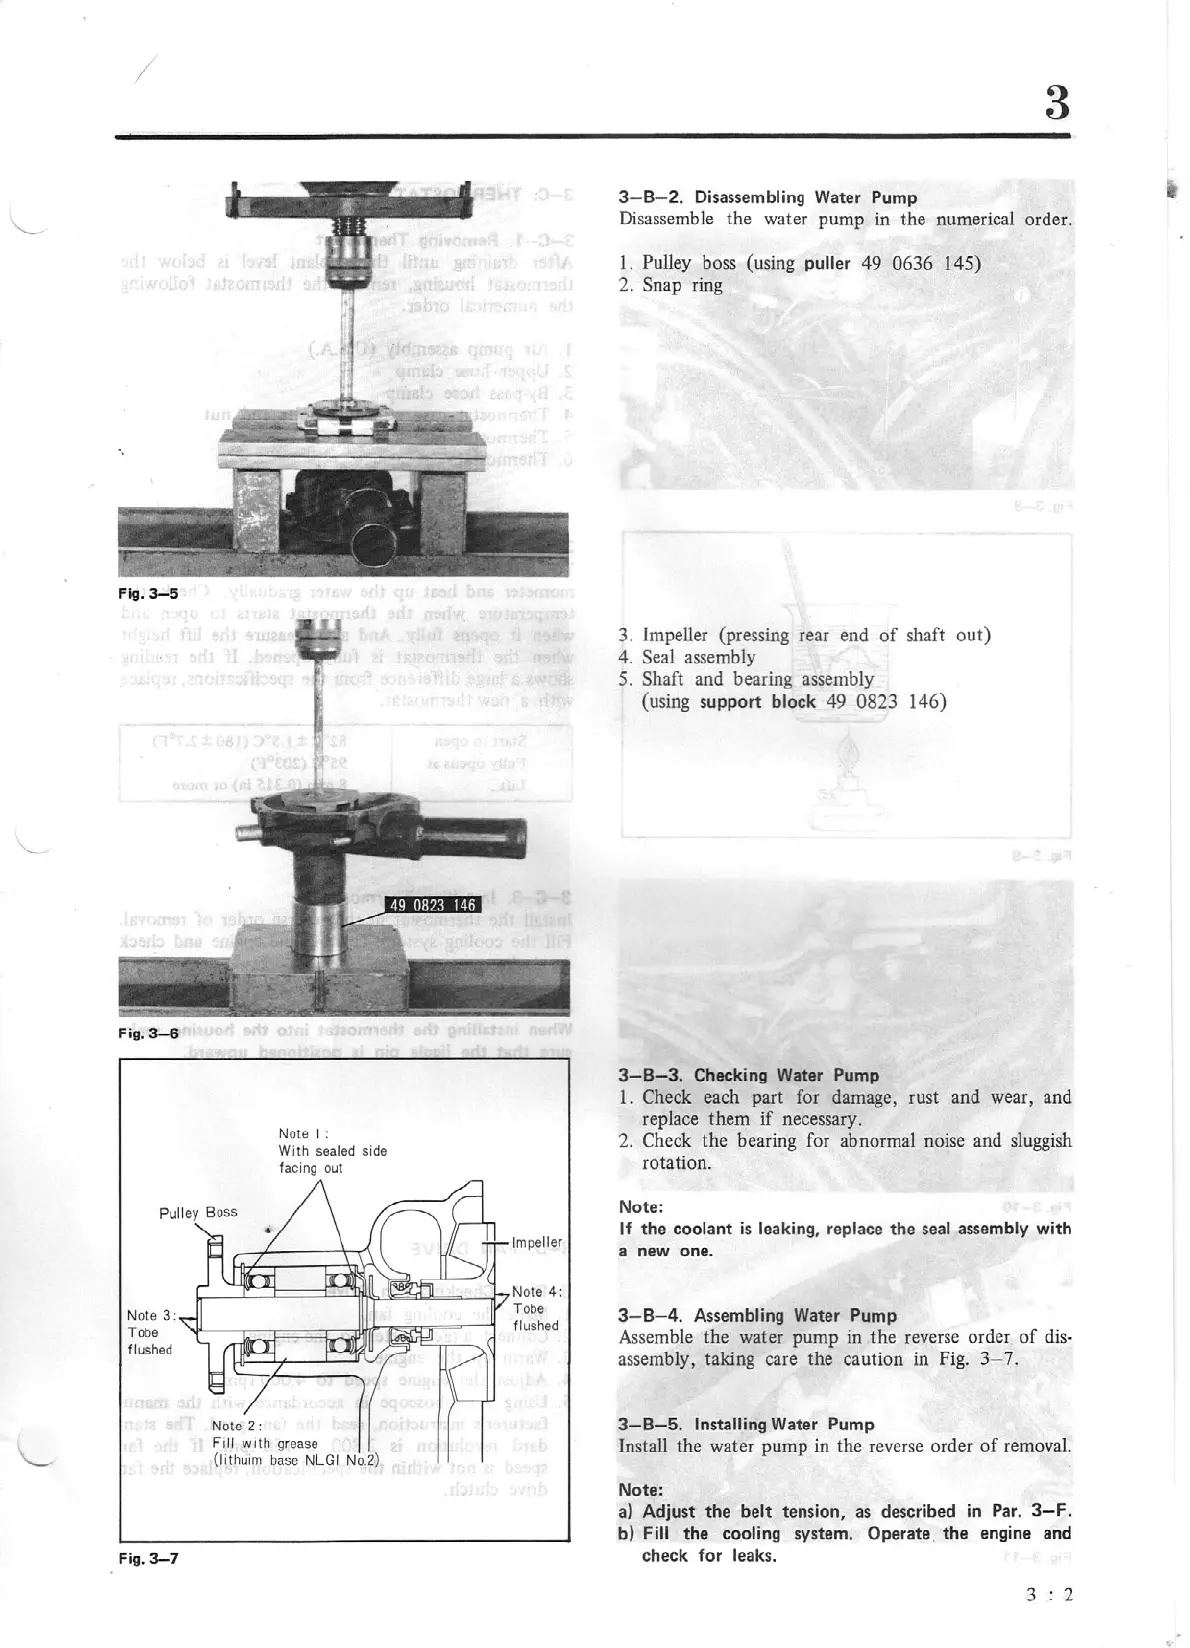
3:
Tobe
flushed
Fig.
3-7
Note I :
With
sealed side
facing out
Impeller
r;::....--=r:::::t:
=::::i
=~
~~llo=-
-J7
Note
4:
Fill
with
grease
(li
thuim base
NLGI
No.2)
Tobe
flushed
3
3- 8- 2. Disassembling Water Pump
Disassemble the water pump in the numerical order.
1.
Pulley boss (using puller
49
0636
145)
2.
Snap ring
3. Impeller (pressing rear end
of
shaft
out)
4. Seal assembly
5. Shaft and bearing assembly
(using support block 49 0823 146)
3-B-3.
Checking Water Pump
1. Check each part for damage, rust and wear, and
replace
them
if
necessary.
2. Check the bearing for abnormal noise and sluggish
rotation.
Note:
If
the
coolant
is
leaking, replace the seal assembly with
a new one.
3-
8-4.
Assembling Water Pump
Assemble the water
pump
in
the
reverse order
of
dis-
assembly, taking care the caution in Fig.
3- 7.
3-B-5.
Installing Water Pump
Install the water
pump
in the reverse order
of
removal.
Note:
a)
Adjust
the
belt tension, as described in Par. 3- F.
b) Fill the cooling system. Operate. the engine and
check for
lea
ks.
3 2