Fig.
13
- 5
Fig.
13-6
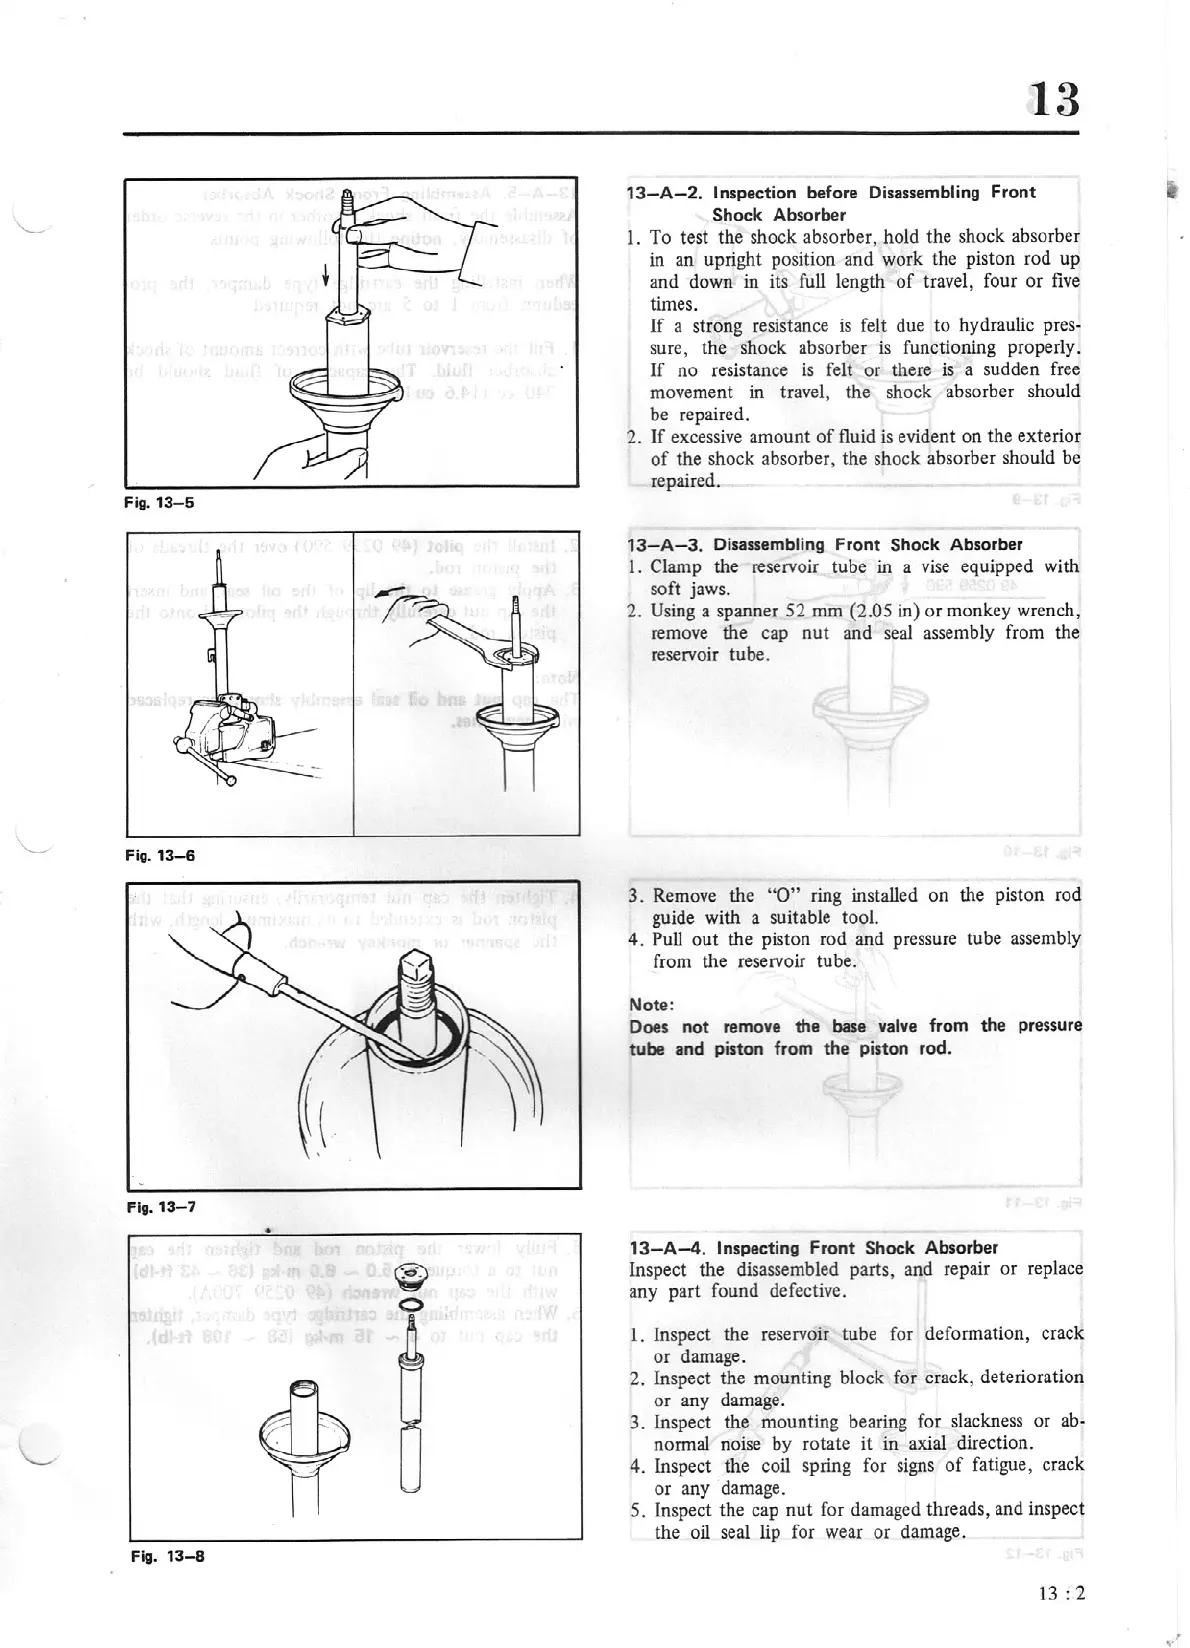
Fig.
13
- 7
•
Fig.
13-8
13
13- A
-2
.
Inspection before
D
is
assembling
Front
Shoc
k
Ab
s
or
ber
1.
To
test the shock absorber, hold the shock absorber
in
an upright position and work the pi
st
on
rod
up
an<l
down
in
its full length
of
travel, four
or
five
times.
If
a strong resistance
is
felt due to hydraulic
pres-
sure, the shock absorber
is
functioning properly.
If
no
resistance
is
felt
or
there
is
a sudden free
movement
in
travel, the shock absorber should
be repaired.
2.
If
excessive amount
of
fluid
is
evident on the exterior
of
the shock absorber, the shock absorber should be
repaired.
1
3-
A- 3.
Disassembling
Front
Shock
Absorber
1. Clamp the reservoir tube
in
a vise equipped with
soft jaws.
2.
Using
a spanner 52 mm (2.05
in) or monkey wrench,
remove the cap
nut
and seal assembly from the
reservoir tube.
3. Remove the
"O"
ring installed
on
the piston rod
guide with a suitable tool.
4. Pull
out
the piston rod and pressure tube assembly
from the reservoir tube.
Note:
Does
not
remo
ve
the base
val
ve
from
the
pr
es
sure
tube and piston from
the
piston rod.
13
-A-4
.
Inspecting
Fro
nt
S
hock
Absorber
Inspect the disassembled parts, and repair or replace
any part found defective.
1. Inspect the reservoir tube for deformation, crack
or
damage.
2. Inspect the mounting block for crack, deterioration
or
any damage.
3. Inspect the mounting bearing for slackness or
ab-
normal noise
by
rotate
it
in axial direction.
4.
Inspect the coil spring for signs
of
fatigue, crack
or any damage.
5. Inspect the cap nut for damaged threads, and inspect
the oil seal lip for wear or damage.
13:
2