Fig.
18
- 5
Fig. 1
8-
6
Fig,
18-7
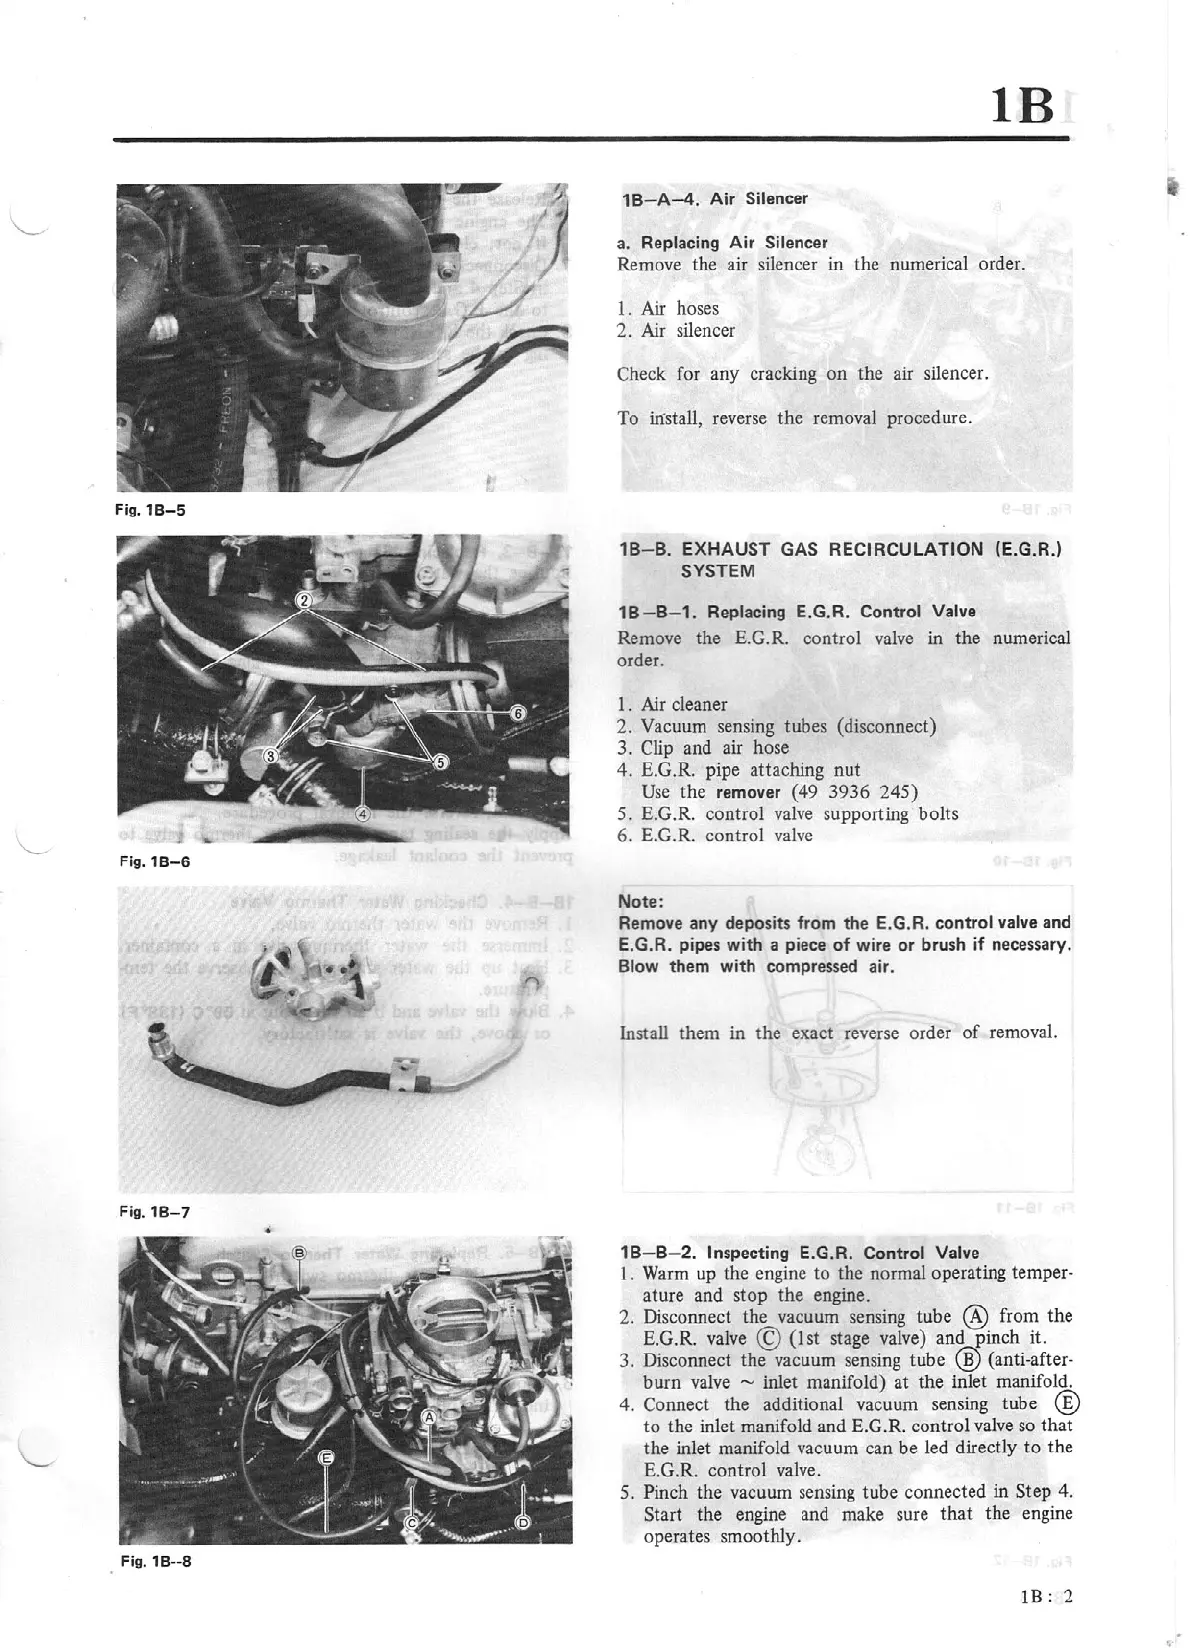
Fig.
18--8
lB
1
B-A-4.
Air Silencer
a. Replacing Air Silencer
Remove the air silencer in the numerical order.
1.
Air
hoses
2.
Air
silencer
Check for any cracking
on
the air silencer.
To install, reverse the removal procedure.
18-8.
EXHAUST
GAS
RECIRCULATION (
E.G
.R.)
SYSTEM
18-B-1_
Replacing E.G.R. Control Valve
Remove the E.G.R. control
valve
in the numerical
order.
1. Air cleaner
2. Vacuum sensing tubes (disconnect)
3. Clip and air hose
4. E.G.R. pipe attaching nut
Use
the remover (49 3936
245)
5. E.G .R. control
valve
supporting bolts
6. E.G.R. control
valve
Note:
Remove any deposits from the E.G.R. control valve and
E.G.R. pipes with a piece of wire or brush
if
necessary.
Blow them with compressed air.
Install them in the exact reverse order
of
removal.
18
- 8- 2. Inspecting
E.G
.R. Control Valve
1 . Warm
up
the engine to the normal operating temper-
ature and stop the engine.
2. Disconnect the vacuum sensing tube @ from the
E.G.R. valve
©(1
st stage valve) and pinch it.
3. Disconnect the vacuum sensing tube @ (anti-after-
burn
valve
- inlet manifold) at the inlet manifold.
4. Connect the additional vacuum sensing tube
@
to the inlet manifold and E.G.R. control
valve
so
that
the inlet manifold vacuum can be led directly
to
the
E.G.R. control valve.
5. Pinch the vacuum sensing tube connected in Step 4.
Start the engine and make sure
that
the engine
operates smoothly.
IB:
2