Fig.
78-45
Fig.
78-46
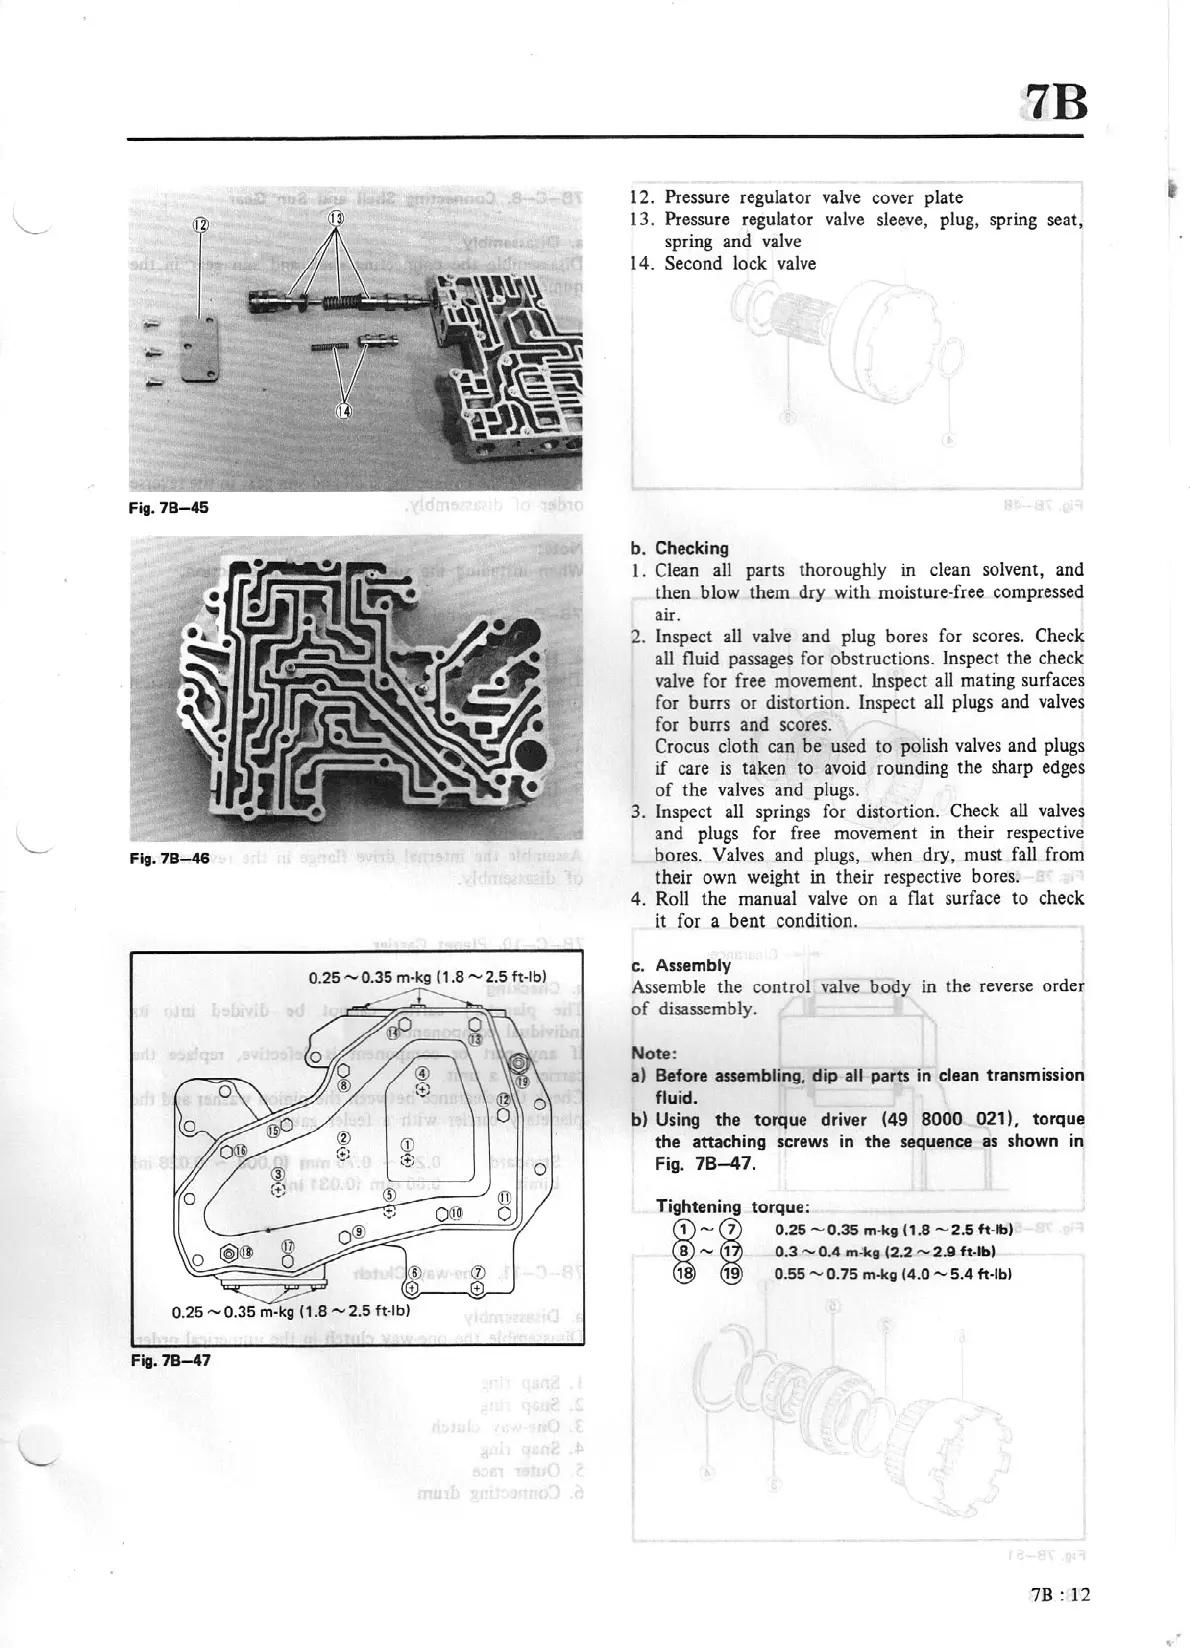
0.25,...,
0.35
m-kg ( 1.8
"'2.5
ft-lb)
Fig.
78--47
7B
12. Pressure regulator
valve
cover plate
t
13. Pressure
regu
lator
valve
sleeve, plug, spring seat,
spring and
valve
14. Second lock
valve
b. Checki
ng
l.
Clean all parts thoroughly
in
clean solvent, and
then blow them dry with moisture-free compressed
air.
2. Inspect all
valve
and plug bores for scores.
Check
all fluid passages for obstructions. Inspect the check
valve
for free movement. Inspect all mating surfaces
for burrs
or
distortion. Inspect all plugs and
valves
for burrs and scores.
Crocus
cloth can be used
to
polish
valves
and plugs
if
care
is
taken
to
avoid rounding the sharp edges
of
the valves and plugs.
3. Inspect all springs for distortion.
Check
all
valves
and plugs for free movement
in
their respective
bores. Valves and plugs, when dry, must fall from
their own weight
in
their respective bores.
4. Roll the manual
valve
on a flat surface
to
check
it for a bent condition.
c. Assembly
Assemble the control
valve
body in the
re
verse order
of
disassembly.
Note:
a)
Be
fore
asse
mb
lin
g,
dip a
ll
parts
in clean transmission
fluid.
b)
Using
th
e
to
rque driver (49
8000
021 ).
torque
the attaching screws in the sequence as shown in
Fig.
78-47.
Tightening
to
rque:
~
"'
~
0.25 -
0.35
m·kg ( 1 .8
-
2.5
ft
-lb)
"'
1
0.3
-
0.4
m-'kg
(2.2
-
2.
9
ft
-lb)
19
0.55 -
0.75
m·kg
(4.0
-
5.4
ft
·lbl
7B:
12