1
F
ig.
1
-67
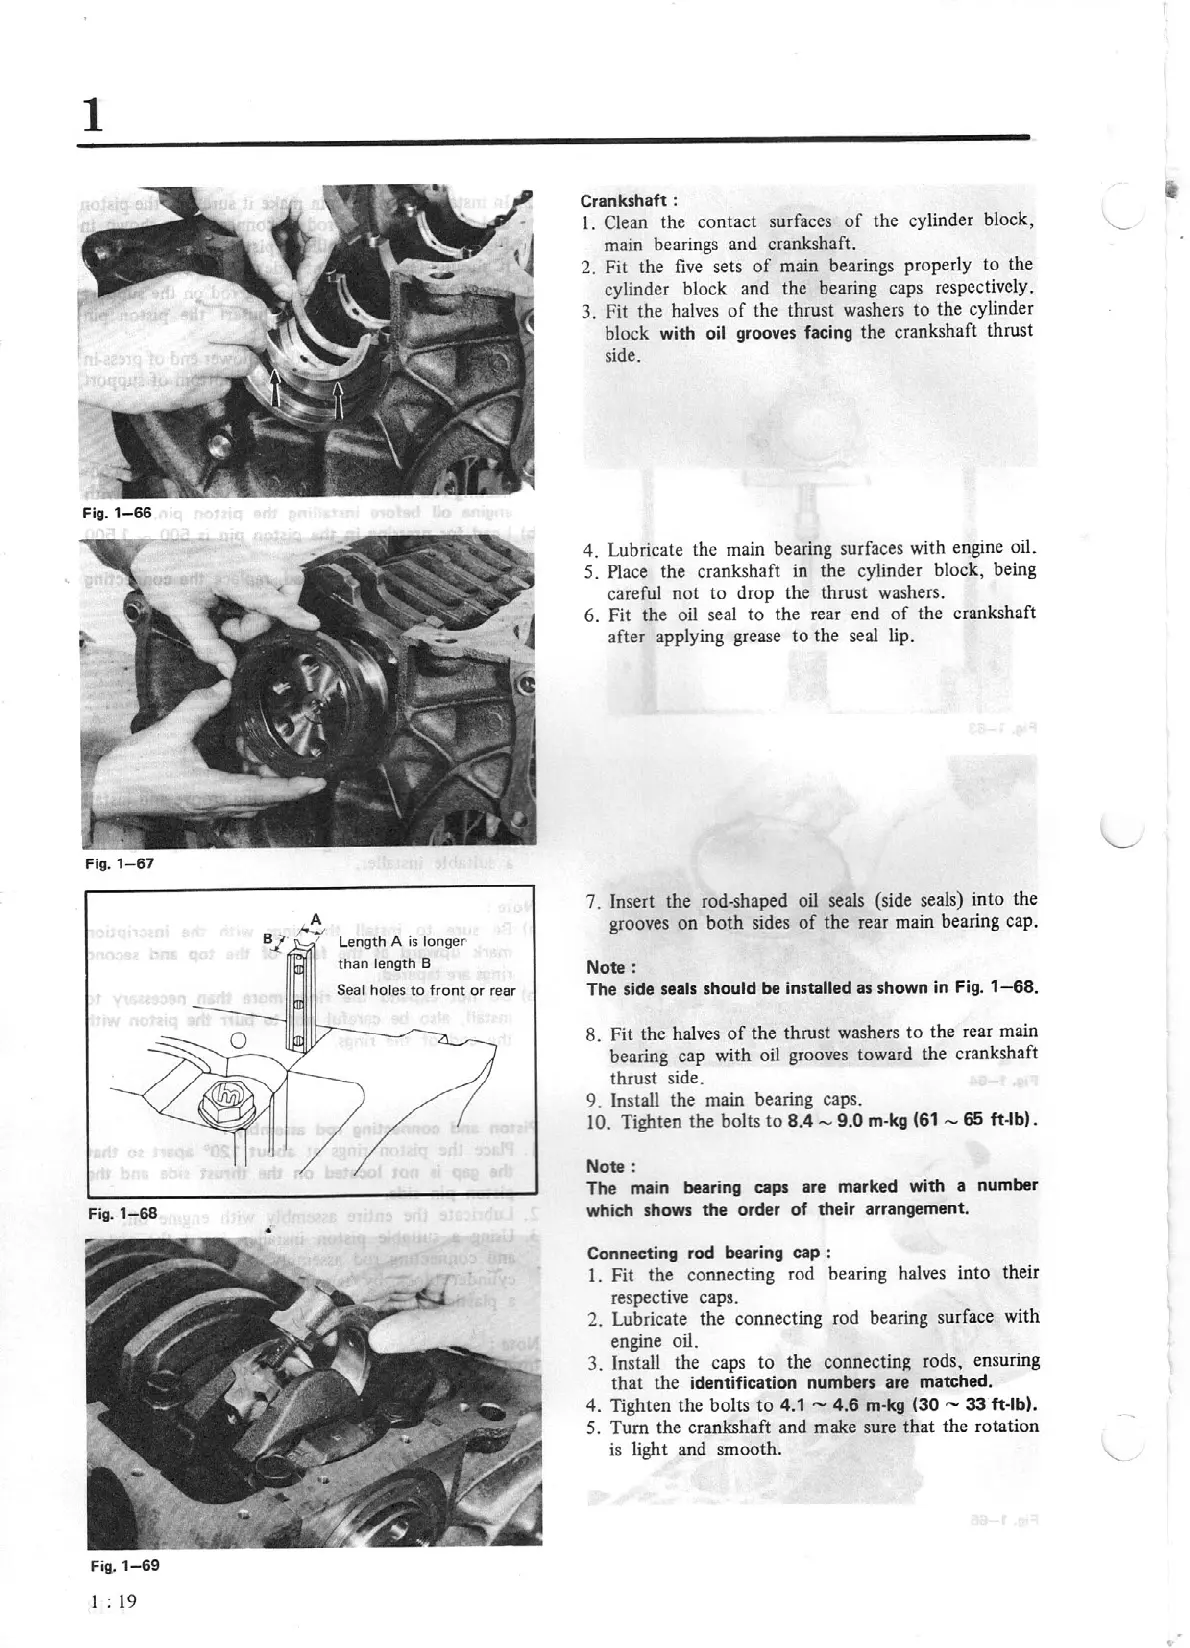
A
,.....,,
Length
A
is
longer
than
length
B
Sear
ho
l
es
to
front
or
rear
Fig.
1-68
•
Fig
.
1-69
J :
19
Crankshaft :
1.
Clean
the contact surfaces
of
the cylinder block,
main bearings and crankshaft.
2. Fit the
five
sets
of
main bearings properly to the
cylinder block and the bearing caps respectivel
y.
3. Fit the halves
of
the thrust washers to the cylinder
block with oil grooves facing the crankshaft thrust
side.
4. Lubricate the main bearing surfaces with engine oil.
5. Place
the crankshaft in the cylinder block, being
careful not to drop the thrust washers.
6. Fit the oil seal to the rear end
of
the crankshaft
after applying grease to the seal lip.
7. Insert the rod-shaped
oil
seals (side seals) into the
grooves
on
both
sides
of
the rear main bearing cap.
Note:
The side seals
should
be
installed as shown
in
Fig.
1
-6
8.
8. Fit the halves
of
the thrust washers to the rear main
bearing cap with oil grooves toward the crankshaft
thrust side.
9. Install the main bearing caps.
10.
Tighten the bolts to
8.4
-
9.0 m-kg
(61 -
65 ft-lb) .
Not
e:
The main bearing caps are marked with a number
Which
shows the order
of
their arrangement.
Connecting rod bearing cap :
I. Fit the connecting rod beari
ng
halves into their
respective caps.
2.
Lubricate the connecting rod bearing surface with
engine oil.
3.
In
stall the caps to the
connecting
rods. ensuring
that
the identification numbers are matched.
4.
Tighten the bolts
to
4.1
-
4.6
m-kg
(30 -
33
ft-lb).
5.
Tum
the crankshaft and make sure
that
the rotation
is
light
and smooth.