Fig.10-42
Fig.10-43
•
Apply
grease
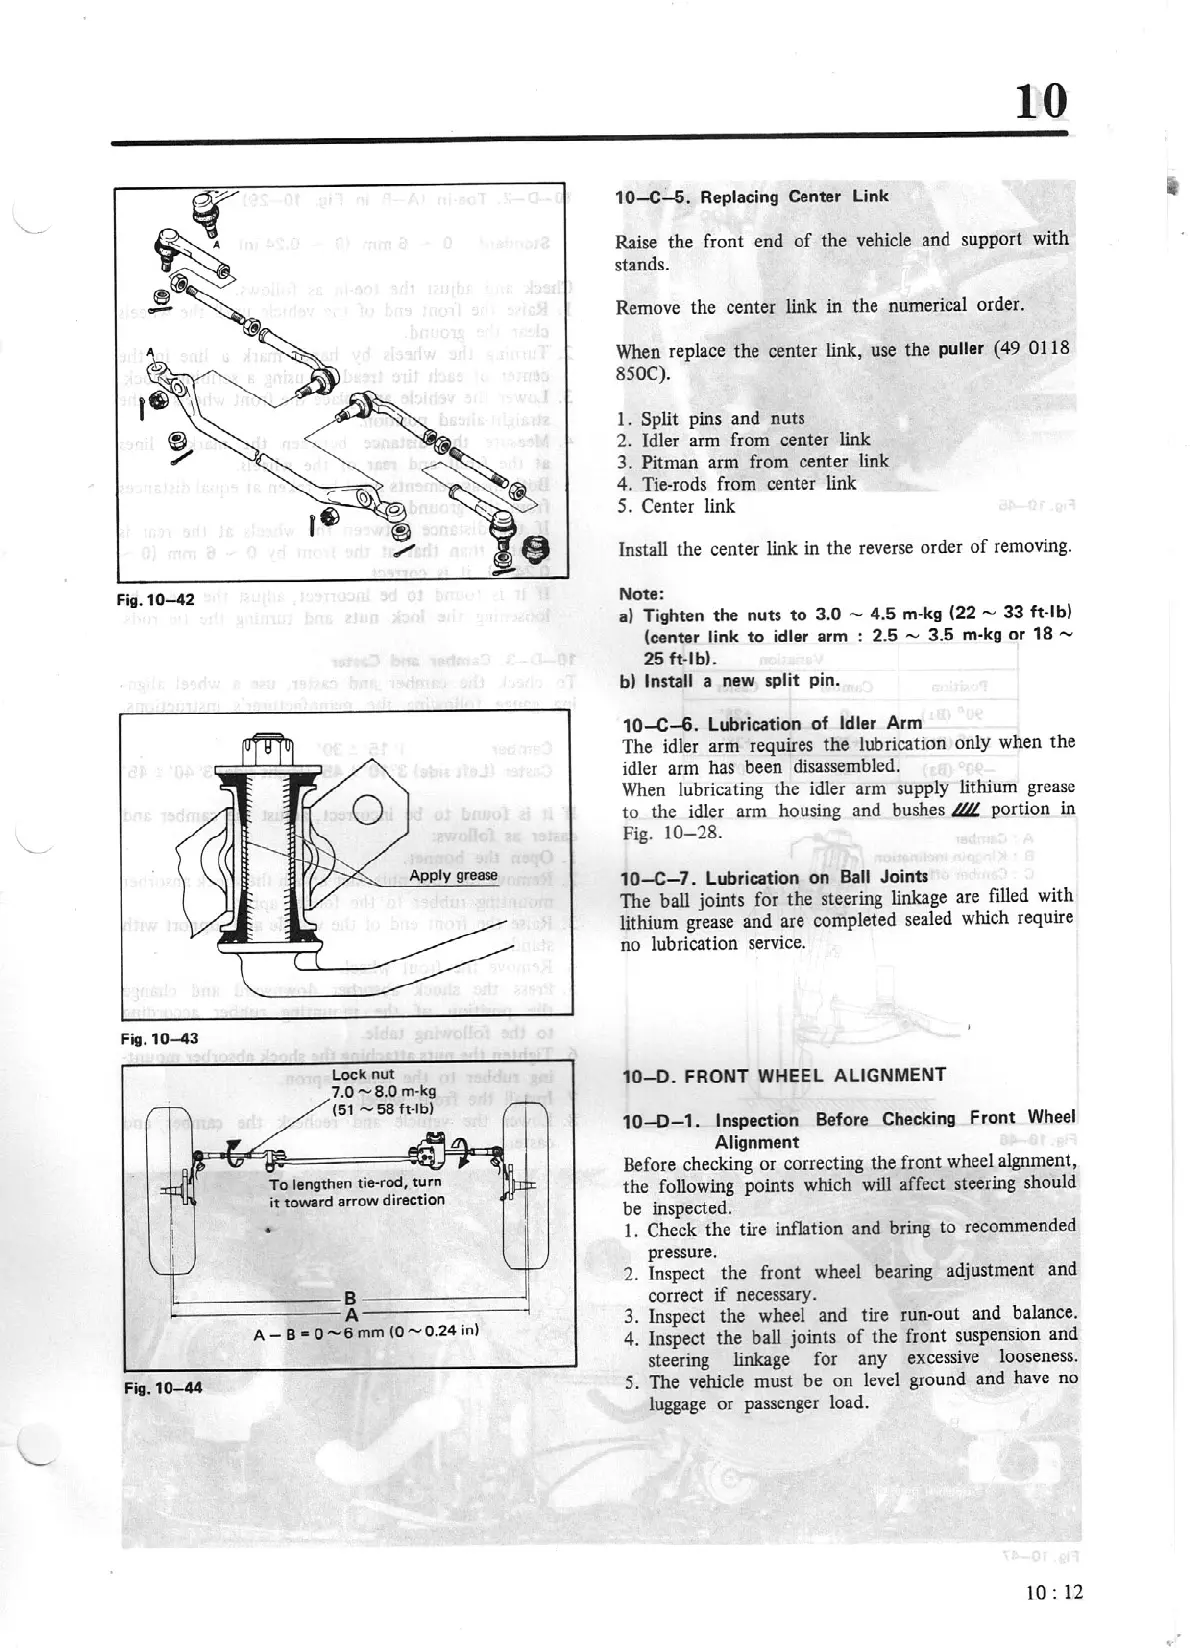
Lock
nut
7.0-8.0
m·kg
(51
-
58
ft·lb)
ll--
----
-
--
8
-
------
-<
1
i----
--
-
--
A
----
--
- -1
A - B
•
0-6
mm
(0-0.24
in)
Fig.10-44
10
10-C-5.
Replacing Center
Link
Raise the front end
of
the vehicle and support with
stands.
Remove the center link in the numerical order.
When replace the center link, use the
puller
(49
0118
850C).
l .
Split
pins and
nuts
2.
Idler arm from center link
3.
Pitman
arm from center link
4. Tie-rods from center link
5.
Center
link
In
st
all the center link in the reverse order
of
removing.
Note:
a)
Tighten the nuts
to
3.0
-
4.5
m·kg
(22 -
33
ft·lb)
(center
link
to
idler
arm :
2.5 -
3.5
m·kg
or
18
-
25
ft-lb).
b)
Install
a new split pin.
10-C-6.
Lubrication
of
Idler
Arm
The idler arm requires
the
lubrication only when
the
idler arm has been disassembled.
When
lubricating the idler arm supply lithium grease
to
the idler
arm
housing and bushes
/UL
portion in
Fig.
10-28.
10-C-7.
Lubrication on
Ball
Joints
The ball joints for the steering linkage are filled with
lithium grease and are completed sealed which require
no lubrication service.
10-0.
FRONT WHEEL
ALIGNMENT
10-0-1.
Inspection Before Checking
Front
Wheel
Alignment
Before checking
or
correcting the front wheel algnment,
the
following points which will affect steering should
be
inspected.
l.
Check
the
tire inflation and bring to recommended
pressure.
2.
Inspect the front wheel bearing adjustment and
correct
if
necessary.
3. Inspect the wheel and tire run-out and balance.
4. Inspect the ball joints
of
the front suspension and
steering linkage for any excessive looseness.
5.
The vehicle must be on level ground and have no
luggage or passenger load.
10:
12