WindO/I-NV4 User’s Manual 25-5
1 Monitoring with WindO/I-NV4
25
Monitor Function
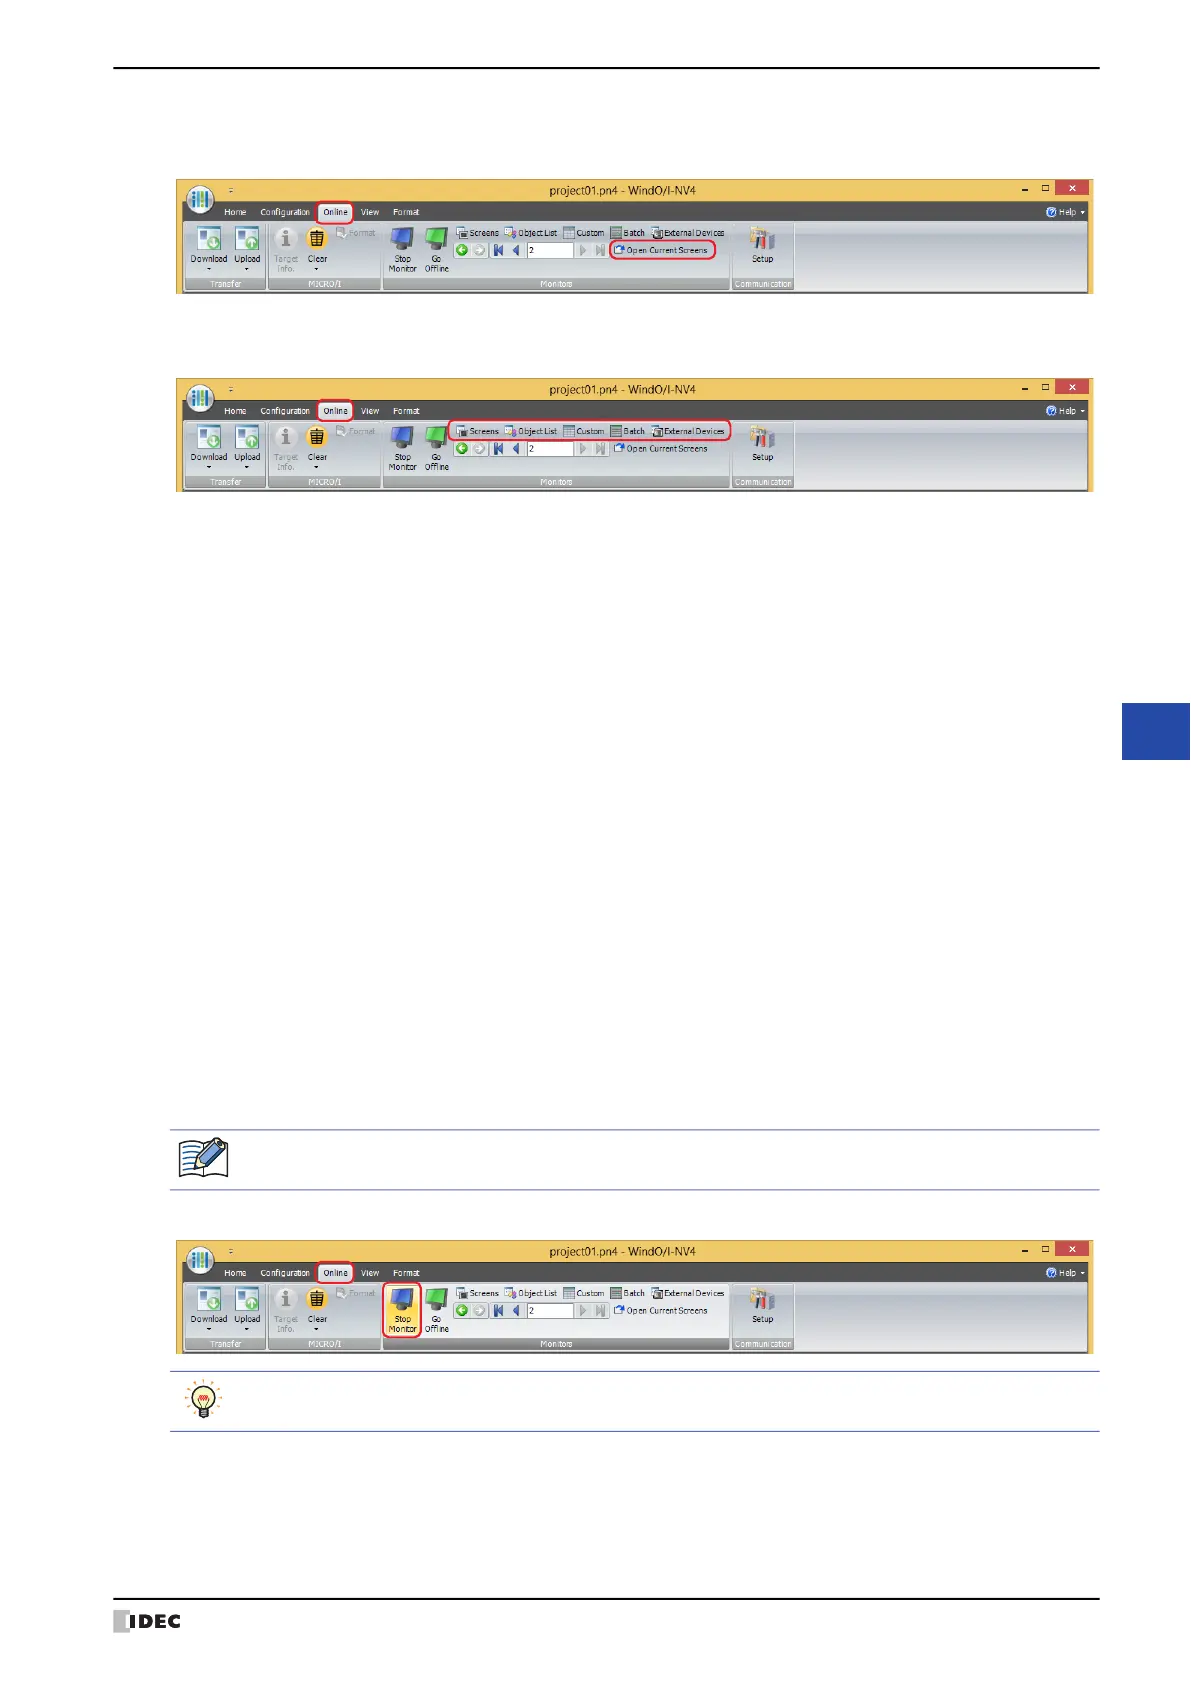
4 On the Online tab, in the Monitors group, click Open Current Screens.
The screen displayed on MICRO/I opens in the editing window.
5 On the Online tab, in the Monitors group, select the monitor being used.
When monitoring starts, the screen monitor is displayed.
■ Screens
Automatically checks device addresses used on the screen displayed on the MICRO/I. For details, refer to “Screen
Monitor” on page 25-6.
■ Object List
Displays values of device addresses in a popup on the Object List window. It also highlights objects while satisfying
conditions. For details, refer to “1.3 Display the Value of Device Address in Popup” on page 25-18, and “1.4
Highlighting Objects While Satisfying Conditions” on page 25-18.
■ Custom
Registers monitored device addresses individually and displays the value of device addresses. For details, refer to
“Custom Monitor” on page 25-7.
■ Batch
Registers monitored device address as a batch for sequential address numbers and displays the value of device
addresses. For details, refer to “Batch Monitor” on page 25-15.
■ External Devices
Displays the state of external devices connected to the MICRO/I. For details, refer to “External Device Monitor” on
page 25-17.
6 Check operation of project data by monitoring and changing values of device addresses, and edit project data if there
is an error.
If the monitored screen is switches, repeat steps
3 through 4.
7 Download the edited project data to the MICRO/I.
8 On the Online tab, in the Monitors group, click Stop Monitor.
To reflect edits made during debugging, it is necessary to perform a download.
To switch from offline mode to monitor mode, on the Online tab, in the Monitors group, click Go Online.
 Loading...