WindO/I-NV4 User’s Manual 24-21
3 Uploading
24
Online Function
Project data in the MICRO/I or in an external memory device inserted in a computer can be read using WindO/I-NV2
and saved to the computer.
3.1 Upload Project Data from the MICRO/I
1 Change communication settings according to the connection method between the computer and the MICRO/I.
In the Communication Settings dialog box, select Operator Interface from Communicate with. For details,
refer to “1.3 Change Communication Settings” on page 24-5.
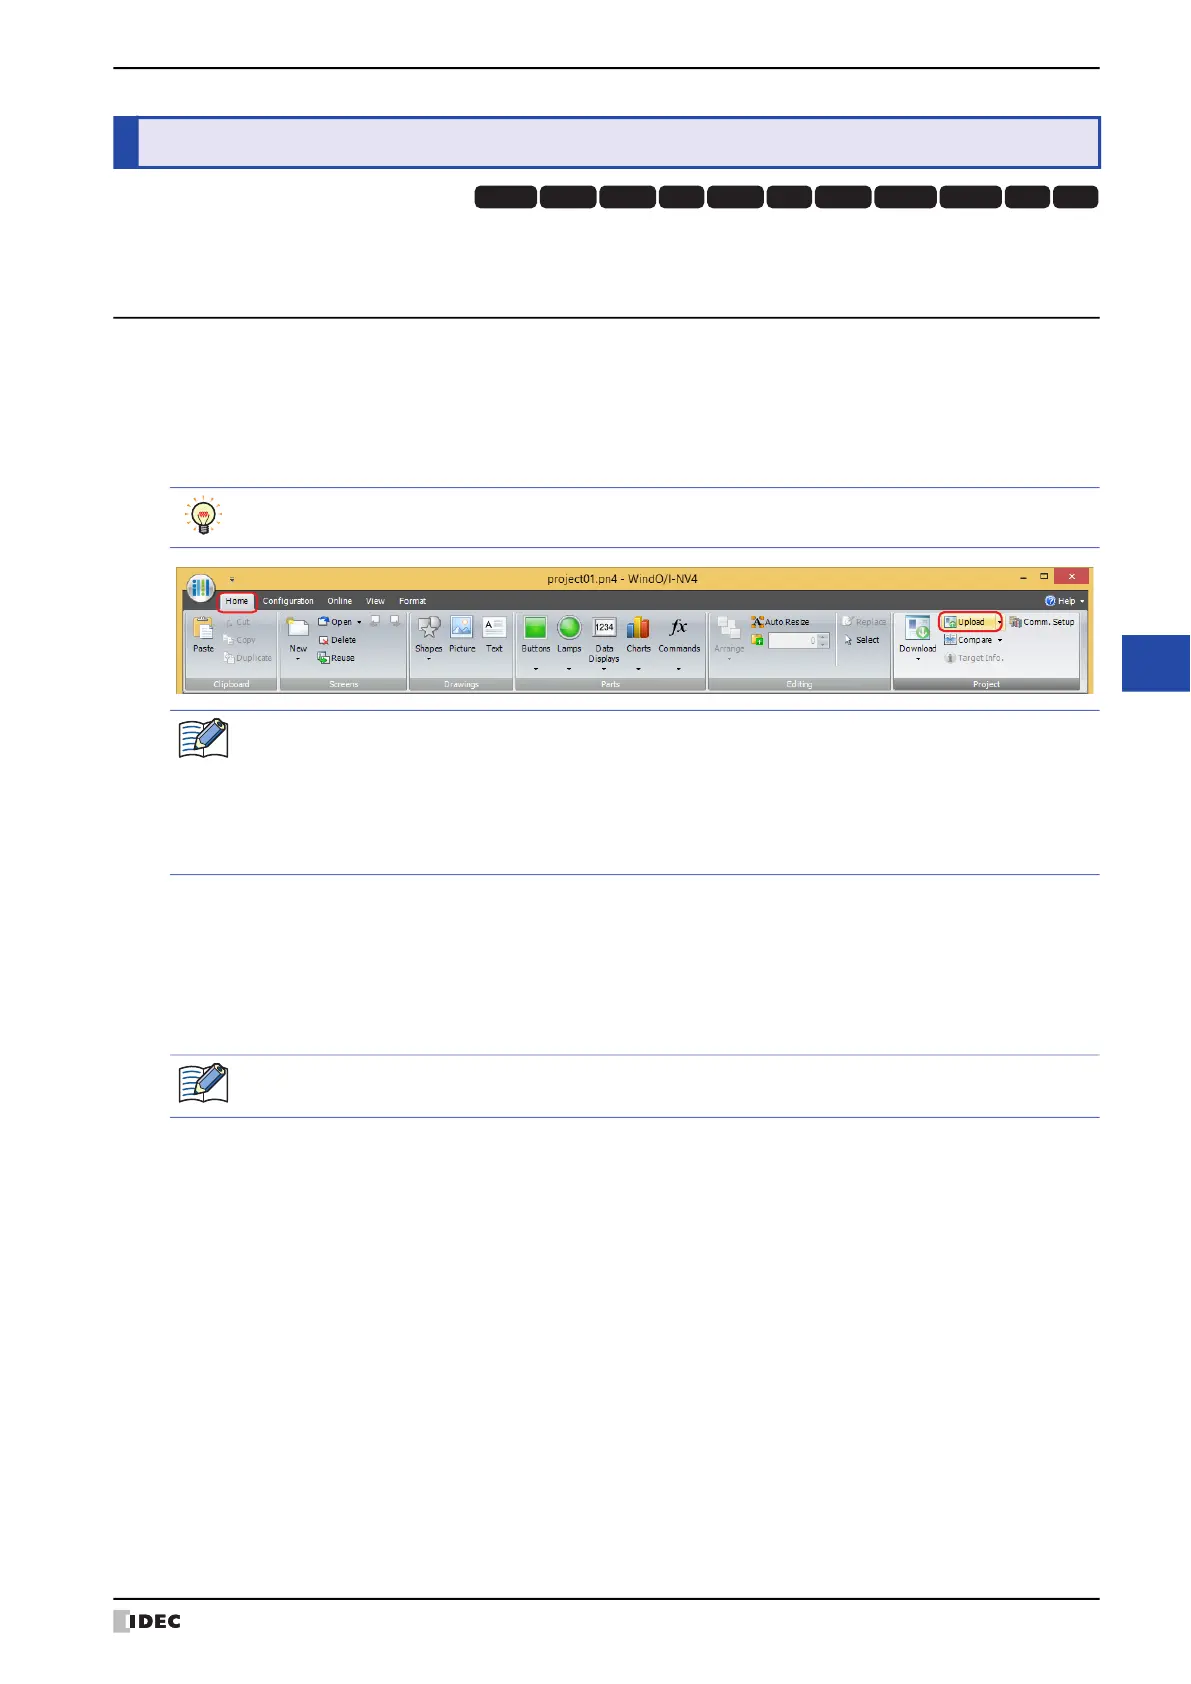
2 On the Home tab, in the Project group, click the Upload icon.
• When Communicate with is set to Operator Interface and Port is set to USB
*1
, the Upload dialog box is
displayed.
• When Communicate with is set to Operator Interface and Port is set to Ethernet, the Target IP Address
dialog box is displayed. Specify the IP address of the MICRO/I, and then click OK to start the upload. For details,
refer to “To execute a function other than the project data download” on page 24-10.
*1 HG5G/4G/3G/2G-V, HG4G/3G, HG2G-5F/-5T, HG1G/1P only
3 Uploading
HG3G
HG2G-5FHG5G-V HG4G-V HG3G-V HG2G-V HG2G-5T
HG4G HG1G HG1P
HG2J-7U
While editing project data, project data can be uploaded from the MICRO/I even by clicking the Upload
icon in the Transfer group on the Online tab.
If project data is being edited, project data will be closed. If the project data was changed, a confirmation
message to save the project data is displayed.
• Click Yes to save the project data and display a dialog box corresponding to the communication settings.
• Click No to close the project data without saving changes and display a dialog box corresponding to the
communication settings.
• Click Cancel to stop uploading and return to the editing screen without saving the project data.
If security is enabled in the MICRO/I project, the Password Screen is displayed. Enter the password.
For details, refer to Chapter 23 “User Accounts and the Security Function” on page 23-1.