WindO/I-NV4 User’s Manual 34-1
34
MICRO/I Setup
This chapter describes the MICRO/I setup screen and how to perform setup.
1.1 Maintenance Screen Overview
Using the screen that is displayed when the MICRO/I is in Run Mode, you can switch from Run Mode to System Mode
and load a screen to adjust device monitor and screen brightness.
Maintenance screen functions are indicated below:
1.2 Displaying the Maintenance Screen
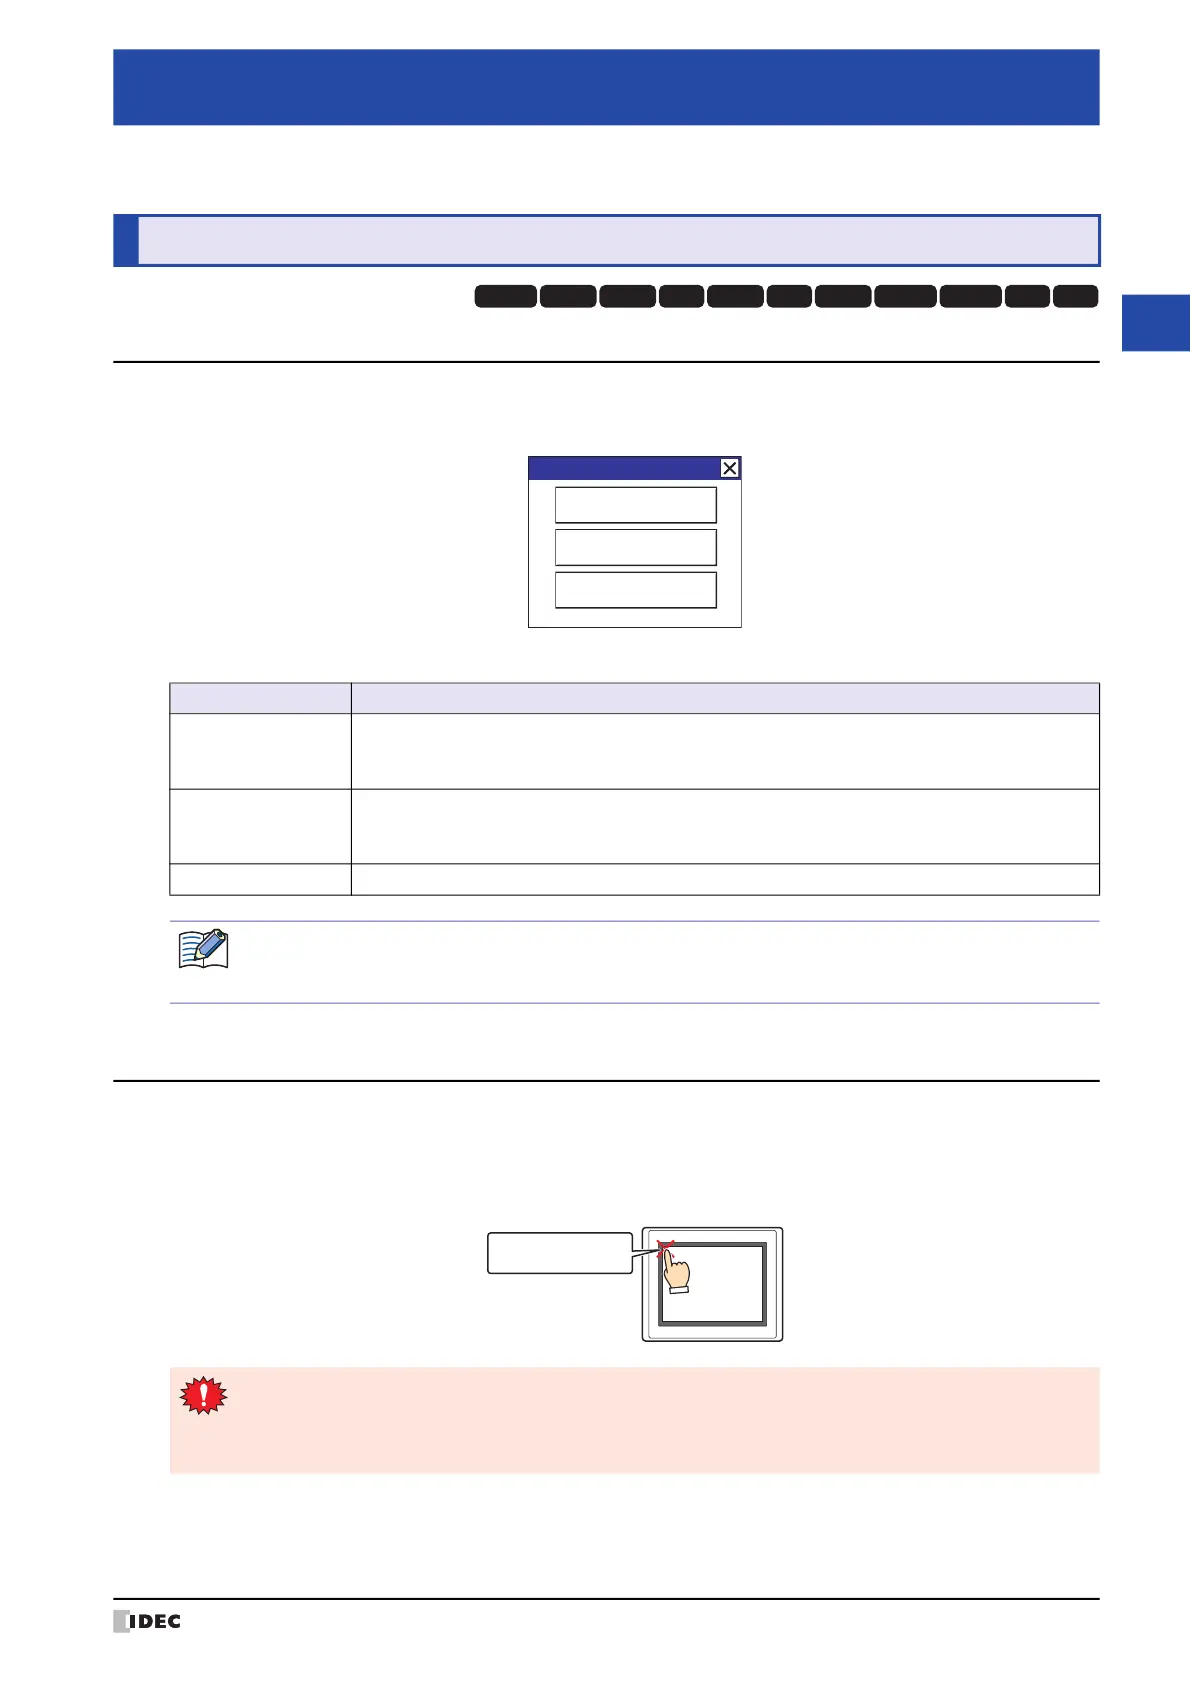
Press the upper-left corner of the MICRO/I screen for three seconds or more.
If the Base Screen is switched before three seconds have elapsed, the load operation for the maintenance screen will
be canceled. Please press it again.
Chapter 34 MICRO/I Setup
1 Maintenance Screen
HG3G
HG2G-5FHG5G-V HG4G-V HG3G-V HG2G-V HG2G-5T
HG4G HG1G HG1P
HG2J-7U
Button Description
System Mode
Switch the MICRO/I to System Mode. In System Mode, the MICRO/I can be changed to its initial
settings and data can be initialized.
For details, refer to “2 System Mode Overview” on page 34-3.
Device Monitor
Shows the Device Monitor. This screen can be used to register device addresses and monitor and
change values of device addresses. For details, refer to Chapter 25 “2.2 Device Monitor” on page
25-21.
Adjust Brightness Shows the adjust brightness screen. This screen is used to adjust the brightness of the MICRO/I.
Maintenance
System Mode
Device Monitor
Adjust Brightness
If a password has been configured for the project data and press System Mode or Device Monitor, the Enter
Password screen will be displayed. Select a user name and then enter a password. For details, refer to
Chapter 23 “User Accounts and the Security Function” on page 23-1.
Press and hold
3 or more seconds
MICRO/I
• To display the maintenance screen, select the Enable Maintenance check box under the System tab
in the Project Settings dialog box.
• If a touch switch is placed in the upper-left corner of the screen, switching to the maintenance screen
will not be possible.