5 Formatting
24-28 WindO/I-NV4 User’s Manual
Stops operation of the MICRO/I and formats an external memory device
*1
inserted in the MICRO/I.
5.1 Formatting an External Memory Device Inserted in the MICRO/I
1 Change communication settings according to the connection method between the computer and the MICRO/I.
If communicating with a MICRO/I inserted in a computer, in the Communication Settings dialog box, select Operator
Interface from Communicate with. For details, refer to “1.3 Change Communication Settings” on page 24-5.
2 Open project data.
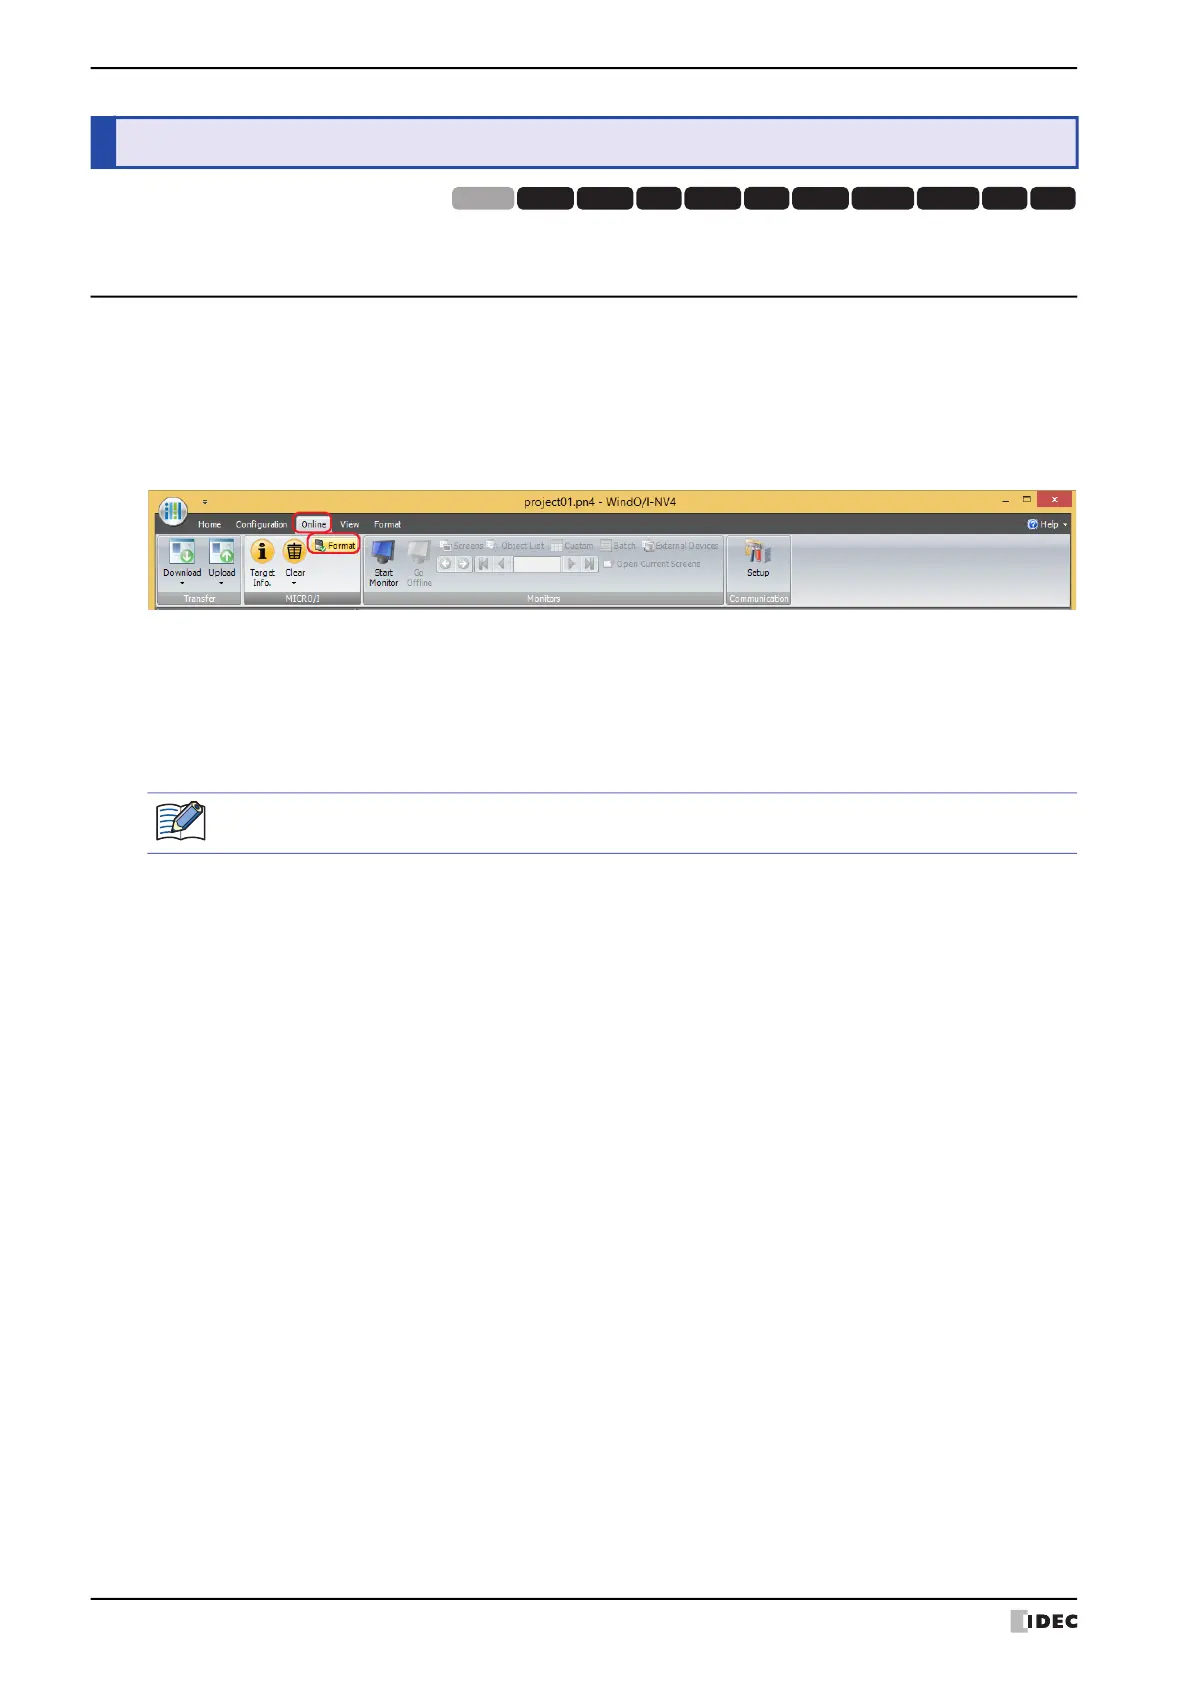
3 On the Online tab, in the MICRO/I group, click Format.
• When Communicate with is set to Operator Interface and Port is set to USB, a formatting confirmation
message is displayed.
• When Communicate with is set to Operator Interface and Port is set to Ethernet, the Target IP Address
dialog box is displayed. Specify the IP address of the MICRO/I, and then click OK to display the formatting
confirmation message. For details, refer to “To execute a function other than the project data download” on page
24-10.
4 Click Yes.
5 Click Close.
This concludes formatting the external memory device.
*1 SD memory card for HG5G/4G/3G/2G-V, HG4G/3G and HG2G-5F, USB flash drive for HG2G-5T and HG1G/1P
5 Formatting
HG3G
HG2G-5FHG5G-V HG4G-V HG3G-V HG2G-V HG2G-5T
HG4G HG1G HG1P
HG2J-7U
If security is enabled in the MICRO/I project, the Password Screen is displayed. Enter the password. For
details, refer to Chapter 23 “User Accounts and the Security Function” on page 23-1.
 Loading...