6/02
4-83
DC1632/2240
REP 9.21
Repairs and Adjustments
Prelaunch Training/Review
REP 9.21 Left Lift Assembly
Parts List on PL 5.1
Removal
WARNING
To avoid personal injury or shock, do not perform repair or adjustment activities with
the power switch on or electrical power applied to the machine.
1. Open Front Cover.
2. Remove Fuser Front Cover (REP 14.8).
3. Remove Waste Cartridge (REP 9.4).
4. Remove Waste Cartridge Cover (REP 9.3).
5. Remove Inner Left Harness Cover (REP 14.10).
6. Release and move Xerographic Release Lever down.
7. Remove Drum Cartridges.
8. Remove Right Cover (REP 14.3).
9. Remove Belt Module (REP 9.15).
10. Remove Xerographic Release Lever (REP 9.18).
11. Remove Rear Cover (REP 14.2).
12. Remove Power Switch Cover (REP 14.6).
13. Remove Upper Rear Left Cover (REP 14.4).
14. Close Left Cover Assembly.
15. Remove MSI Tray (REP 7.1).
16. Remove Left Cover Assembly (REP 8.1).
17. Optional for improved visibility: Remove Fuser Module (REP 10.1).
18. Remove Registration Transport (REP 8.6).
19. Remove Dispenser Assembly Cover (REP 9.6).
20. Remove Waste Toner Agitator (REP 9.13).
21. Remove Belt Mark Sensor (REP 9.14).
22. Remove Left Xerographic Release Lever Bracket (REP 9.19).
23. Remove Front Cover (REP 14.7).
24. Remove K and C Toner Cartridges.
25. Remove K and C Dispenser Assembly (REP 9.7).
NOTE: In next step, do not remove sensor from housing
26. Remove housing for Waste Cartridge Full Sensor (REP 9.5).
NOTE: In next step, it may not be necessary to disconnect harnesses for Plate Assembly (PL
4.2) to remove a developer housing.
27. Remove Plate Assembly (REP 9.8).
28. Remove K and C Developer Housing (REP 9.9).
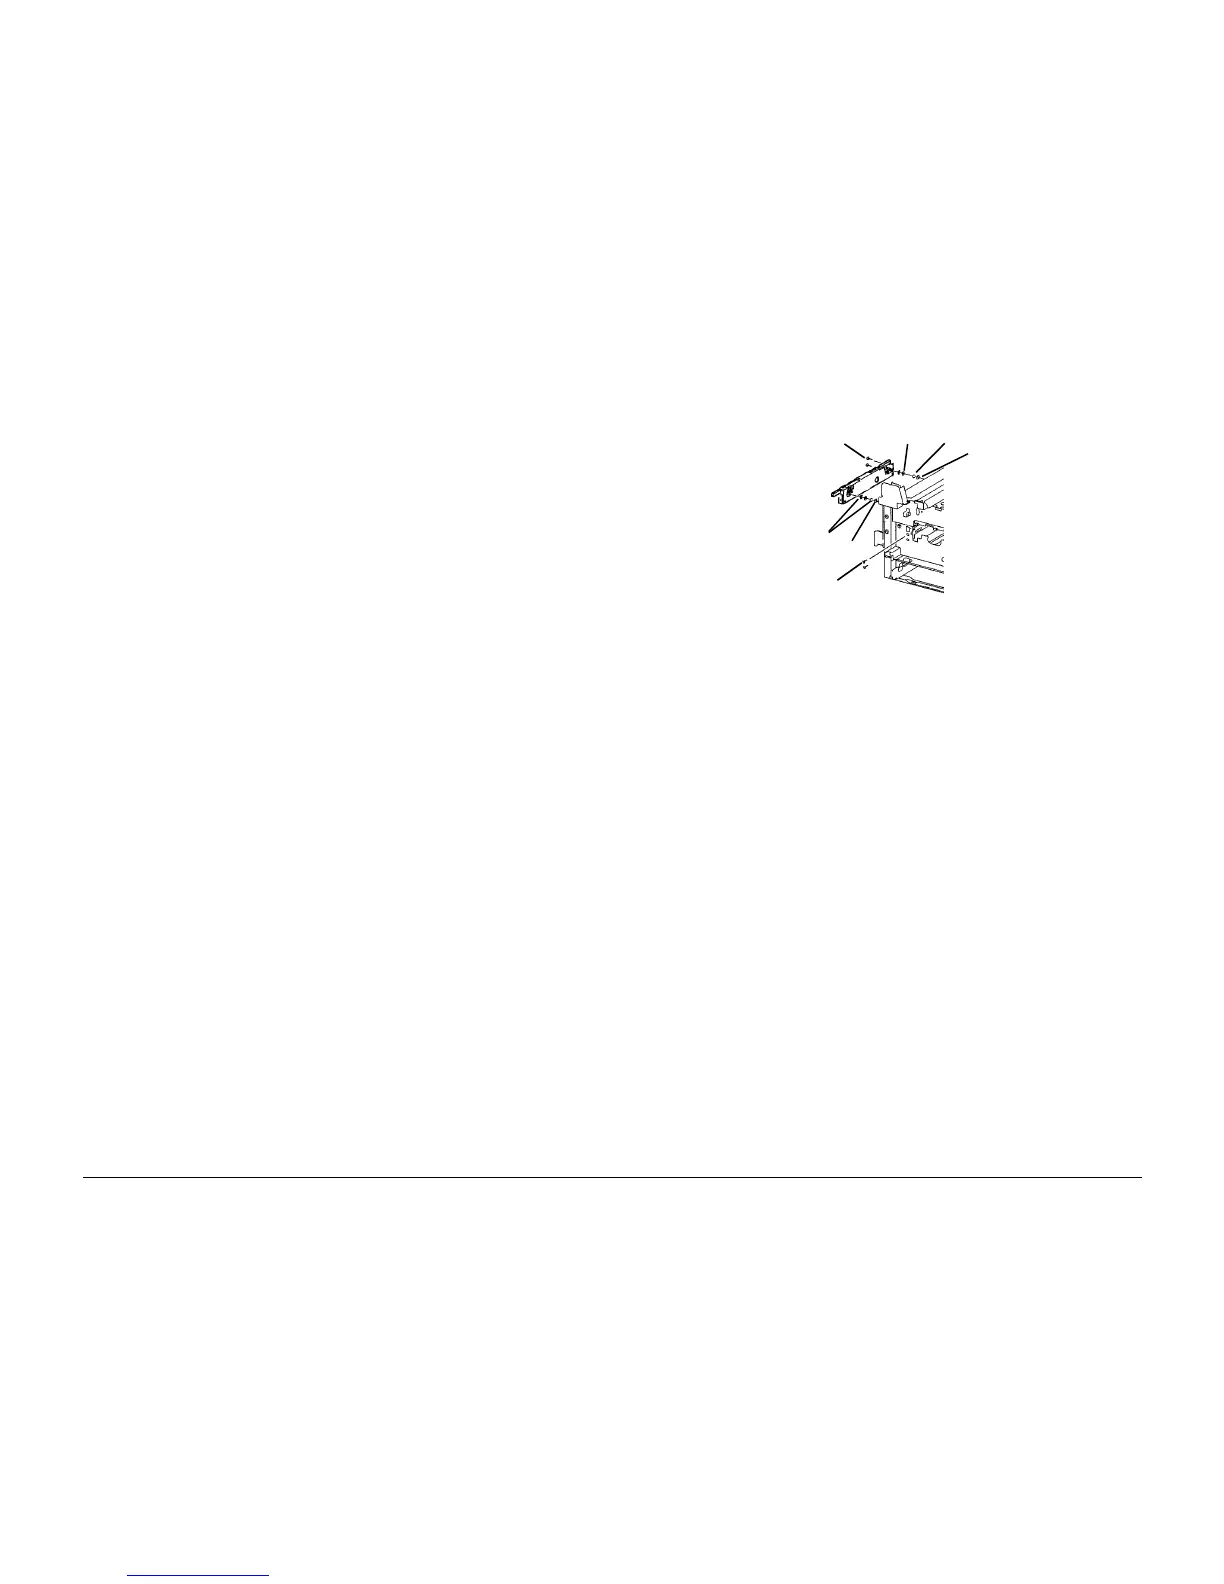
29. Remove Left Xerographic Lift (Figure 1).
NOTE: In next step, use a magnet to capture E-Ring and Washer while removing them.
a. From inside Developer Housing cavity, remove E-Ring and Washer from each end of
Left Xerographic Lift.
b. Remove Screws (4).
c. Remove Left Xerographic Lift and maintain orientation to ensure Bearings (2) and
Washers (2) do not fall off posts.
Figure 1 Removing Left Xerographic Lift
Replacement
1. Install Lift.
a. Position Lift in frame.
b. Raise or lower xerographic frame as required and push in or pull out Lift actuator as
required to engage lift bearings with slots in xerographic frame.
c. Install front top screw, then front bottom screw, then rear screws (2).
d. Install washers (2) and e-rings (2).
2. Assemble remaining machine components.
E-Ring
E-Ring
Washer
Washer
Screws (2)
Screws (2)
Bearing

 Loading...


