6/02
4-91
DC1632/2240
REP 9.26
Repairs and Adjustments
Prelaunch Training/Review
REP 9.26 ATC Sensor
Parts List on PL 6.2
Removal
WARNING
To avoid personal injury or shock, do not perform repair or adjustment activities with
the power switch on or electrical power applied to the machine.
1. Remove Front Cover (REP 14.7).
2. Remove Drum Cartridges.
3. Remove Waste Cartridge (REP 9.4).
4. Remove Waste Cartridge Cover (REP 9.3).
5. Remove Fuser Front Cover (REP 14.8).
6. Release and move Xerographic Release Lever half way down.
7. Remove Dispenser Assembly Cover (REP 9.6).
8. Remove all Dispenser Assemblies (REP 9.7).
NOTE: In next step, do not remove sensor.
9. Remove housing for Waste Cartridge Full Sensor (REP 9.5).
NOTE: In next step, it may not be necessary to disconnect harnesses for Plate Assembly (PL
4.2) to remove a developer housing.
10. Remove Plate Assembly (REP 9.8).
11. Remove Developer Housing (REP 9.9).
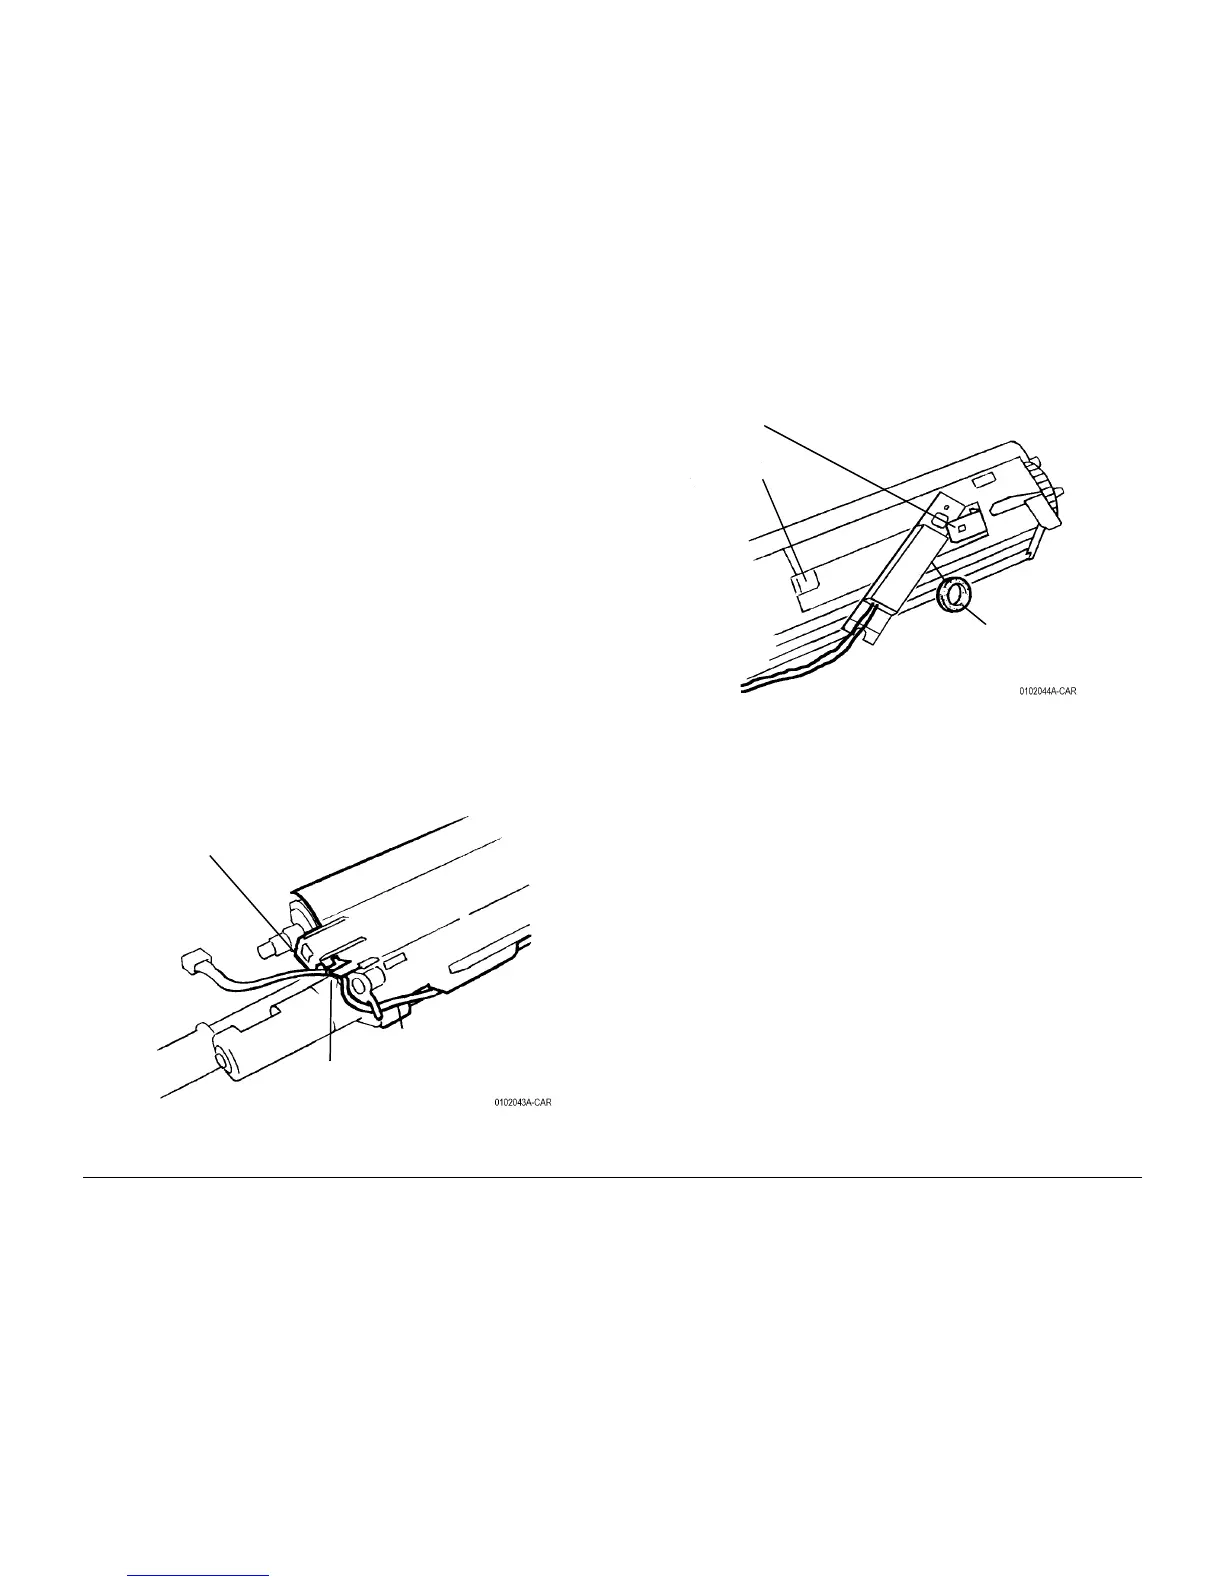
12. Release Harness from Harness Clips (Figure 1).
Figure 1 Removing Harness form Clips
13. Remove ATC Sensor (Figure 2).
Figure 2 Removing ATC Sensor
2
Release Tab and
remove wires
3
Lift Tab and remove wires
1
Carefully notice posi-
tion of wires
1
Lift Lock
and move
end away
from Tab
2
Remove Seal
from under
Sensor

 Loading...


