6/02
4-44
DC1632/2240
REP 6.11
Prelaunch Training/Review
Repairs and Adjustments
REP 6.11 Carriage Cables
Parts List on PL 18.5
Removal
WARNING
To avoid personal injury or shock, do not perform repair or adjustment activities with
the power switch on or electrical power applied to the machine.
NOTE: This page describes how to remove Rear Carriage Cable.
NOTE: Do not replace both cables at same time. Remove front and rear cables separately.
1. Remove DADF (REP 5.1).
2. Remove Platen Glass (REP 6.1).
3. Remove IIT Top Cover (REP 6.3).
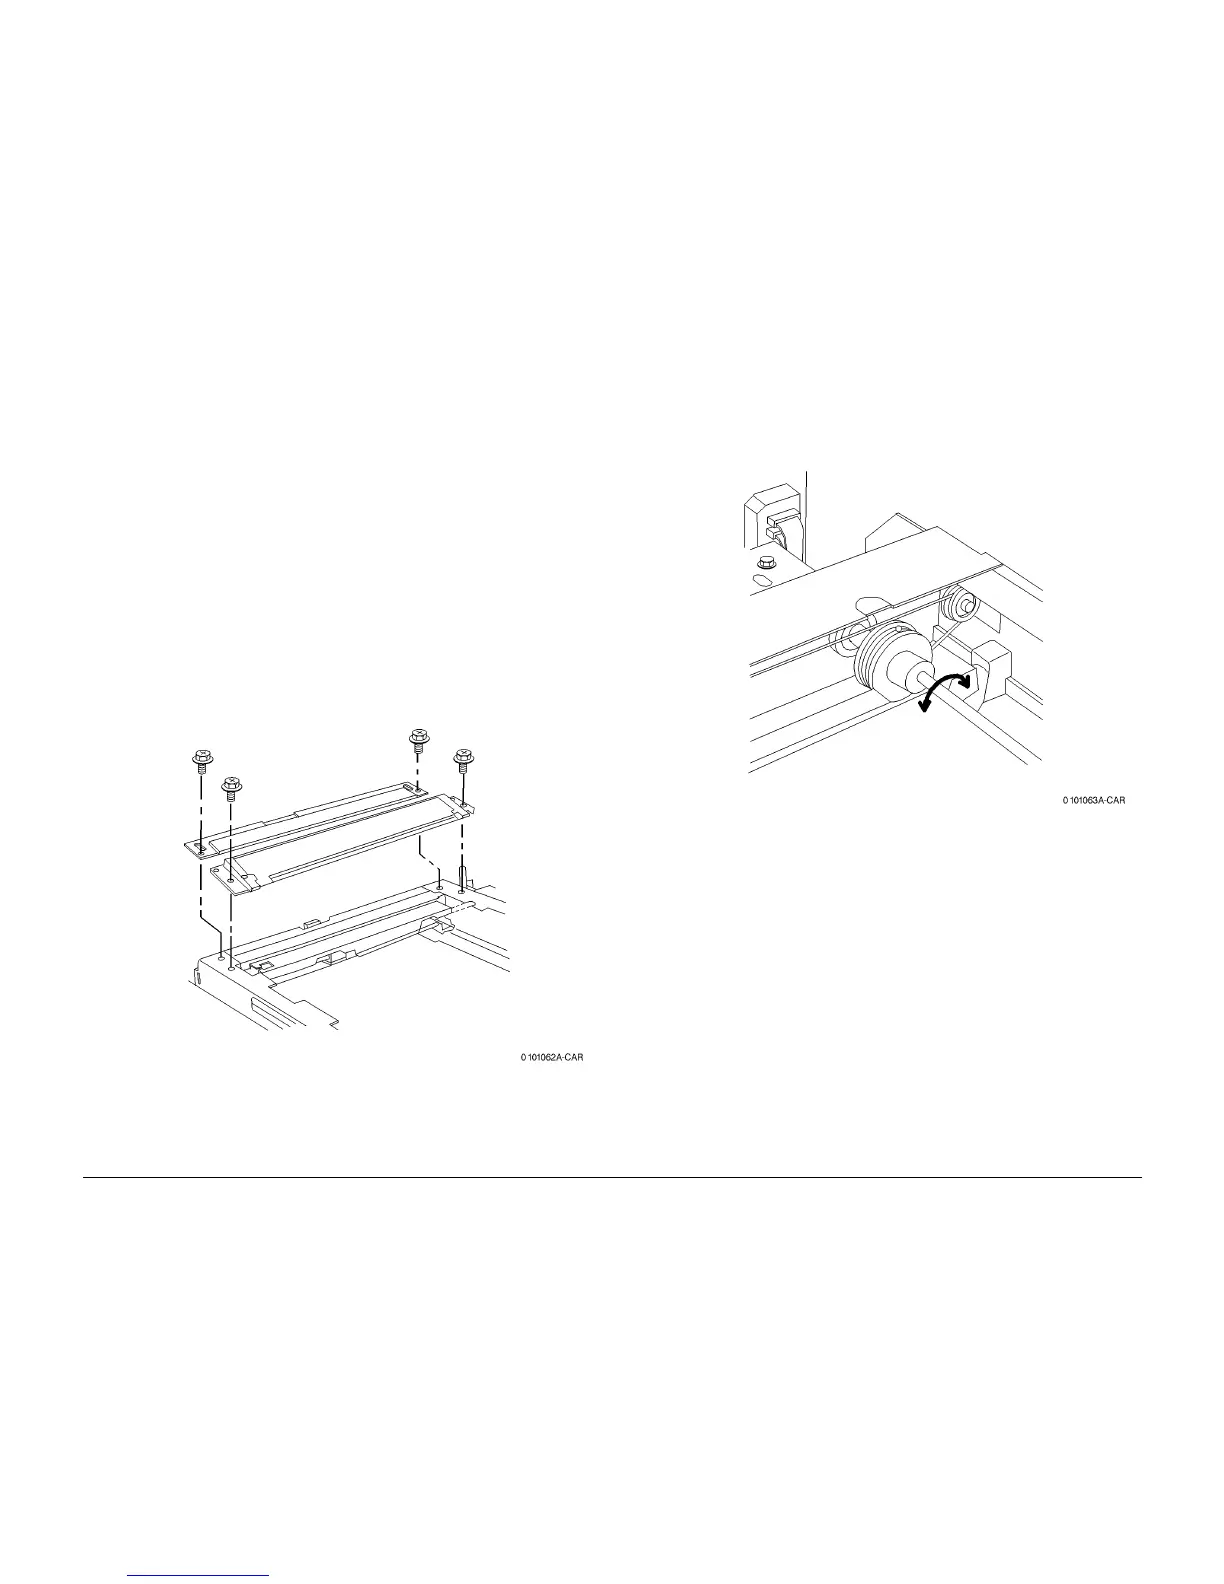
4. DADF machines: Remove registration gate and plate (Figure 1).
a. 1. Remove screws (2).
b. 2. Remove Registration Gate.
c. 3. Remove screws (2).
d. 4. Remove plate.
Figure 1 Removing Registration Gate and Plate
5. Remove Full Rate Carriage from IIT Frame (REP 6.14). Keep lamp wire harness connec-
tor connected.
6. Move Half Rate Carriage so that position of Carriage Cable Ball on Capstan is one of fol-
lowing: (Figure 2).
ï Two Carriage Cable Rolls in front and rear.
ï Carriage Cable Ball is directly above.
Figure 2 Positioning Half Rate Carriage

 Loading...


