6/02
4-11
DC1632/2240
REP 1.13
Repairs and Adjustments
Prelaunch Training/Review
REP 1.13 ESS NVM PWB
Parts List on PL 13.1
Removal
1. Download ESS NVM values to machine floppy. If download is not possible, most recent
NVM values will be downloaded during replacement step 3.
WARNING
To avoid personal injury or shock, do not perform repair or adjustment activities with
the power switch on or electrical power applied to the machine.
2. Remove Right Cover (REP 14.3).
3. Remove Top Cover (REP 14.1).
4. Remove Rear Cover (REP 14.2).
5. Remove ESS Top Cover (PL 13.1).
CAUTION
Protect Hard Drive Harness. Hard Drive is mounted to ESS Top Cover. Hard Drive har-
ness remains connected to ESS PWB while removing ESS Top Cover.
a. Remove screws (11) from ESS Top Cover.
b. Lift ESS Top Cover and place it upside down on Toner Cartridges.
CAUTION
The ESS PWB has a lithium battery. Dispose of the used battery following the manufacturers'
instructions after replacing. Do not throw it away at customer's site.
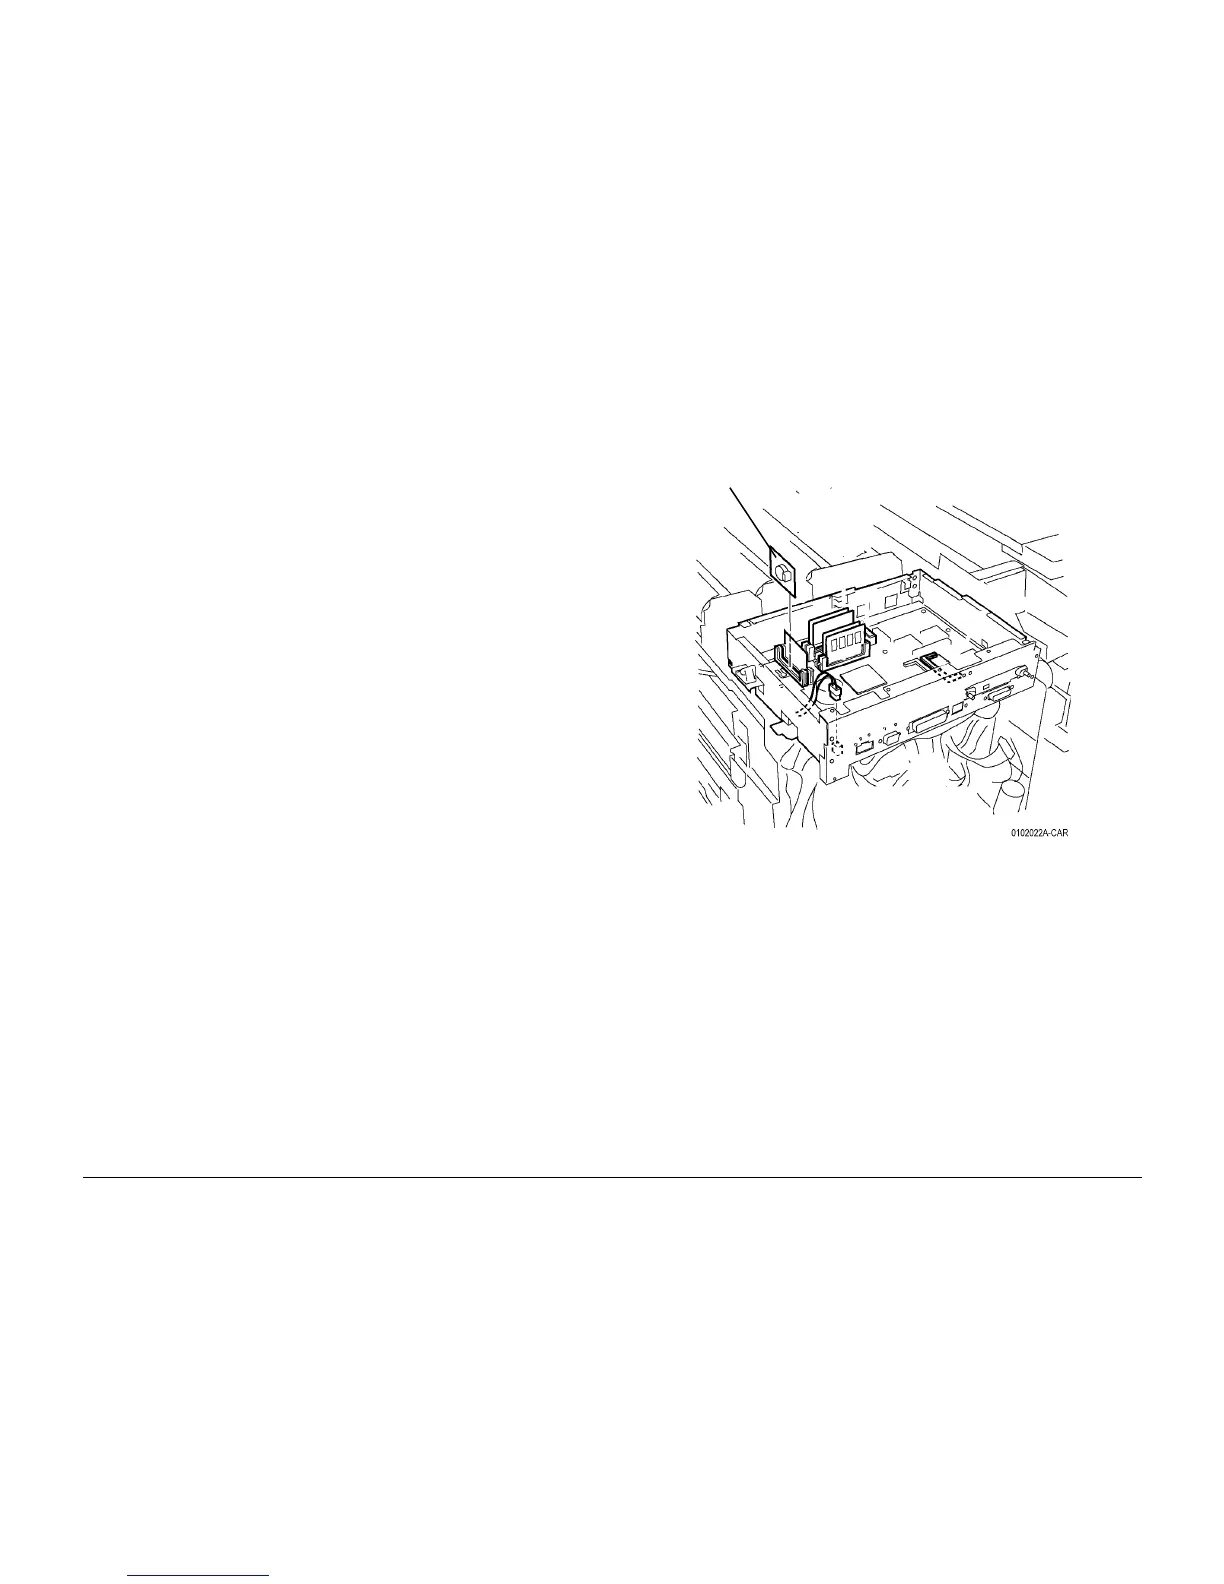
6. Remove the ESS NVM PWB (Figure 1).
Figure 1 Removing the ESS NVM PWB
Replacement
1. Connect the PSW and enter DC132.
2. Match the Billing, following the steps of DC132.
3. Enter all the NVM values described in the NVM List that comes with the machine or down-
load NVM values from machine floppy.
ESS NVM
PWB

 Loading...


