Diagnostic information 2-253
7510
No fuse
Step Check Yes No
1 Check the fuser unit assembly installation.
Check that the levers, on both sides of the fuser unit
assembly, are pushed down.
Re-print the defective image.
Does the error continue?
Go to step 2. Problem solved.
2
Check the media condition.
Load new, dry, recommended media.
Re-print the defective image.
Does the problem remain?
Go to step 3. Problem solved.
3
Check the heat roll and pressure roll.
Remove the fuser unit assembly.
CAUTION: Allow the fuser unit assembly to
cool down.
Is there contamination or cracks on the heat roll and/or
pressure roll?
Replace the
fuser unit
assembly.
Go to “Fuser
unit assembly
removal” on
page 4-15.
Go to step 4.
4
Check the connections on the AC drive card assembly.
Replace the AC drive card assembly.
Go to “AC drive card bracket assembly removal” on
page 4-109
Does the error continue?
Go to step 5. Problem solved.
5
Check the upper printer engine card assembly.
Replace the upper printer engine card assembly.
Go to “Upper printer engine card assembly removal”
on page 4-88.
Perform a print test.
Does the error continue?
Replace the RIP
card assembly.
Go to “RIP card
assembly
removal” on
page 4-84.
Problem solved.
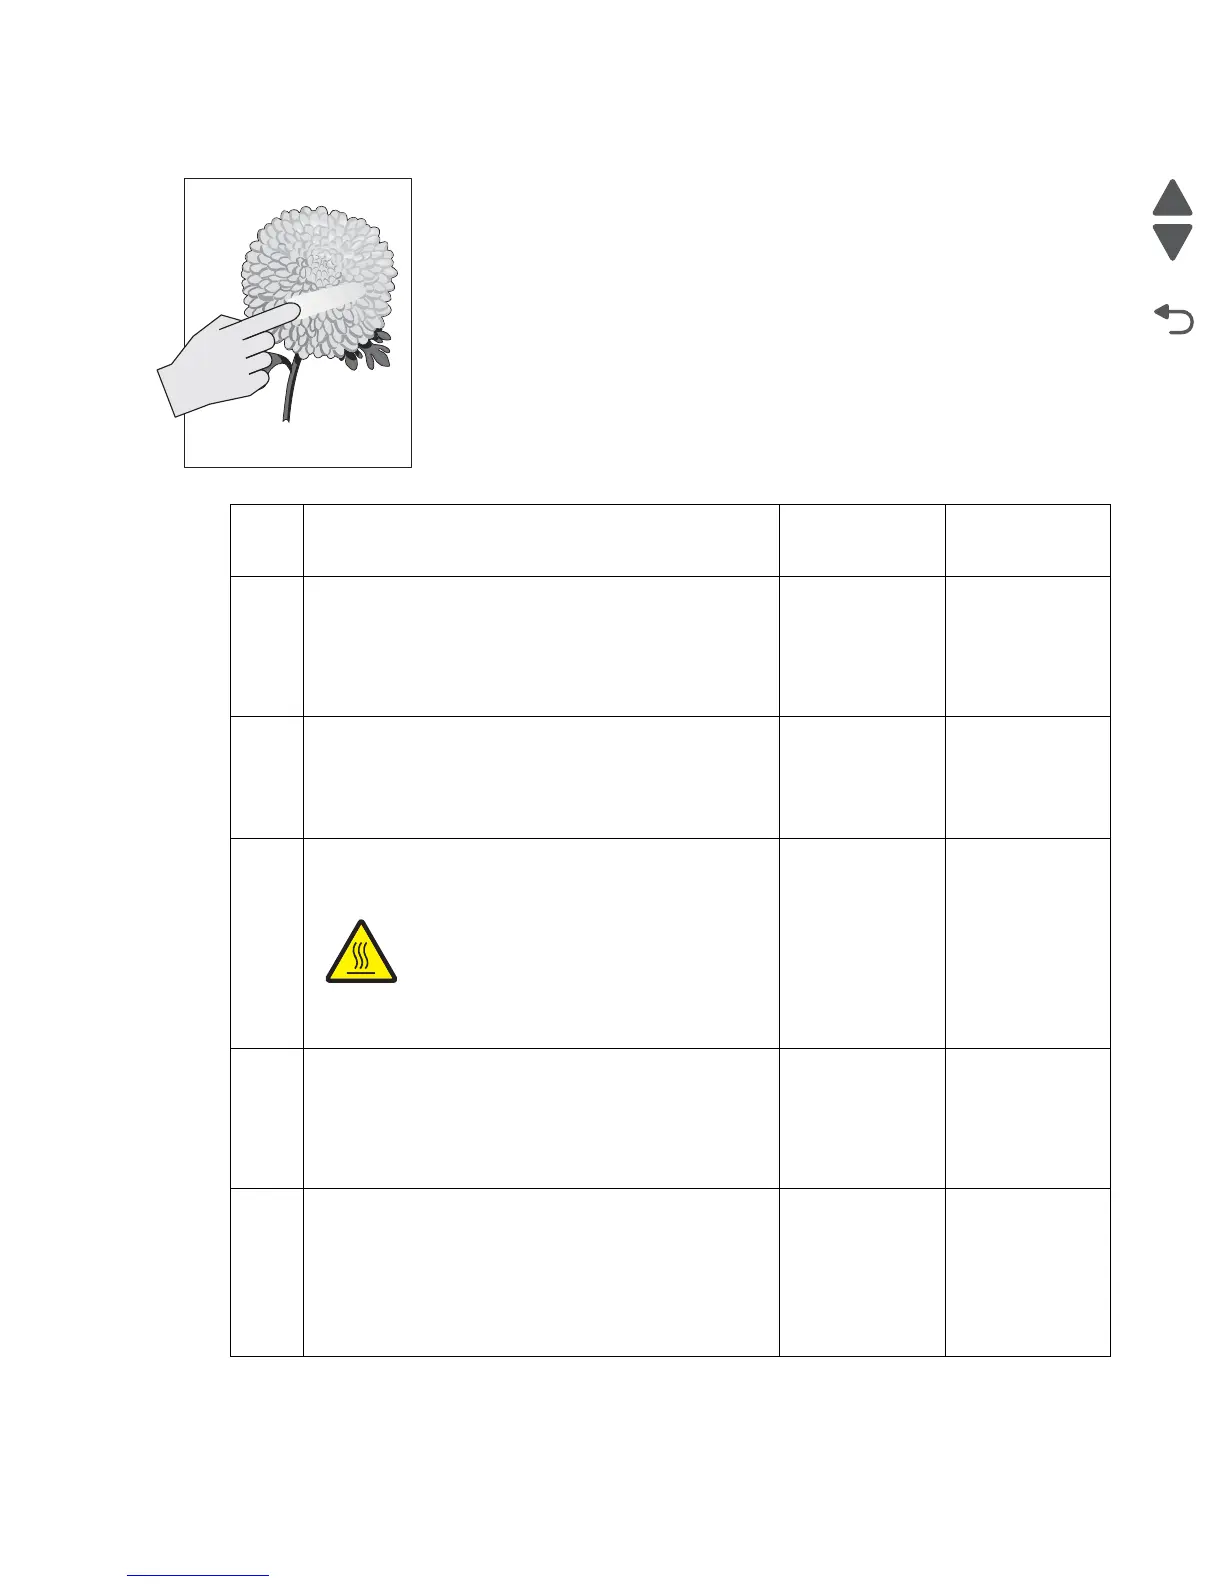
Leading edge
Trailing edge

 Loading...


