4-18 Service Manual
7510
transfer belt lift handle assembly removal
Warning: When replacing the transfer belt lift handle assembly, the two transfer belt lift mechanisms must
be correctly timed or print quality problems and damage will occur.
Replacement warning: After replacing the transfer belt lift handle assembly (B), the two transfer belt lift
mechanisms must be correctly aligned or print quality problems and damage will occur. Once the alignment
is correctly set, replace the two plastic rack gear caps.
Replacement warning: When replacing the transfer belt lift handle assembly (B), ensure the two timing
marks on the two sector gears are aligned with the two timing knotches in the two rack gears.
Replacement warning: Gently raise and lower the transfer belt lift handle assembly (B) and ensure that
the lift mechanicsm is aligned properly and no binding occurs
1. Remove the front door assembly. See “Printer front door assembly removal” on page 4-3
2. Remove the waste toner bottle.
3. Remove the right cover assembly. See “Right cover assembly removal” on page 4-4.
4. Remove the transfer belt unit assembly. See “Transfer belt unit assembly removal” on page 4-16
5. Remove the front left cover. See “Front left cover removal” on page 4-9.
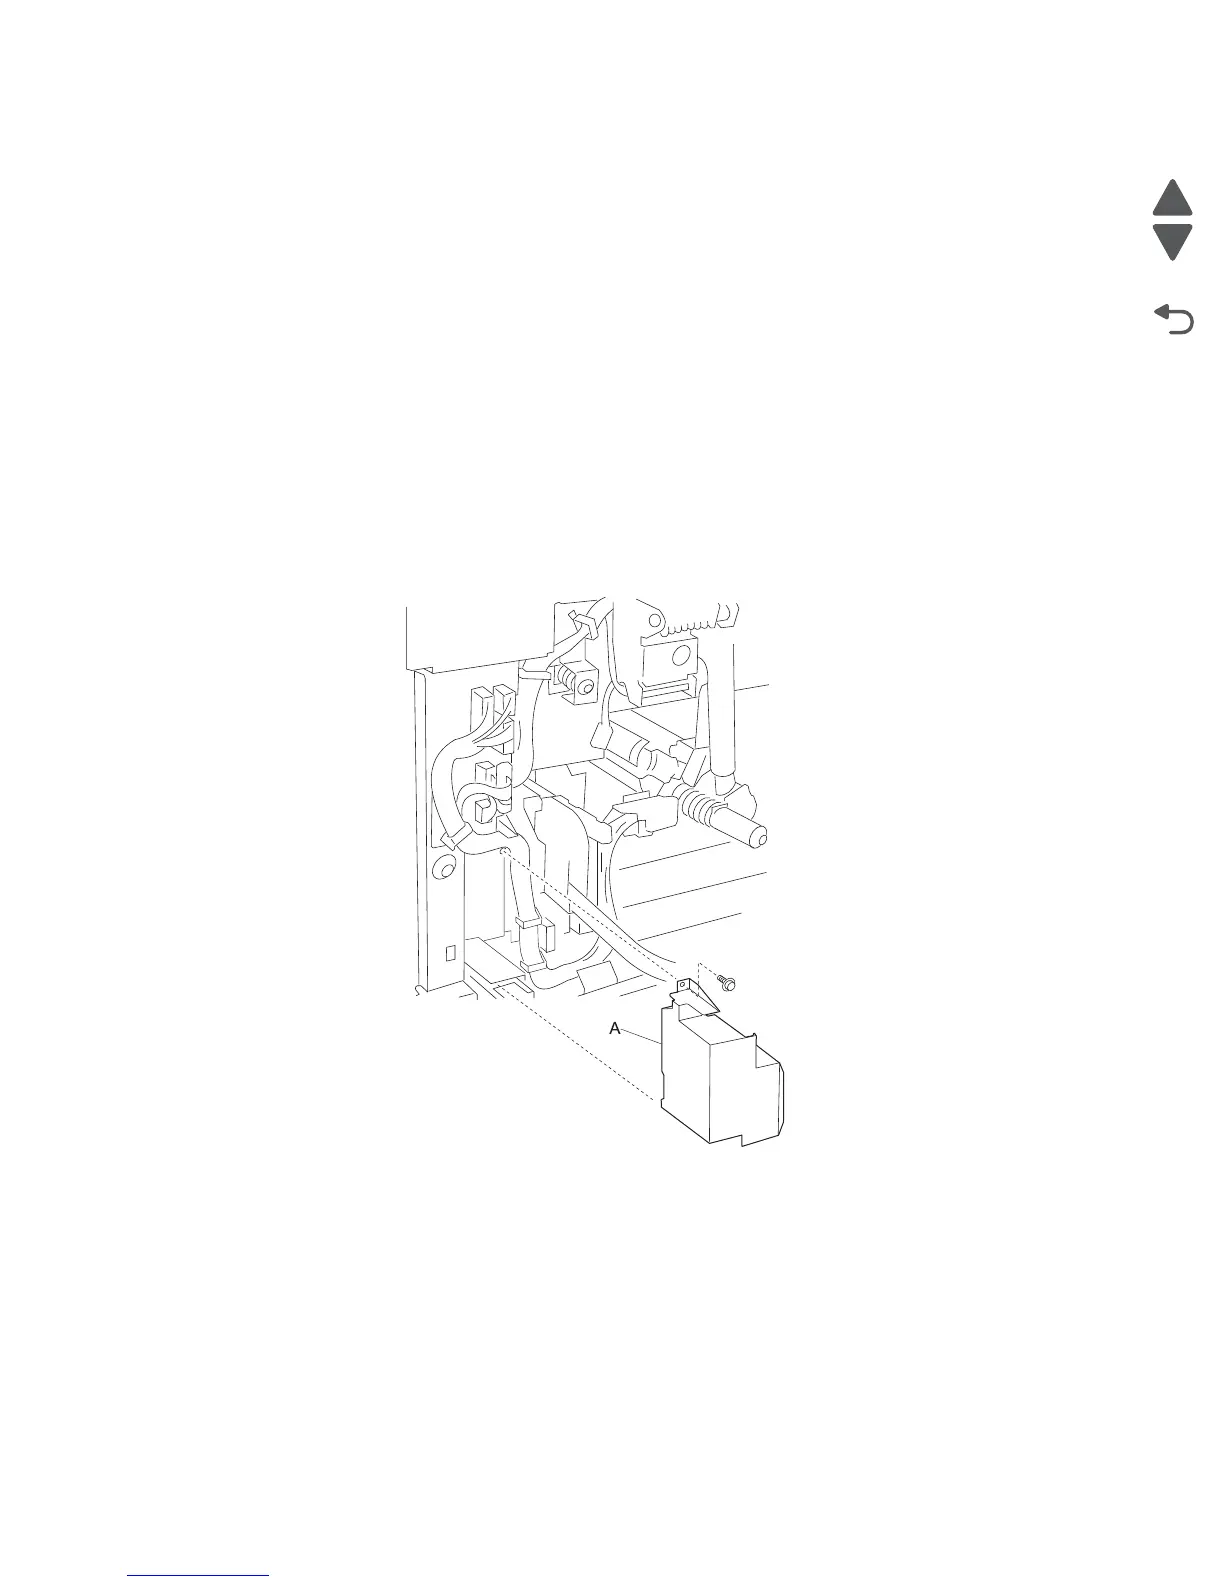
6. Remove the screw securing the plastic cover (A) to the machine.
7. Remove the plastic cover (A).

 Loading...


