4-90 Service Manual
7510
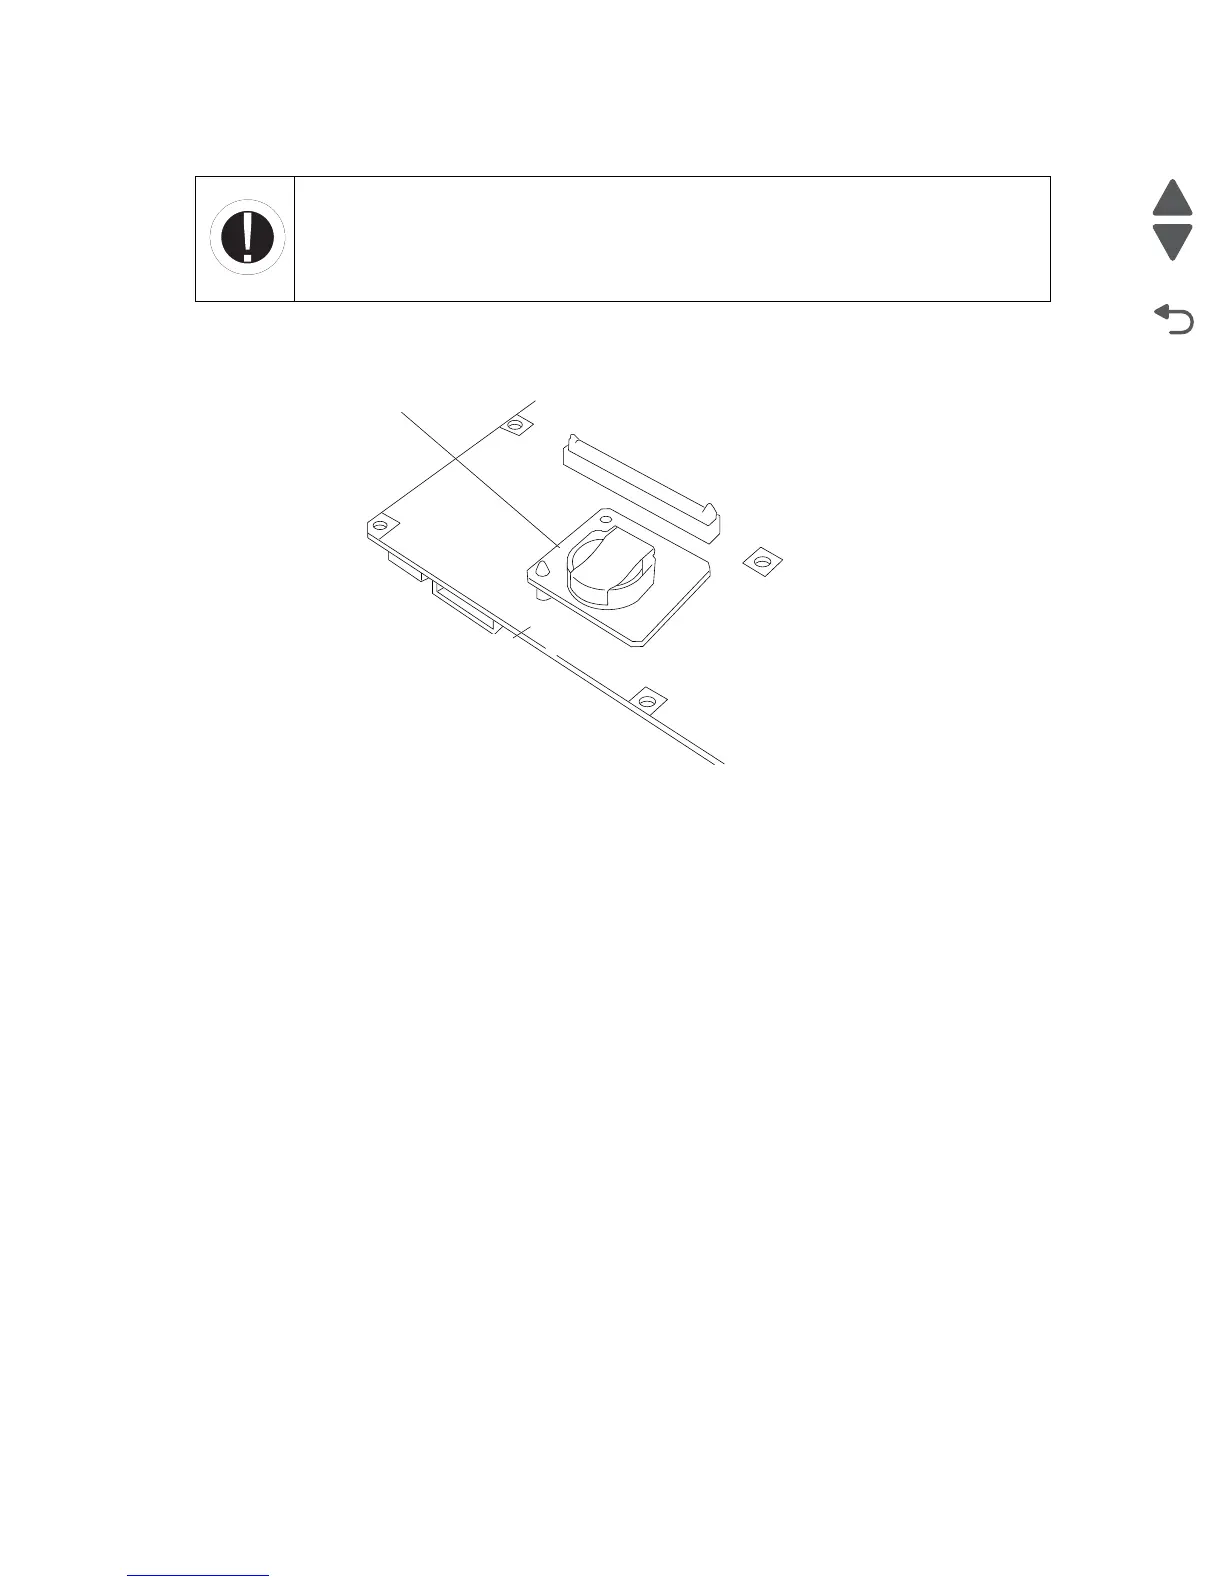
Upper printer engine card assembly re-installation
1.
Install the NVM board from the defective PCBA to the replacement PCBA.
Warning: Ensure that the NVM board (D) is installed on the new upper printer engine card assembly, or
the machine may not function properly.
2. Install the replacement upper printer engine card assembly to the machine.
Warning: Ensure that the bridge card assembly and the lower printer engine card are connected.
3. Turn on the machine.
Note: If an 84.xx error occurs, it means that the NVM board was incorrectly installed. Make sure that the
NVM board installed is the old NVM board from the defective upper printer engine card.
4. Perform color registration adjustment.
Lower printer engine card bracket assembly removal
1. Remove the rear cover assembly. See “Rear cover assembly removal” on page 4-5.
2. Remove the rear upper cooling fan bracket assembly. See “Rear upper cooling fan bracket assembly
removal” on page 4-111.
3. Remove the developer / transfer roll HVPS card assembly. See “Developer / transfer roll HVPS card
assembly removal” on page 4-112.
4. Remove the fifteen connectors from the lower printer engine card bracket assembly (A).
5. Remove the harnesses from the clamps.
6. Remove the two screws securing the lower printer engine card bracket assembly (A) to the machine.
Note: When removing the lower printer engine card bracket assembly (A), the lower printer engine card
assembly (B) and the upper printer engine card assembly (C) will become detached.
7. Move the lower printer engine card bracket assembly (A) down.
WARNING
Failure to perform this procedure correctly may cause:
• damage to the replacement PCBA
• loss of memory settings

 Loading...


