4-80 Service Manual
7510
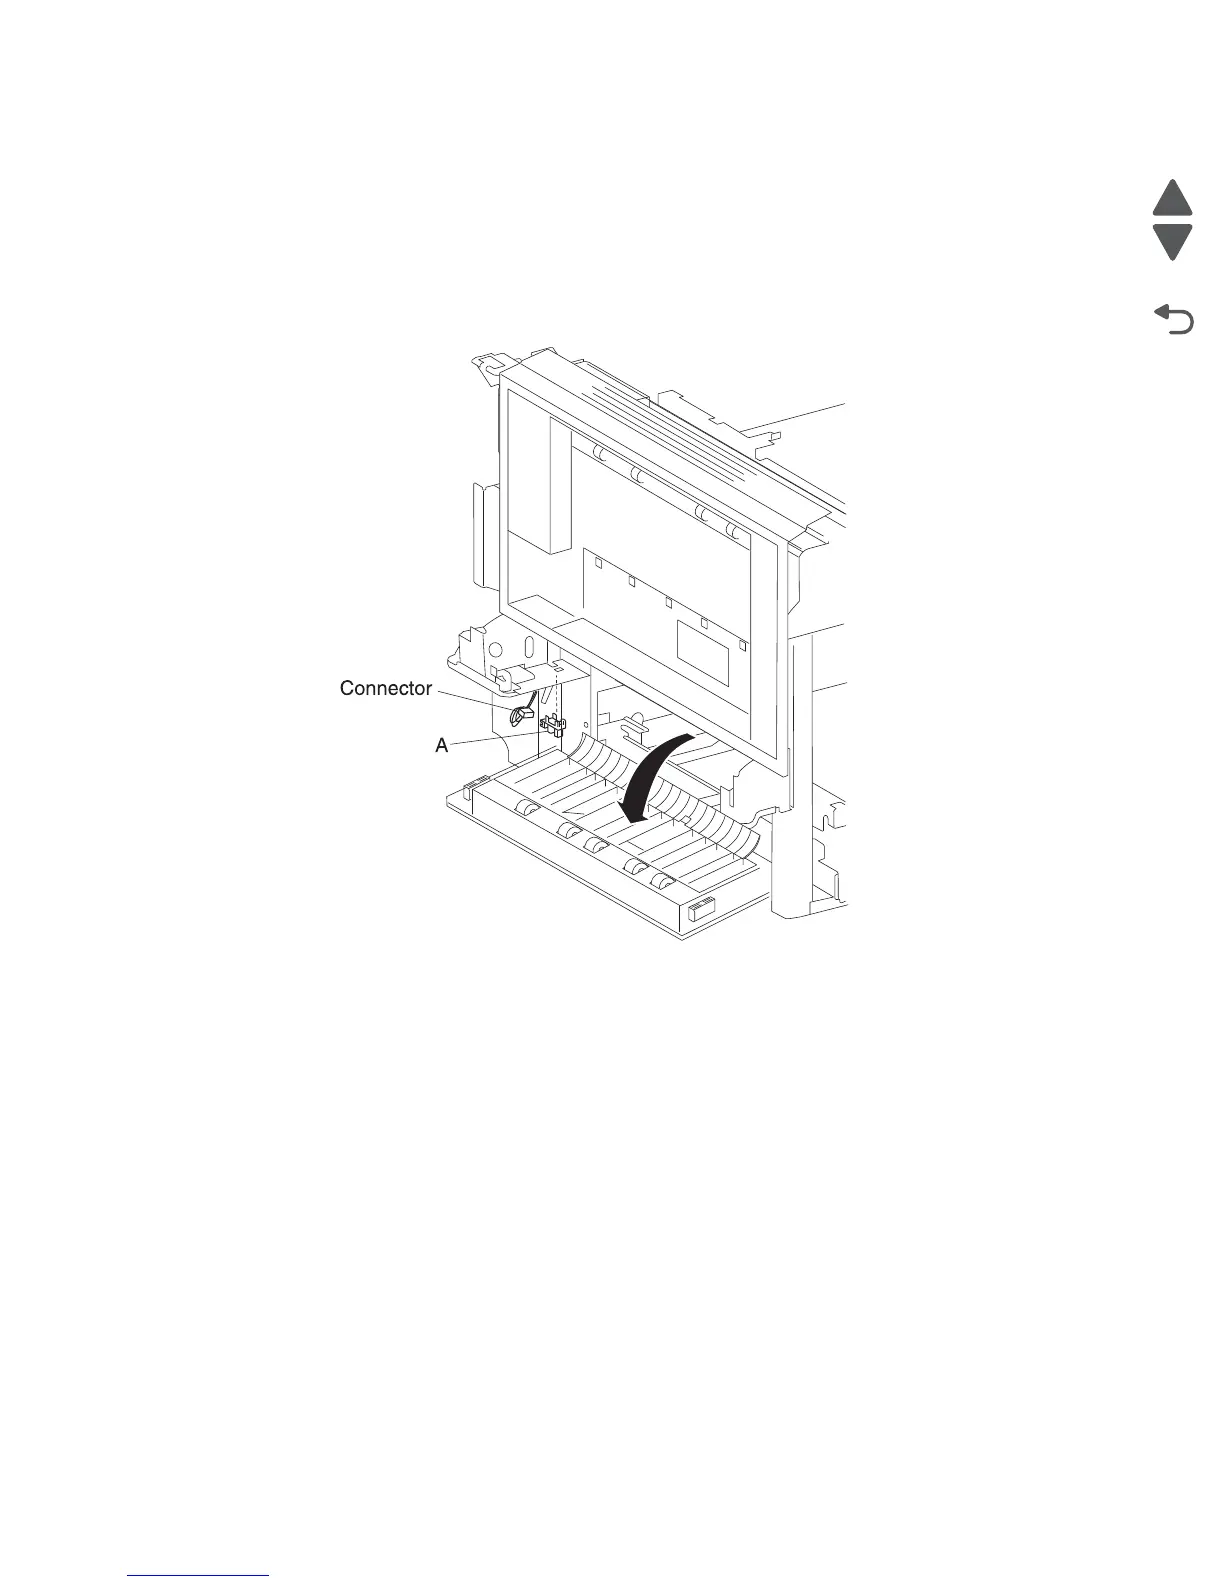
Sensor (printer left lower door interlock) removal
1. Remove the rear cover assembly. See “Rear cover assembly removal” on page 4-5.
2. Remove the rear left middle cover. See “Rear left middle cover removal” on page 4-6.
3. Remove the MPF feed unit assembly. See “MPF feed unit assembly removal” on page 4-8.
4. Release the hooks securing the sensor (printer left lower door interlock) (A) to the machine.
5. Remove the sensor (printer left lower interlock (A).
6. Disconnect the connector from the sensor (printer left lower door interlock) (A).
RIP card cooling fan cover assembly removal
1. Remove the rear cover assembly. See “Rear cover assembly removal” on page 4-5.
2. Remove the right cover assembly. See “Right cover assembly removal” on page 4-4
3. Remove the top cover assembly. See “Top cover assembly removal” on page 4-4.
4. Remove the RIP card assembly. See “RIP card assembly removal” on page 4-84.
5. Disconnect the connector from the RIP card cooling fan cover assembly (A).
6. Remove the four screws securing the controller box top over assembly (A) to the machine.
7. Move the RIP card cooling fan cover assembly (A) toward the front of the machine.

 Loading...


