Repair information 4-57
7510
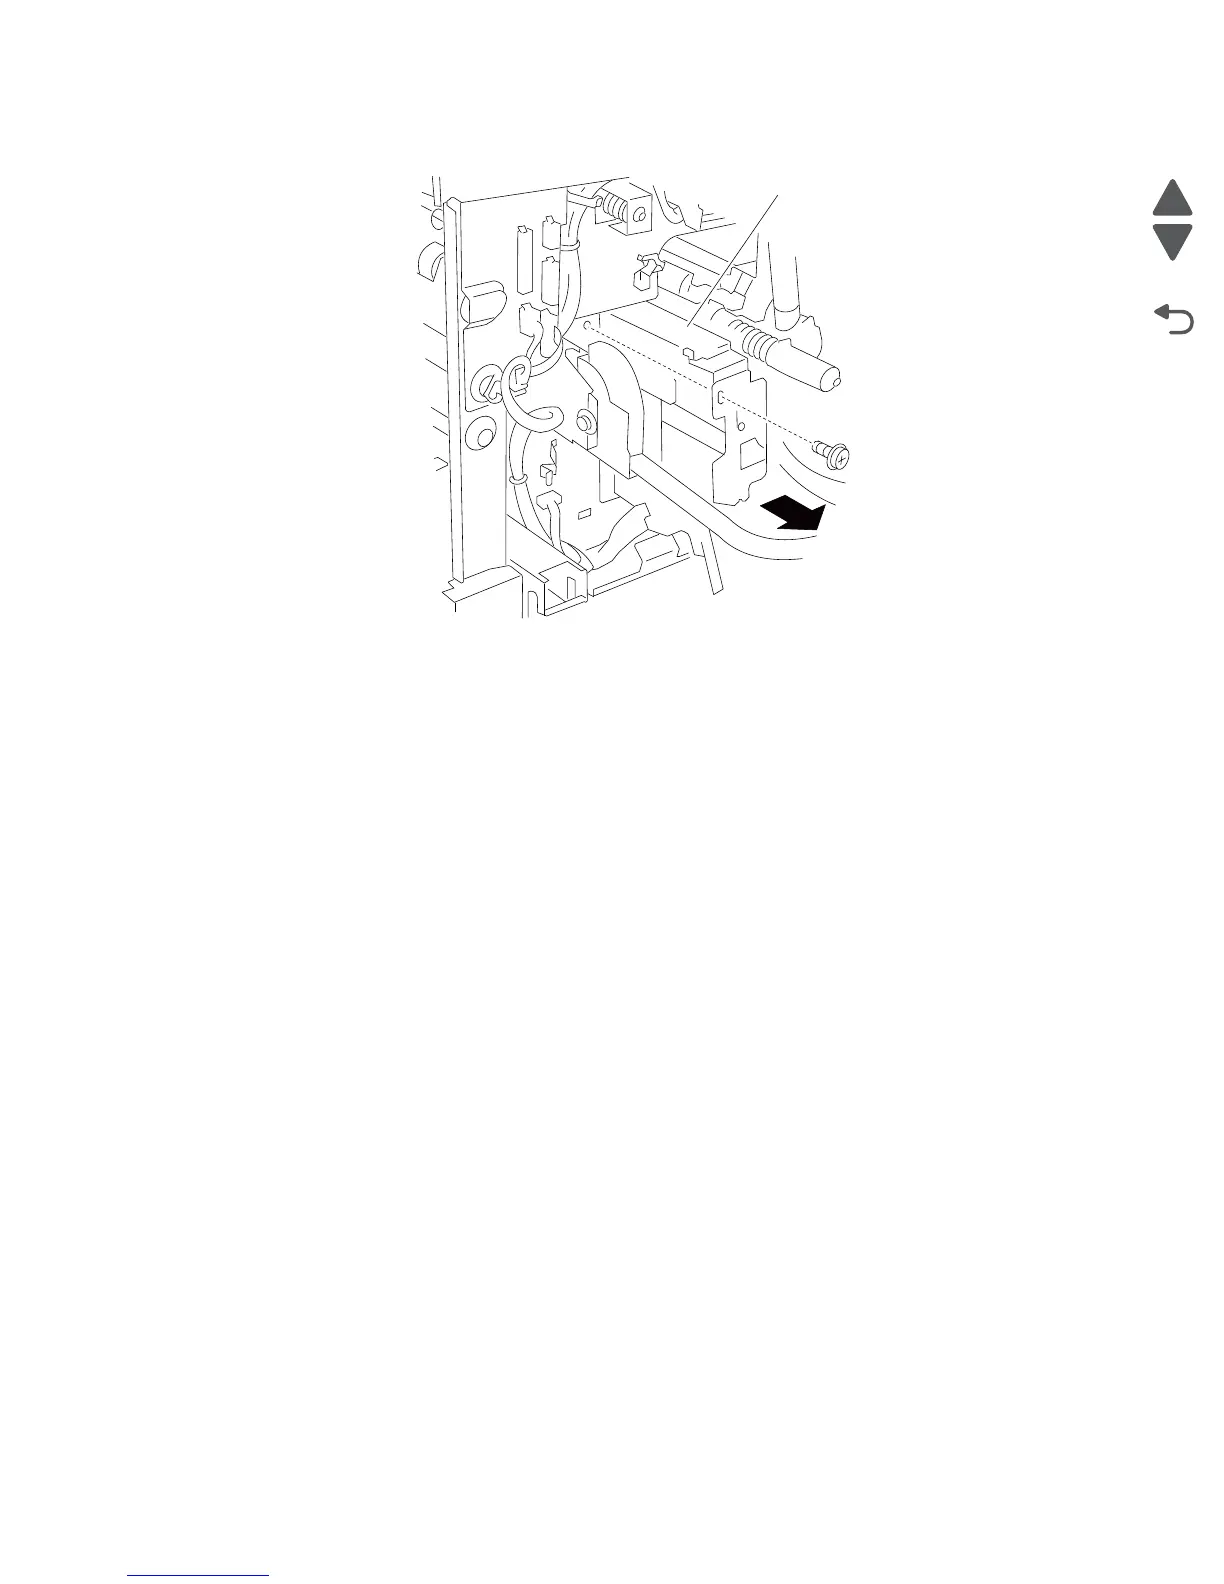
12. Remove the image density sensor assembly (A).
Replacement note: Requires color calibration adjustments.
Replacement warning: When replacing the harness access cover, ensure that the harnesses are not
pinched, or damage will occur.
CMY toner add assembly removal
1. Remove the printer front door assembly. See “Printer front door assembly removal” on page 4-3.
2. Remove the front left cover. See “Front left cover removal” on page 4-9.
3. Remove the waste toner cartridge cover. See “Waste toner cartridge cover removal” on page 4-49.
4. Remove the waste toner cartridge sensor assembly. See “Waste toner cartridge sensor assembly
removal” on page 4-49.
5. Remove the inner cover. See “Inner cover removal” on page 4-53.
6. Remove the screw securing the appropriate CMY toner add assembly (A) to the machine.
Warning: Pull the appropriate shutters to reduce toner spillage into the machine.
Warning: The C, M, and Y toner add assemblies must be removed in this order: Y, M, C, or damage will
occur.

 Loading...


