Repair information 4-141
7510
Replacement note: Ensure that the grounding plate (E) is properly reattached.
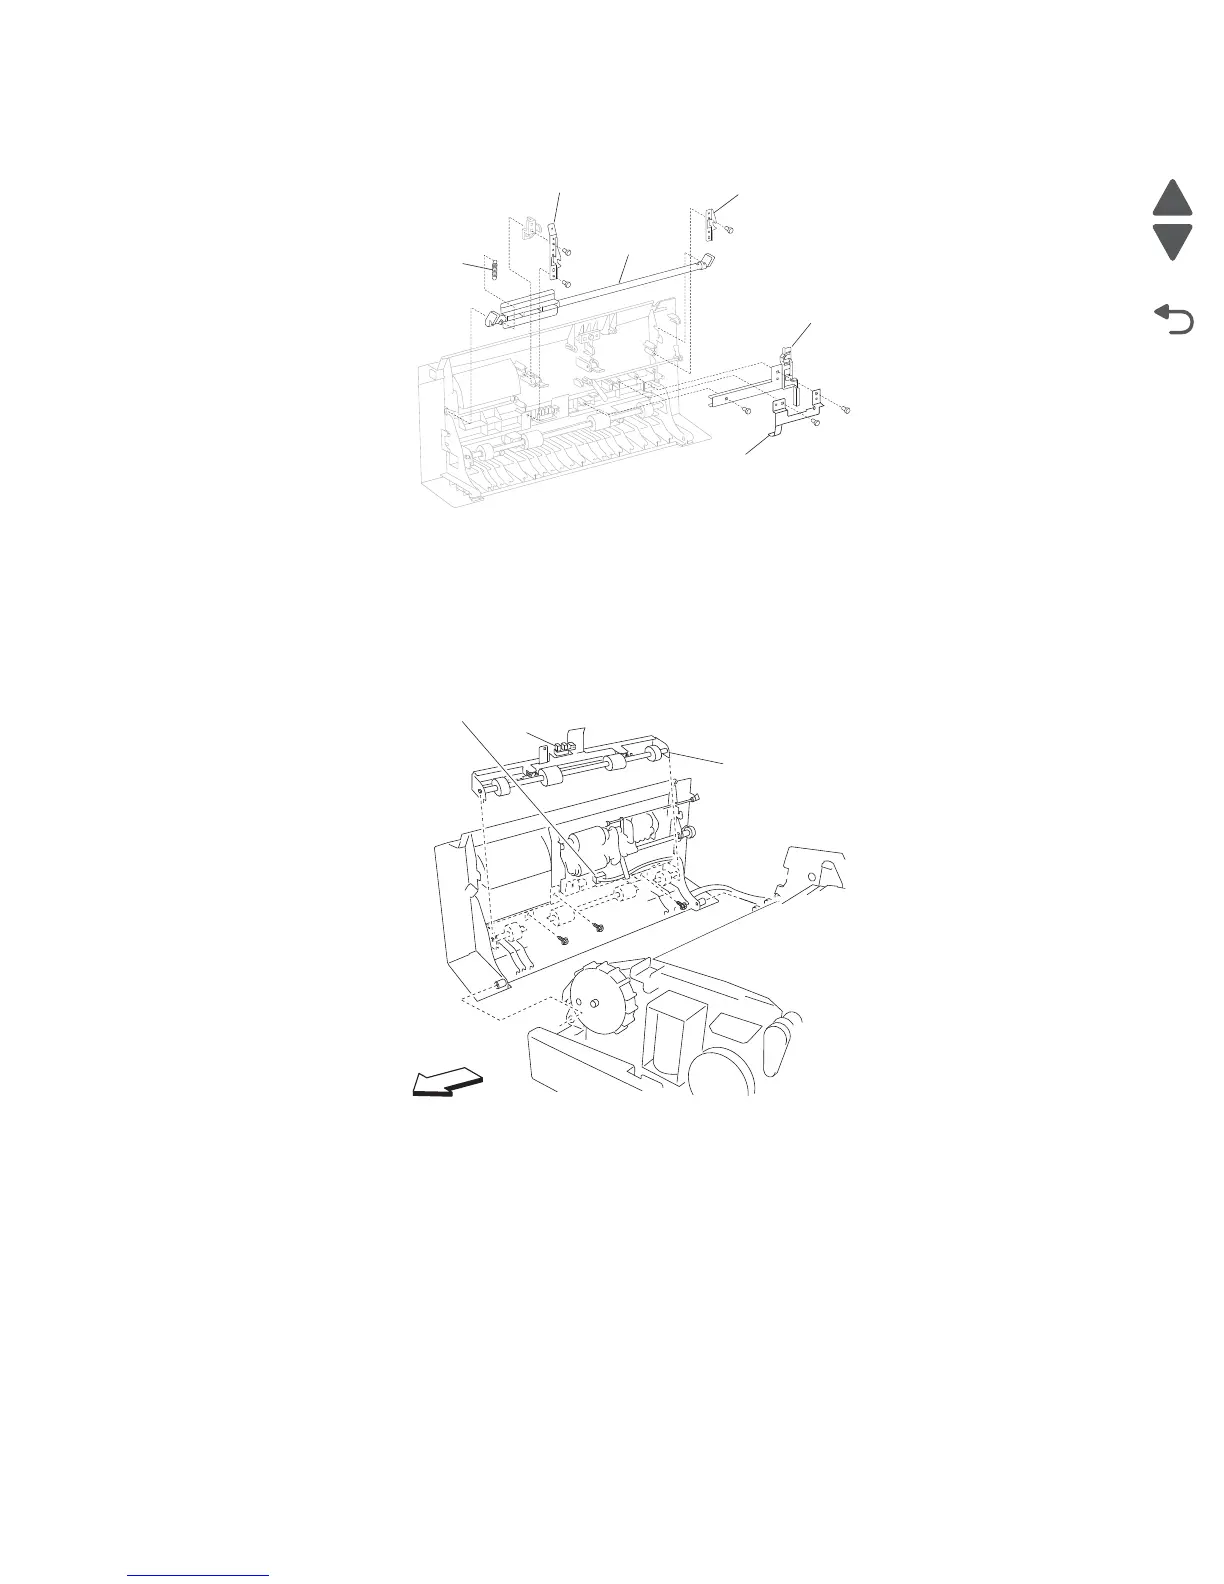
Left cover pinch roll assembly removal
1. Open the ADF left cover assembly.
2. Disconnect the connector from the sensor (pick roll position HP) (A).
3. Remove the three screws securing the left cover pinch roll assembly (B).
4. Remove the left cover pinch roll assembly (A).
ADF feed drive motor assembly removal
1. Open the ADF left cover assembly.
2. Lift the document tray assembly.
3. Remove the ADF rear cover. See “ADF rear cover removal” on page 4-138.
4. Remove the ADF registration motor. See “ADF registration motor removal” on page 4-166.
5. Disconnect the three connectors from the ADF dual drive motor assembly (A).
6. Remove the screw securing the harness guide (B) to the ADF.
7. Remove the two screws securing the ADF dual drive motor assembly (A) to the base of the ADF.
8. Remove the two screws securing the ADF dual drive motor assembly (A) to the rear of the ADF.
9. Remove the stud screw securing the ADF dual drive motor assembly (A) to the rear of the ADF.
10. Remove the plastic support (C).

 Loading...


