EasyManuals Logo

Lexmark X945e MFP 7510 series User Manual

Lexmark X945e MFP 7510 series
847 pages
To Next Page IconTo Next Page
To Previous Page IconTo Previous Page
Page #503 background imageLoading...
Page #503 background image
Repair information 4-71
7510
Go Back
Previous
Next
Photoconductor (PC) unit assembly removal
Warning: Ensure that all four PC cartridges are concealed from all sources of light, or damage will occur.
Note: This procedure can be applied to either the C, M, Y, or K PC unit assemblies.
1. Open the printer front door assembly.
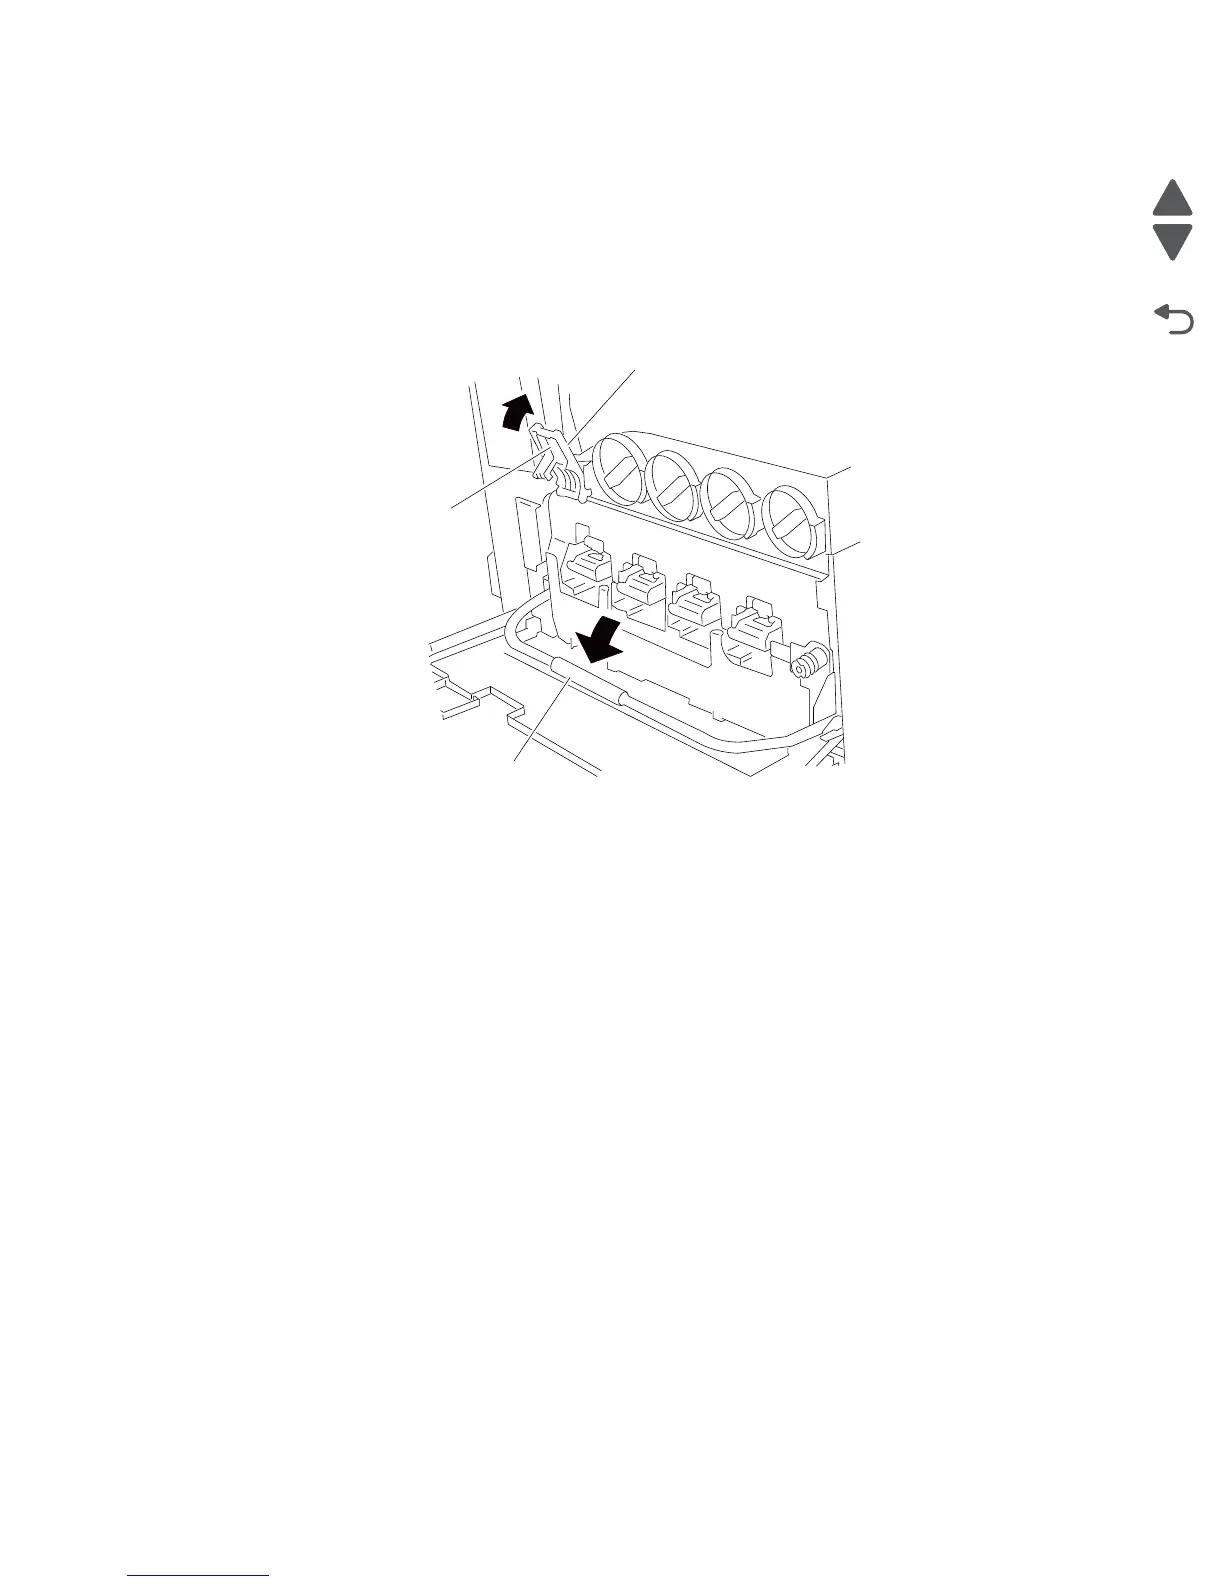
2. Press the button on the transfer belt lift latch (A).
3. Raise the transfer belt lift latch (A) to its upper-most position.
4. Lower the transfer belt lift handle (B) to its lower-most position.
A
B
Button

Table of Contents

Questions and Answers:

Question and Answer IconNeed help?

Do you have a question about the Lexmark X945e MFP 7510 series and is the answer not in the manual?

Lexmark X945e MFP 7510 series Specifications

General IconGeneral
BrandLexmark
ModelX945e MFP 7510 series
CategoryPrinter
LanguageEnglish

Related product manuals