4-8 Service Manual
7510
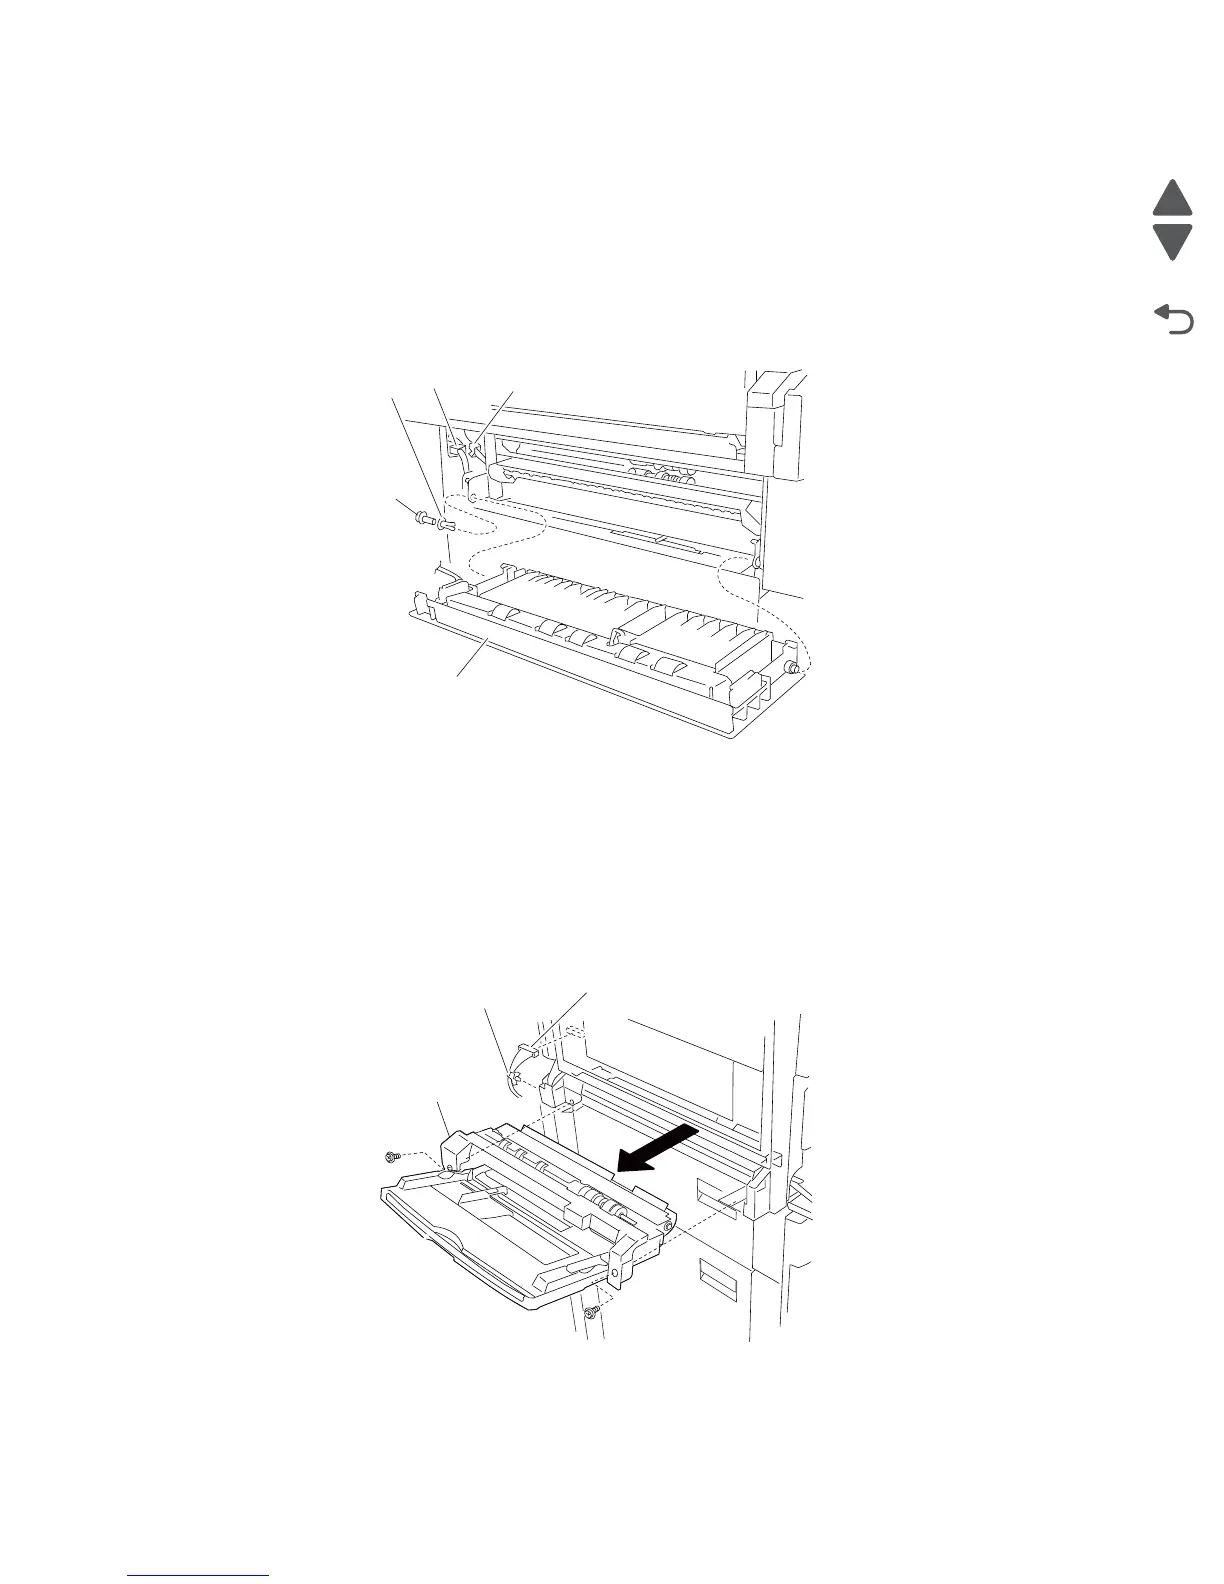
Printer left lower door assembly removal
1. Remove the media tray 1.
2. Open the printer left lower door assembly.
3. Disconnect the connector from the printer left lower door assembly (A).
4. Release the harness from the clamp.
5. Pull the cap of the hinge pin (B) out with a prying tool to remove the hinge pin (B) from the machine.
6. Remove the hinge pin (B).
7. Remove the printer left lower door assembly (A).
MPF feed unit assembly removal
1. Remove the rear cover assembly. See “Rear cover assembly removal” on page 4-5.
2. Remove the rear left middle cover. See “Rear left middle cover removal” on page 4-6.
3. Disconnect the connector from the MPF feed unit assembly (A).
4. Detach the frame clamp from the machine.
5. Remove the two screws securing the MPF feed unit assembly (A) to the machine.
6. Remove the MPF feed unit assembly (A).

 Loading...


