4-108 Service Manual
7510
K developer clutch removal
1. Remove the duplex unit assembly. See “Duplex unit assembly removal” on page 4-10.
2. Remove the fuser unit assembly. See “Duplex controller card assembly removal” on page 4-14.
3. Remove the rear cover assembly. See “Rear cover assembly removal” on page 4-5.
4. Remove the rear left middle cover. See “Rear left middle cover removal” on page 4-6.
5. Remove the MPF feed unit assembly. See “MPF feed unit assembly removal” on page 4-8.
6. Remove the rear upper cooling fan bracket assembly. See “Rear upper cooling fan bracket assembly
removal” on page 4-111.
7. Remove the developer / transfer roll HVPS card assembly. See “Developer / transfer roll HVPS card
assembly removal” on page 4-112.
8. Remove the 24V LVPS card bracket assembly. See “24V LVPS card bracket assembly removal” on
page 4-95.
9. Remove the CMYK transfer HVPS card assembly. See “CMYK transfer HVPS card assembly removal”
on page 4-103.
10. Remove the K developer transport drive assembly. See “K developer / transport drive motor assembly
removal” on page 4-106.
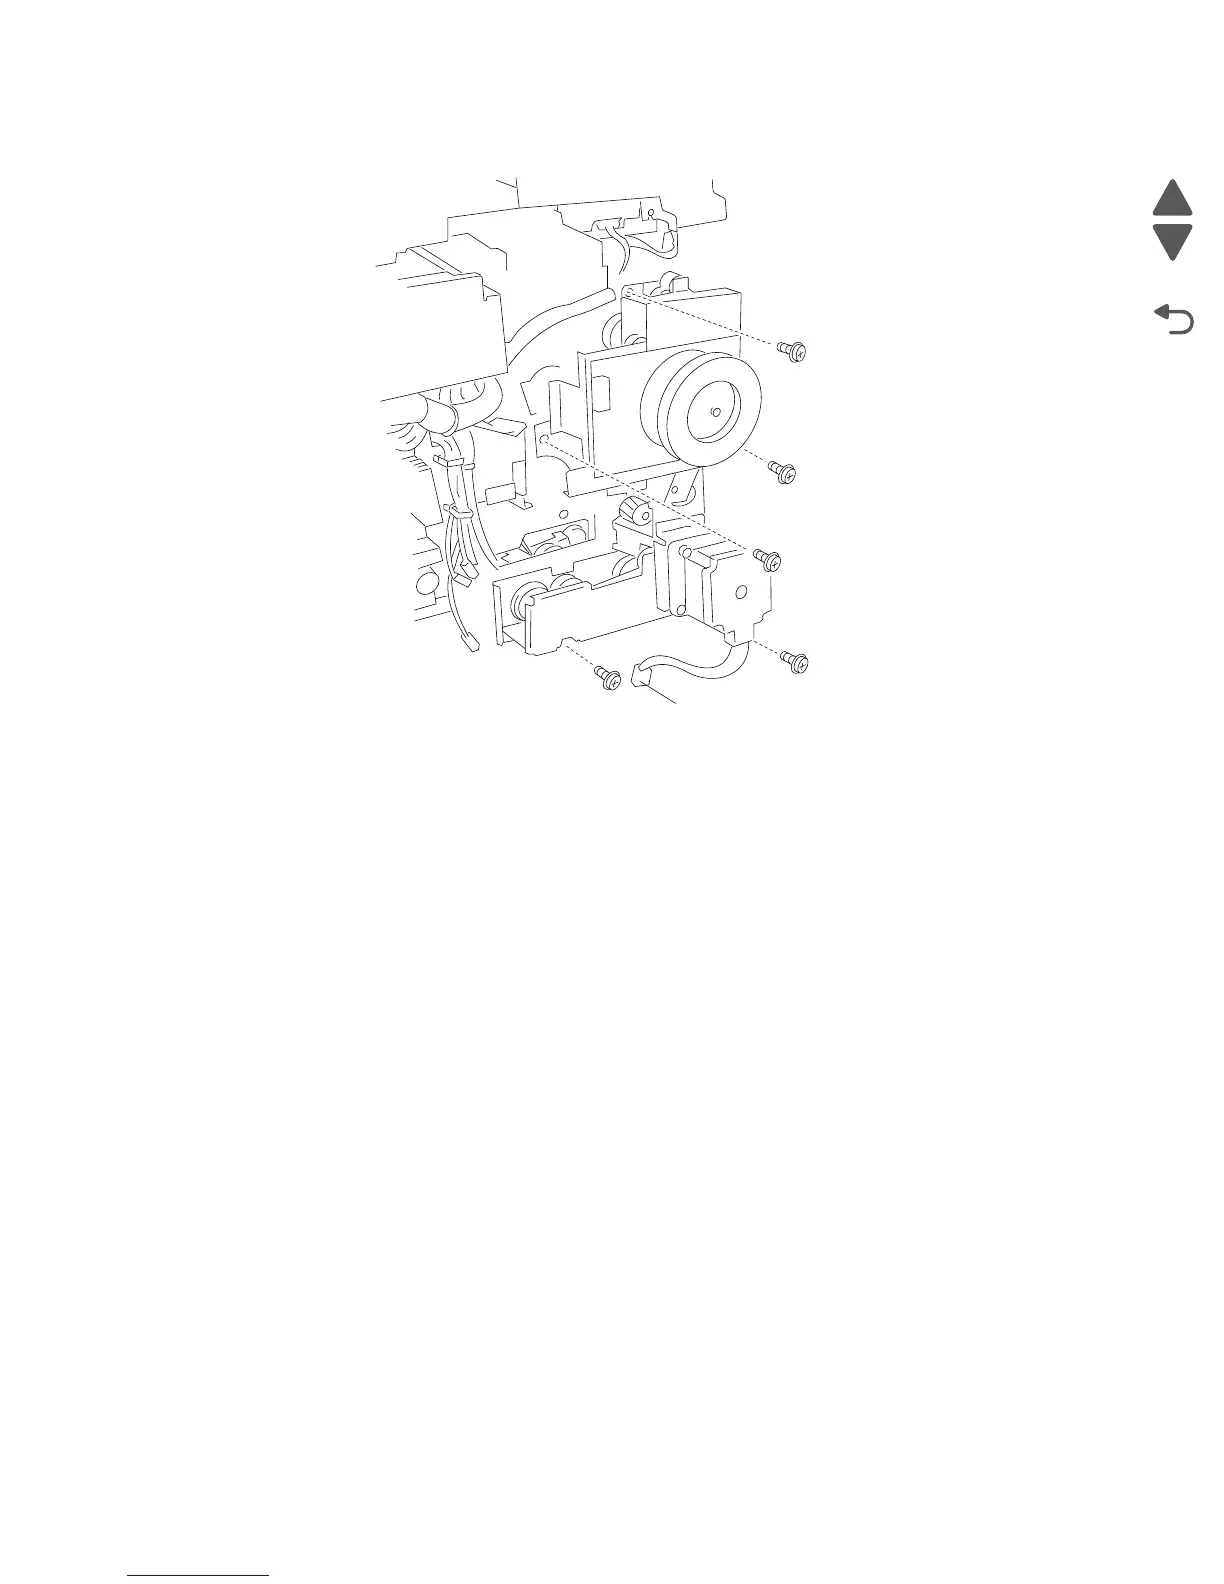
11. Remove the E-clip securing the shaft (A) to the K developer / transport drive assembly (B).
12. Remove the busing (C).
13. Remove the shaft (A).
14. Disconnect the connector from the K developer clutch (D).

 Loading...


