4-16 Service Manual
7510
Transfer belt unit assembly removal
Warning: When removing the transfer belt unit assembly, do not touch the belt surface, or damage will
occur.
Note: Detach the finisher if equipped. Refer to the MFP or the Printer Finisher Service Manual.
1. Open the printer front door assembly.
2. Open the transfer belt access cover.
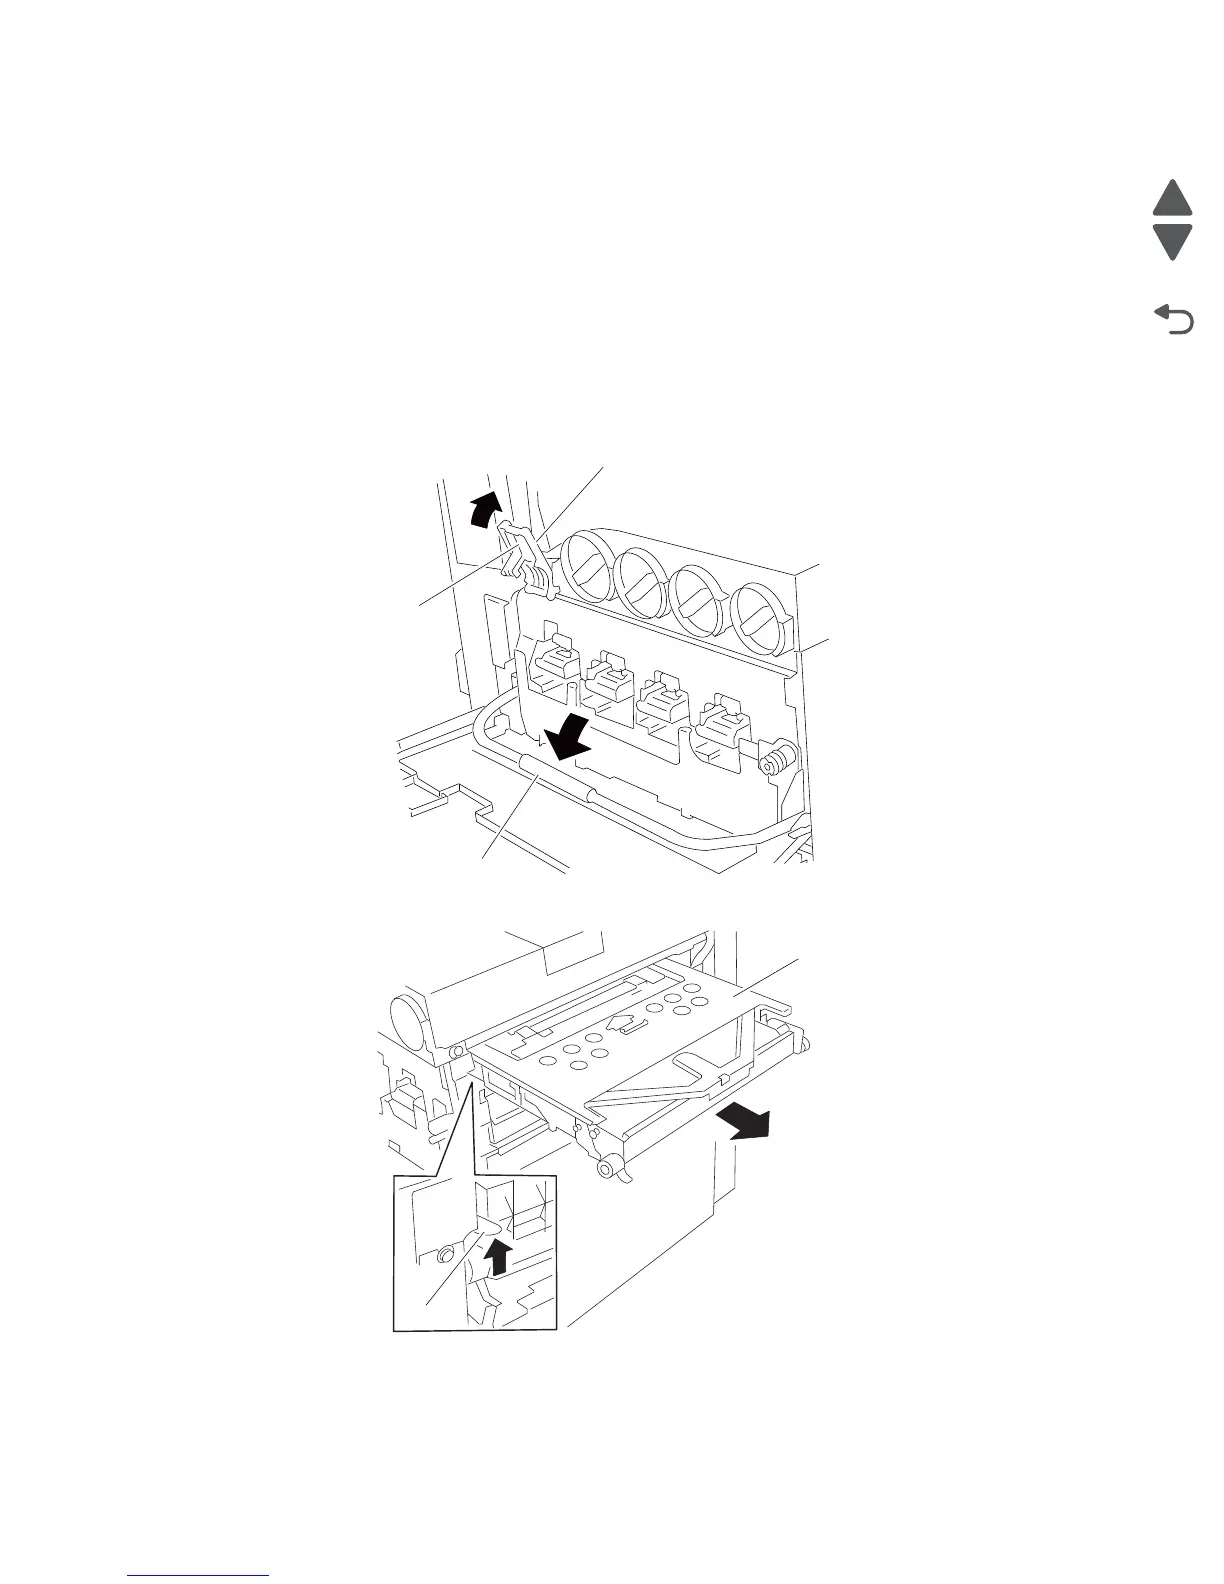
3. Press the button on the transfer belt lift latch (A).
4. Raise the transfer belt lift latch (A) to its upper-most position.
5. Lower the transfer belt lift handle (B) to its lower-most position.
6. Lift the safety latch (C) while pulling the transfer belt unit assembly (D) out of the machine.
7. Remove the transfer belt unit assembly (D).
Replacement warning: When reinstalling the transfer belt unit assembly, do not touch the belt surface, or
damage will occur.

 Loading...


