Repair information 4-73
7510
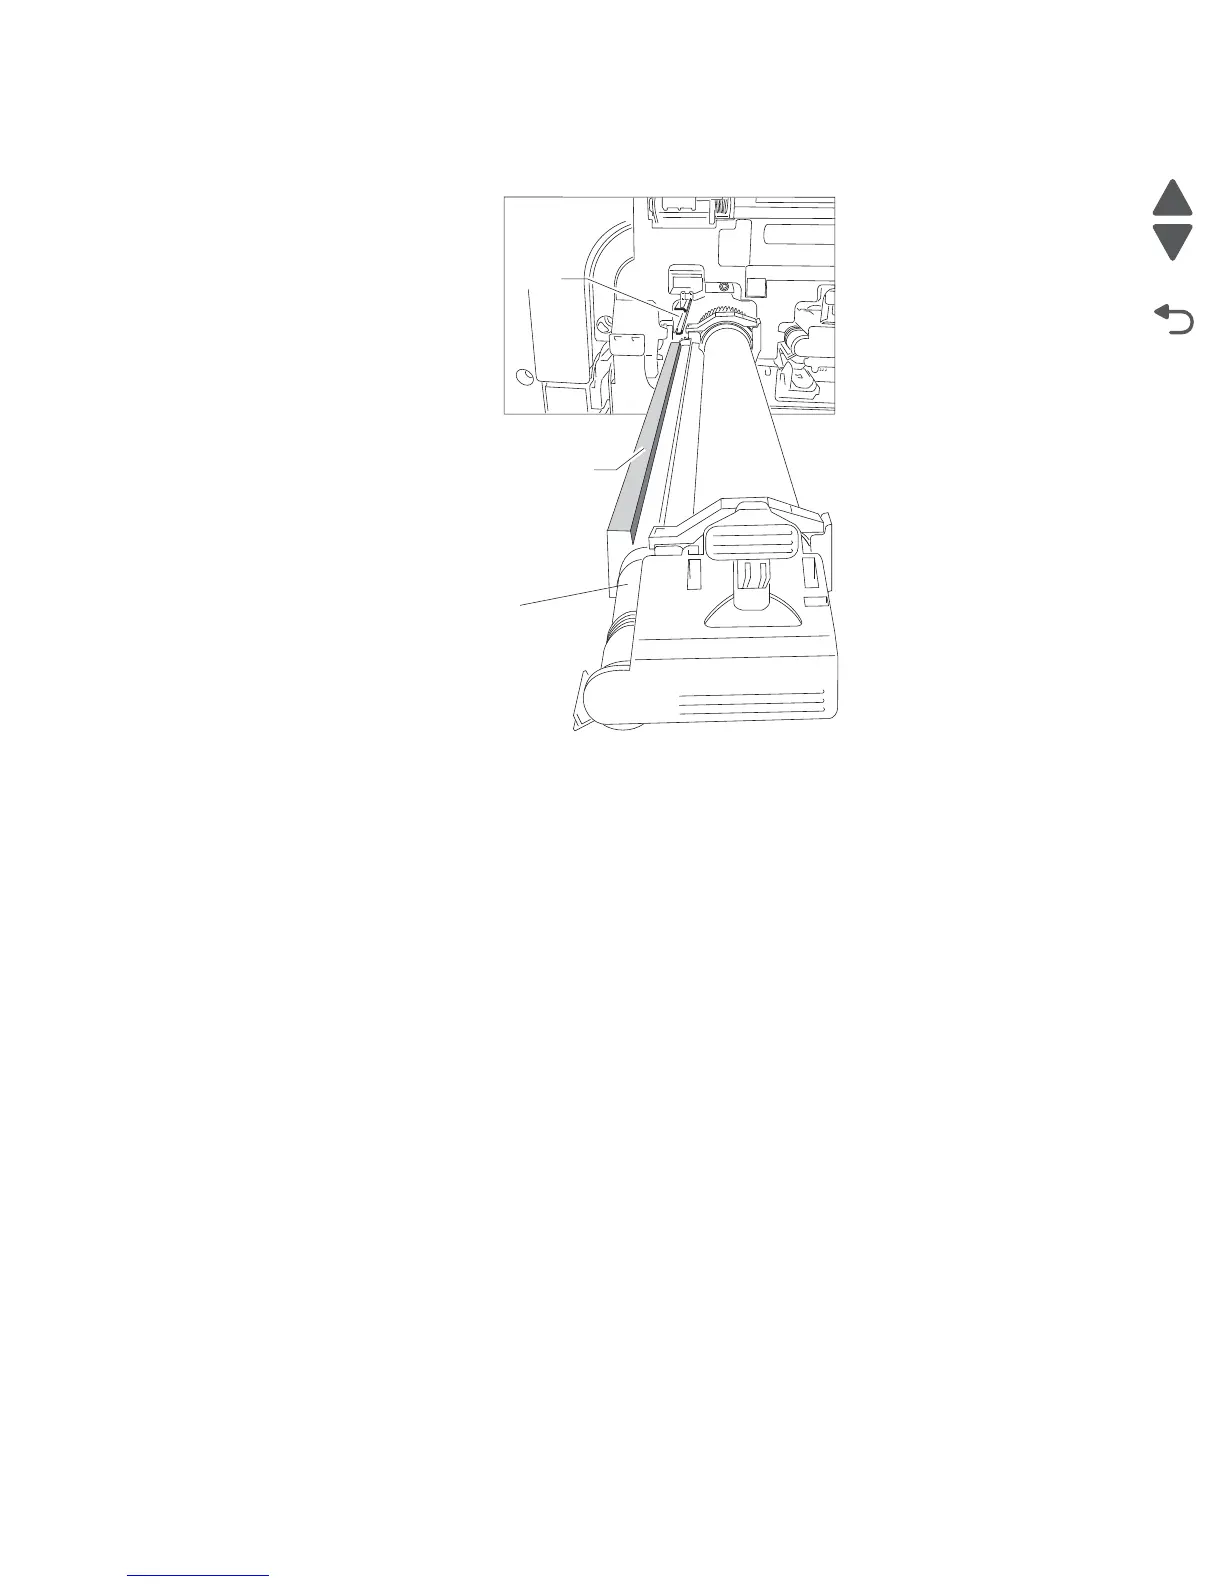
event that the PC unit assembly (C) becomes bound, it can be removed by twisting it in a clockwise
direction while pulling it from the machine.
Transfer belt lift latch assembly removal
1. Remove the printer front door assembly. See “Printer front door assembly removal” on page 4-3.
2. Remove the front left cover. See “Front left cover removal” on page 4-9.
3. Remove the waste toner cartridge cover. See “Waste toner cartridge cover removal” on page 4-49.
4. Remove the waste toner cartridge sensor assembly. See “Waste toner cartridge sensor assembly
removal” on page 4-49.
5. Remove the sensor (waste toner cartridge full). See “Sensor (waste toner cartridge full) removal” on
page 4-50.
6. Remove the inner cover. See “Inner cover removal” on page 4-53.
7. Remove the two screws securing the transfer belt lift latch (A) to the machine.
8. Release the harnesses from the clamp.
Metal
track
A1
Rail must slide straight
into metal track
C

 Loading...