4-112 Service Manual
7510
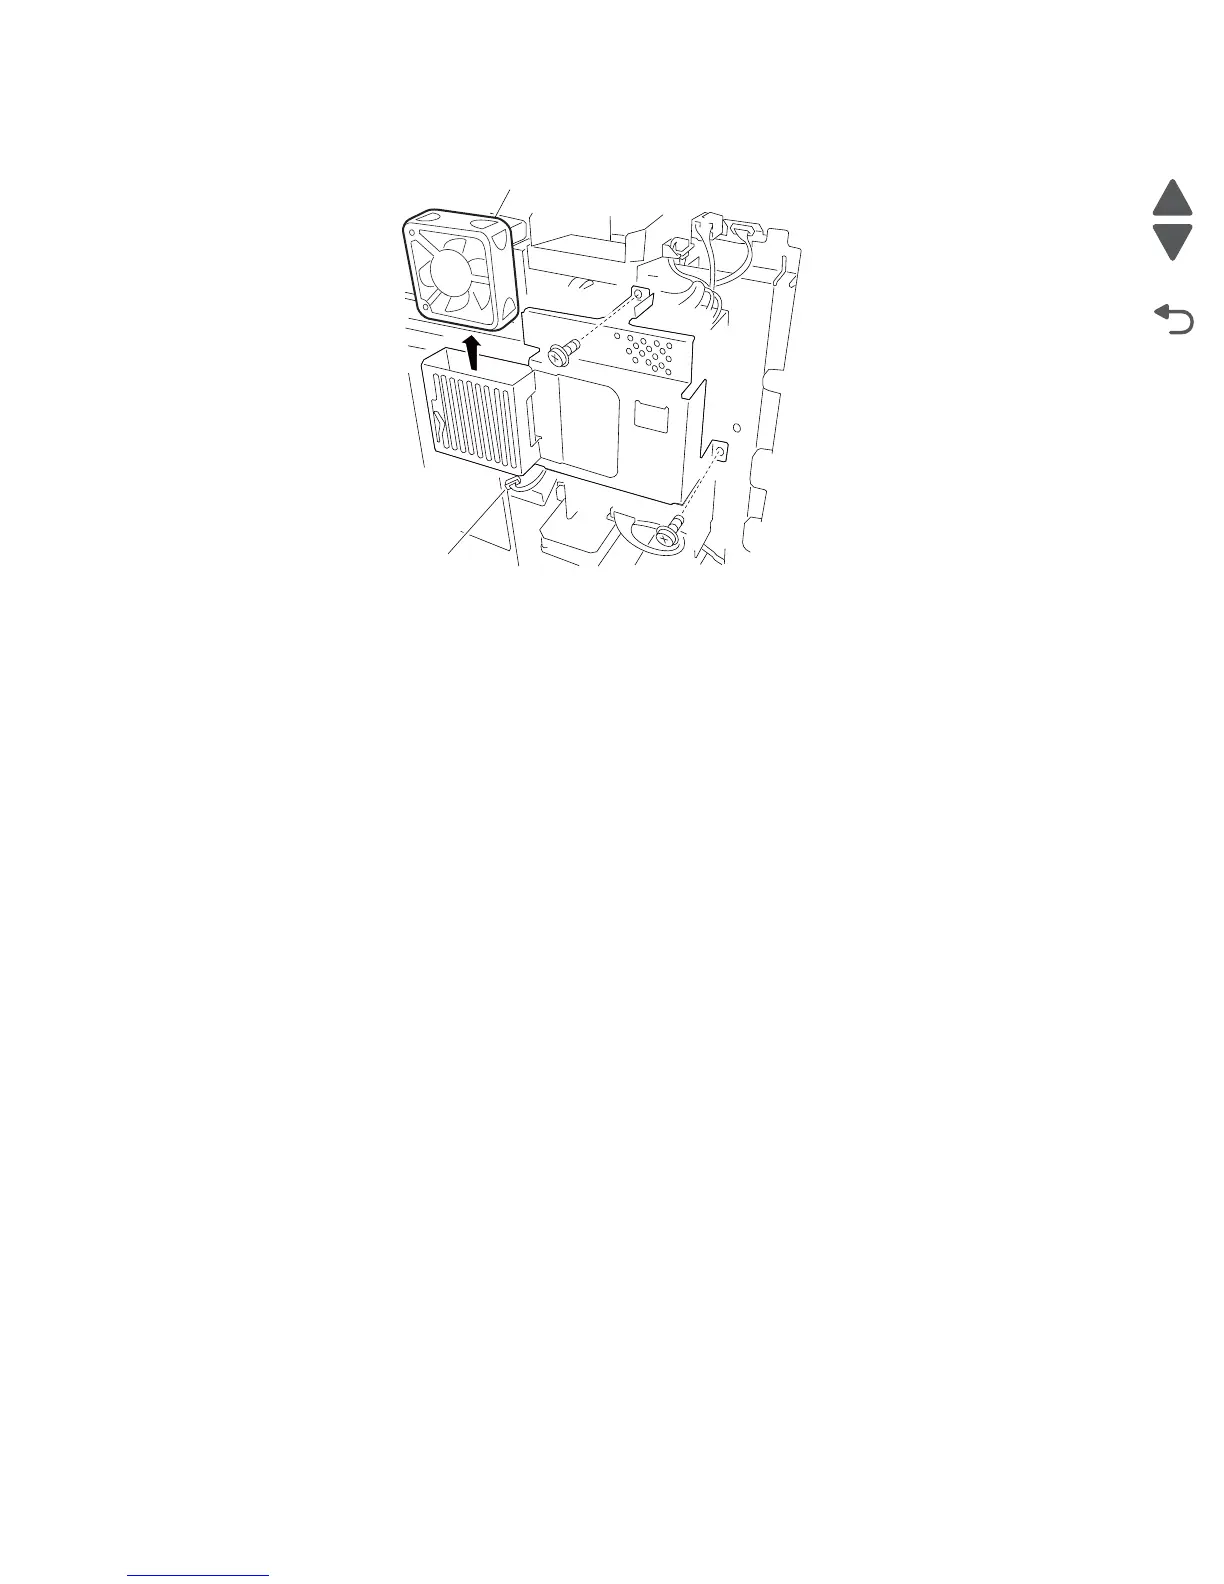
4. Remove the rear upper cooling fan (A) from the rear upper cooling fan bracket.
Developer / transfer roll HVPS card assembly removal
1. Remove the rear cover assembly. See “Rear cover assembly removal” on page 4-5.
2. Remove the rear upper cooling fan bracket assembly. See “Rear upper cooling fan bracket assembly
removal” on page 4-111.
3. Loosen the screw securing the ground wire (A) to the machine.
4. Remove the ground wire (A).
Warning: The connector P572 and P502 are permanently attached to the developer / transfer roll HVPS
card assembly (B); do not attempt to remove these connectors, or damage will occur.
5. Disconnect the five connectors from the developer / transfer roll HVPS card assembly (B).
6. Remove the three screws securing the developer / transfer roll HVPS card assembly (B) to the machine.
Note: The developer / transfer roll HVPS card assembly (B) can be supported by the plastic support (C) by
attaching it to the hook on the machine.
7. Lower the developer / transfer roll HVPS card assembly (B).
8. Remove the connector from the developer / transfer roll HVPS card assembly (B).
9. Release the harnesses from the clamps.
10. Lift the right side of the developer / transfer roll HVPS card assembly up (B).

 Loading...


